NOTE: This is a repost from the old blog archives before I moved everything over to Sew Fancy Brooklyn. Unfortunately we are in musical limbo for the foreseeable future. Being back at work makes me feel really nostalgic and sad about it, so I thought I’d share some previous show work (also I completely forgot today was Tuesday and I needed a blog post!).
Upon reading this post back, I clearly intended it to be the first in the series about my Beauty and the Beast costumes. However, that ship has sailed since I posted about the ballgown first a few days ago. I’ve decided to just leave the post as I originally wrote it, when I was updating as I went along.
My main challenge when designing a show as loved as this one is to make sure I honor the familiar costumes everyone adores, but also make them my own. I kept the color scheme and the basic design elements in most places but made a few tweaks here and there so it was a little more design and a little less just copying.
I started out with Belle. It seemed fitting to work with her village dress first, and it was also a way to ease into the project. I found the fabric I wanted to use for the dress last June, before we had even had a cast. It was called “linea,” which I had never heard of but which turned out to have a linen-like quality. I chose the fabric, however, for its print – it’s a blue on blue rose print, which fit the bill. Belle’s dress is still blue and the roses call back to a central piece of the show. You’ll see I did this a lot (there are roses featured on all of Belle’s dresses). I wanted to forge a connection between Belle and the Beast that exists before they even meet. I was also calling back to the original fairy tale, in which Belle’s father is captured because he takes a rose from the garden to bring back to his daughter.


I mixed and matched the final design from a new different patterns. I’m not working with one particular era, just trying to make it all “fairy tale feeling.” Thus Belle’s dress is a combination of the Austrian dirndl pattern from Folkwear Patterns and a Romantic Era blouse from Sense & Sensibility.
We had two Belles and so my first task was to trace and then cut the two different sizes I would need. The two girls playing Belle were quite different in size so there was no way around making two dresses. I’m very thankful for tracing paper when this happens, even if it does mean an extra step in the process.

After a lot of cutting, this dress became the first official costume to get put together. Above you see the first stitch of the entire show: darting the bodice is the first Belle dress.
After that step, this dirndl came together quite quickly. I did the bodice and facings in under an hour – that’s what good prep will get you (pattern markings and whatnot).


Before I knew it, I was up to the skirt. Of course, this wasn’t as speedy a process as the bodice, given I needed to do quite a bit of gathering on the waistline.

The first Belle dress was nearly done, minus the finishing details, in just a few hours which definitely made me feel much better about spending so much time cutting different projects and not actually sewing anything yet!

The next day, I managed to quickly run through the main shell of the second Belle dress and went from having nothing done to haveing two costumes ready for fitting in less than 48 hours! However, before the fitting I also wanted to have the blouse ready to go. At this point in the construction process I was thinking it might be a good idea to attach the blouse to the dress to help with quick changes but, other than the sleeves, was not sure how to do that exactly. The blouse needed to be made and tested out before I made any final decisions.

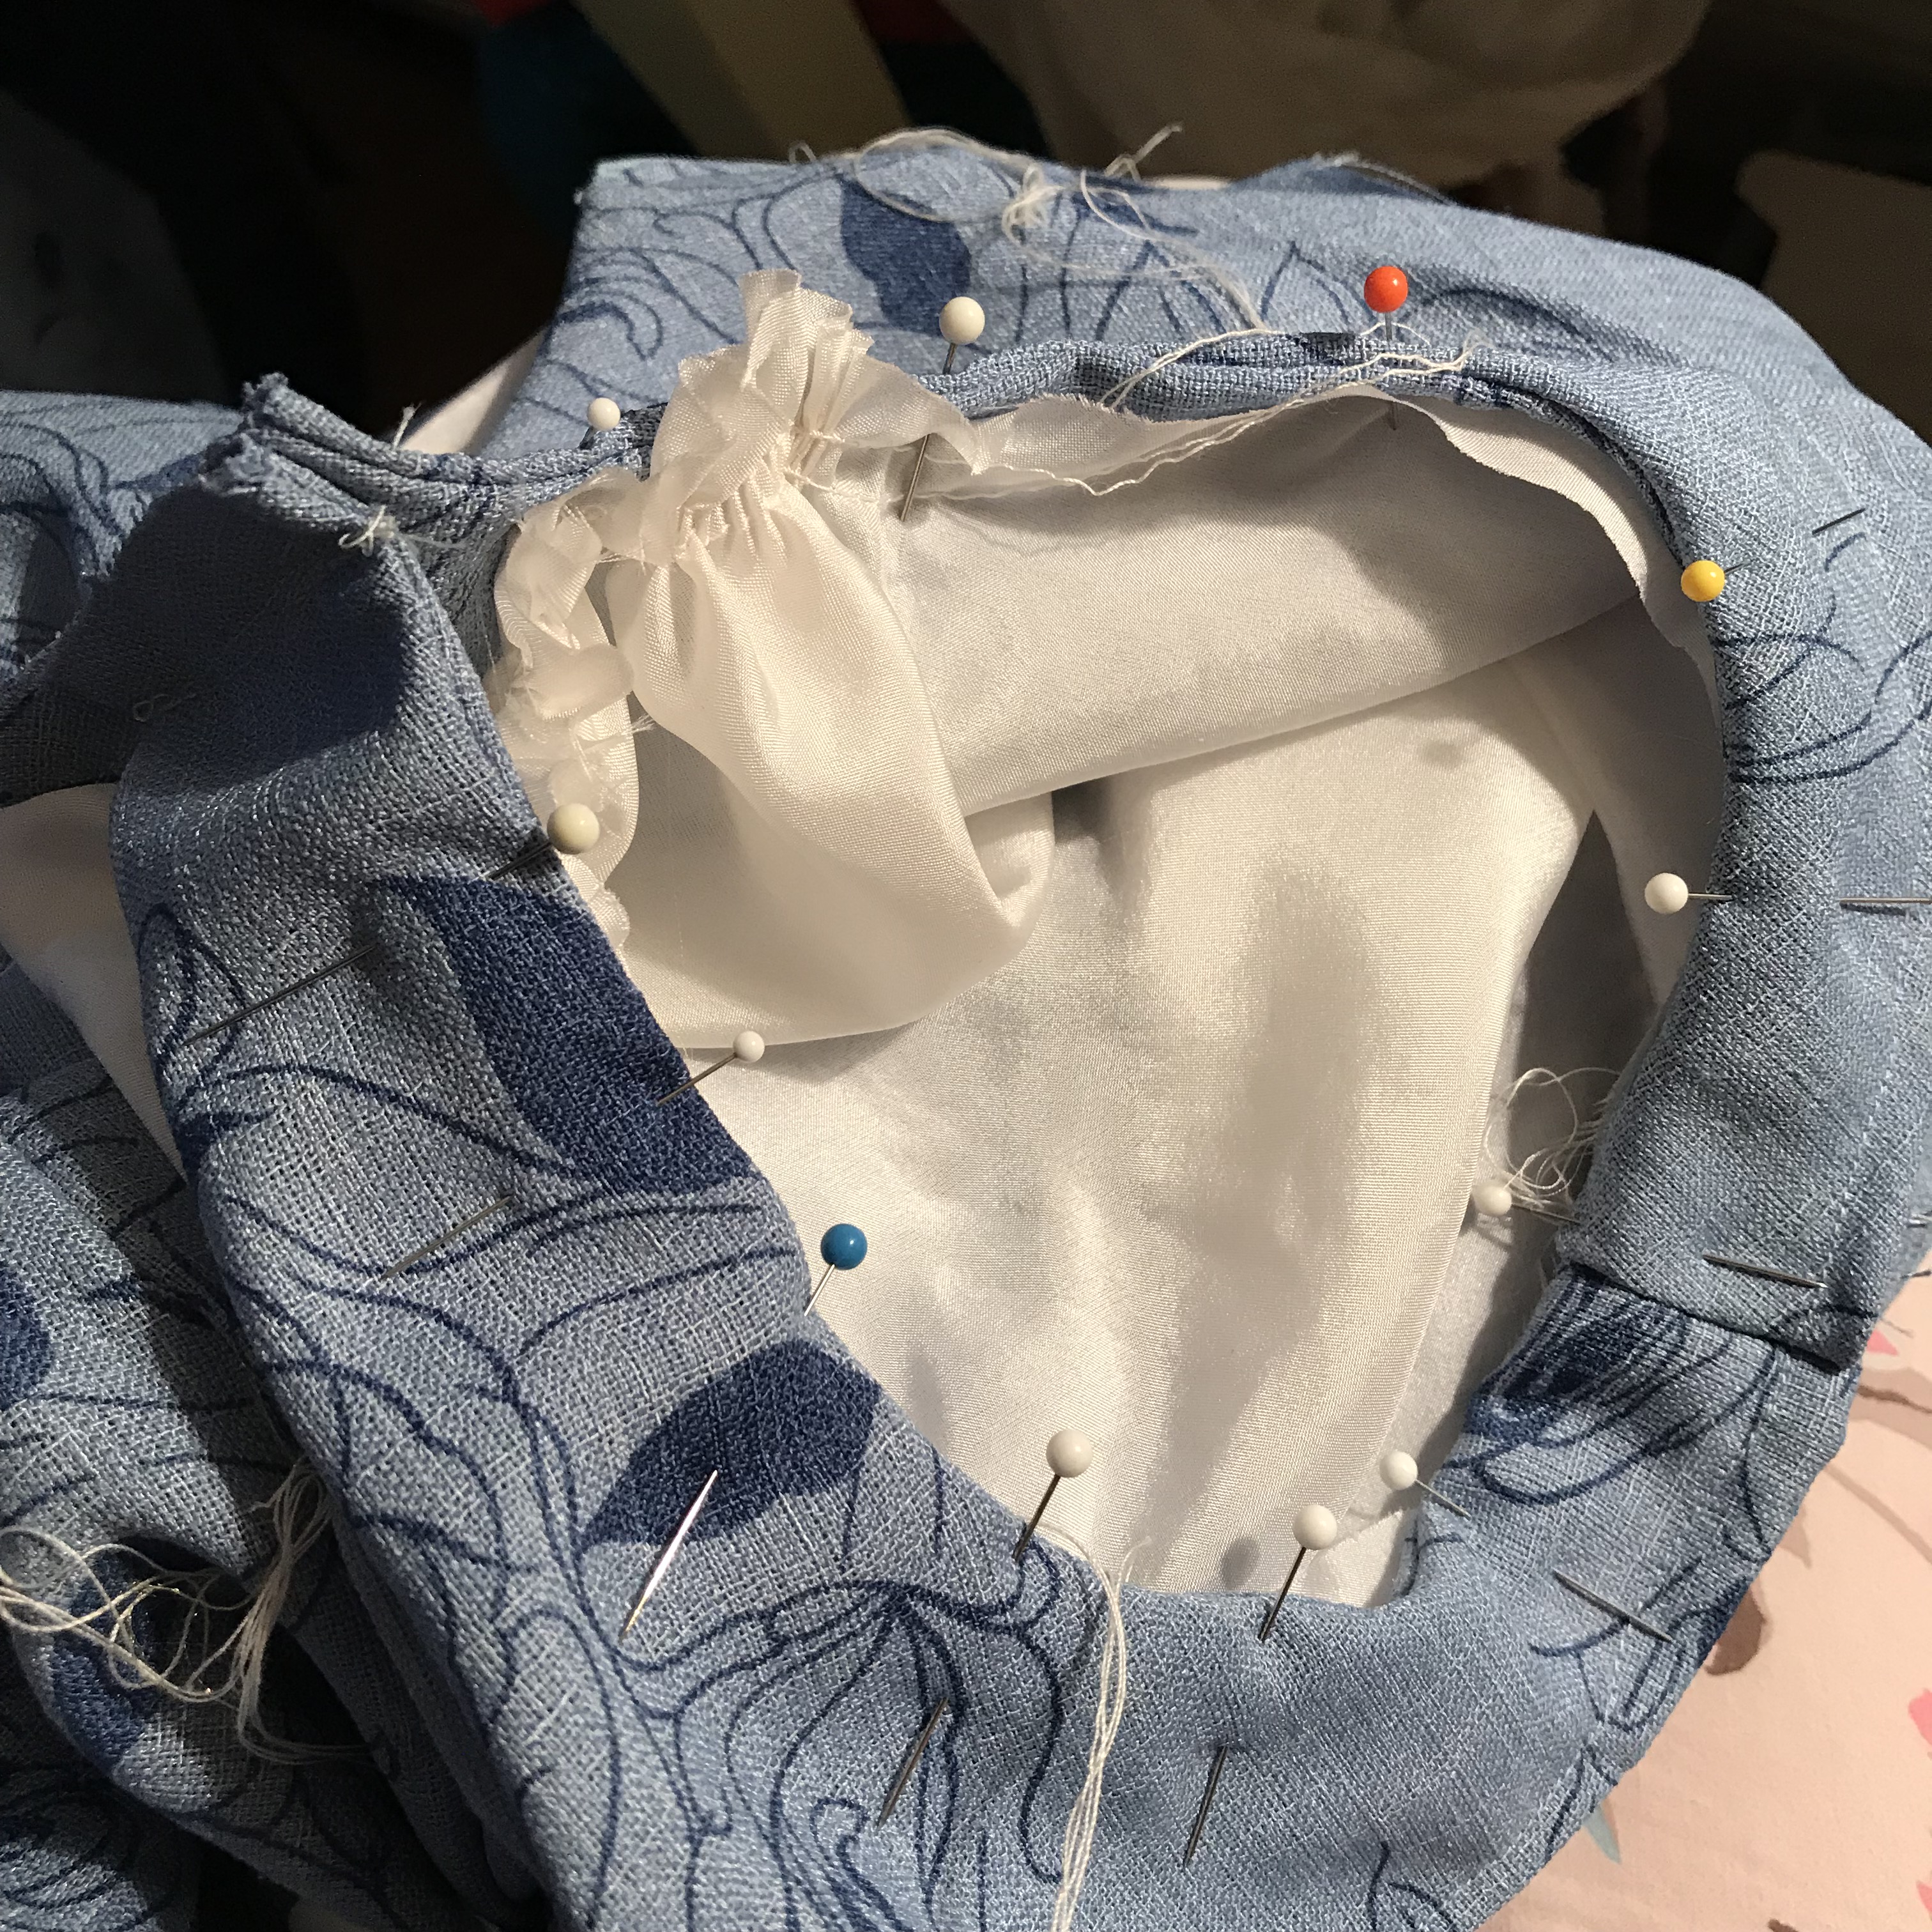
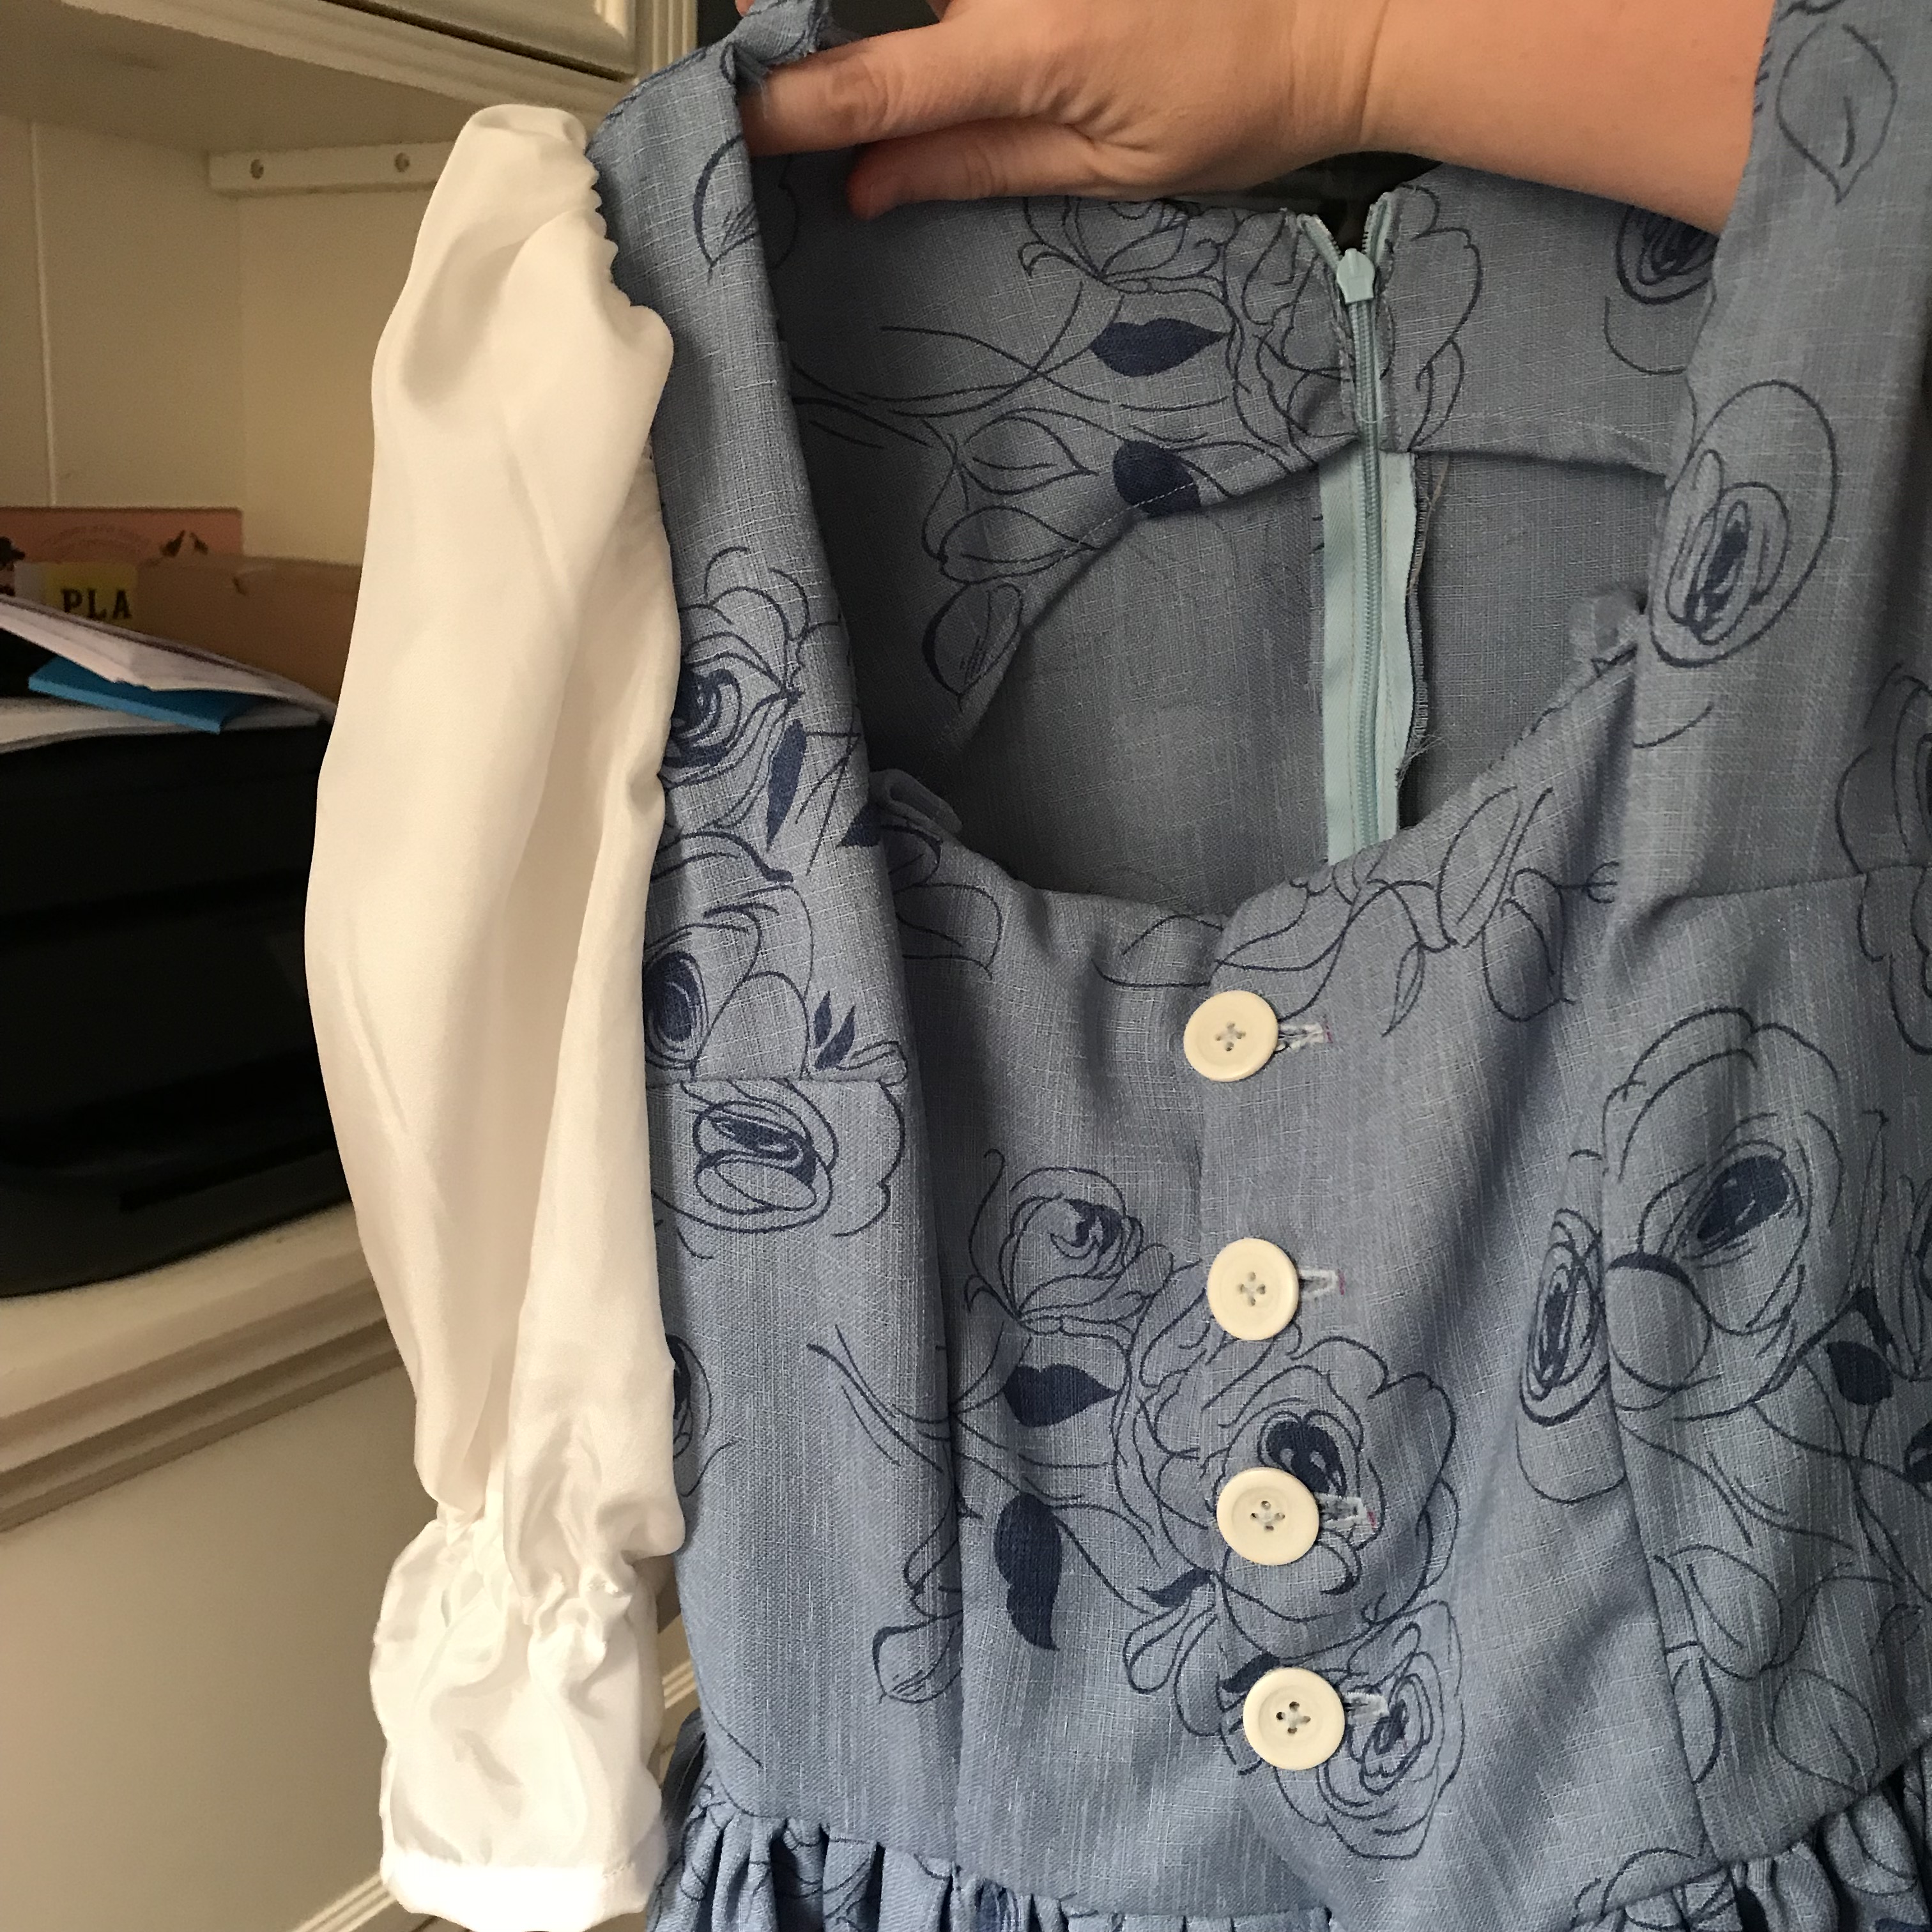
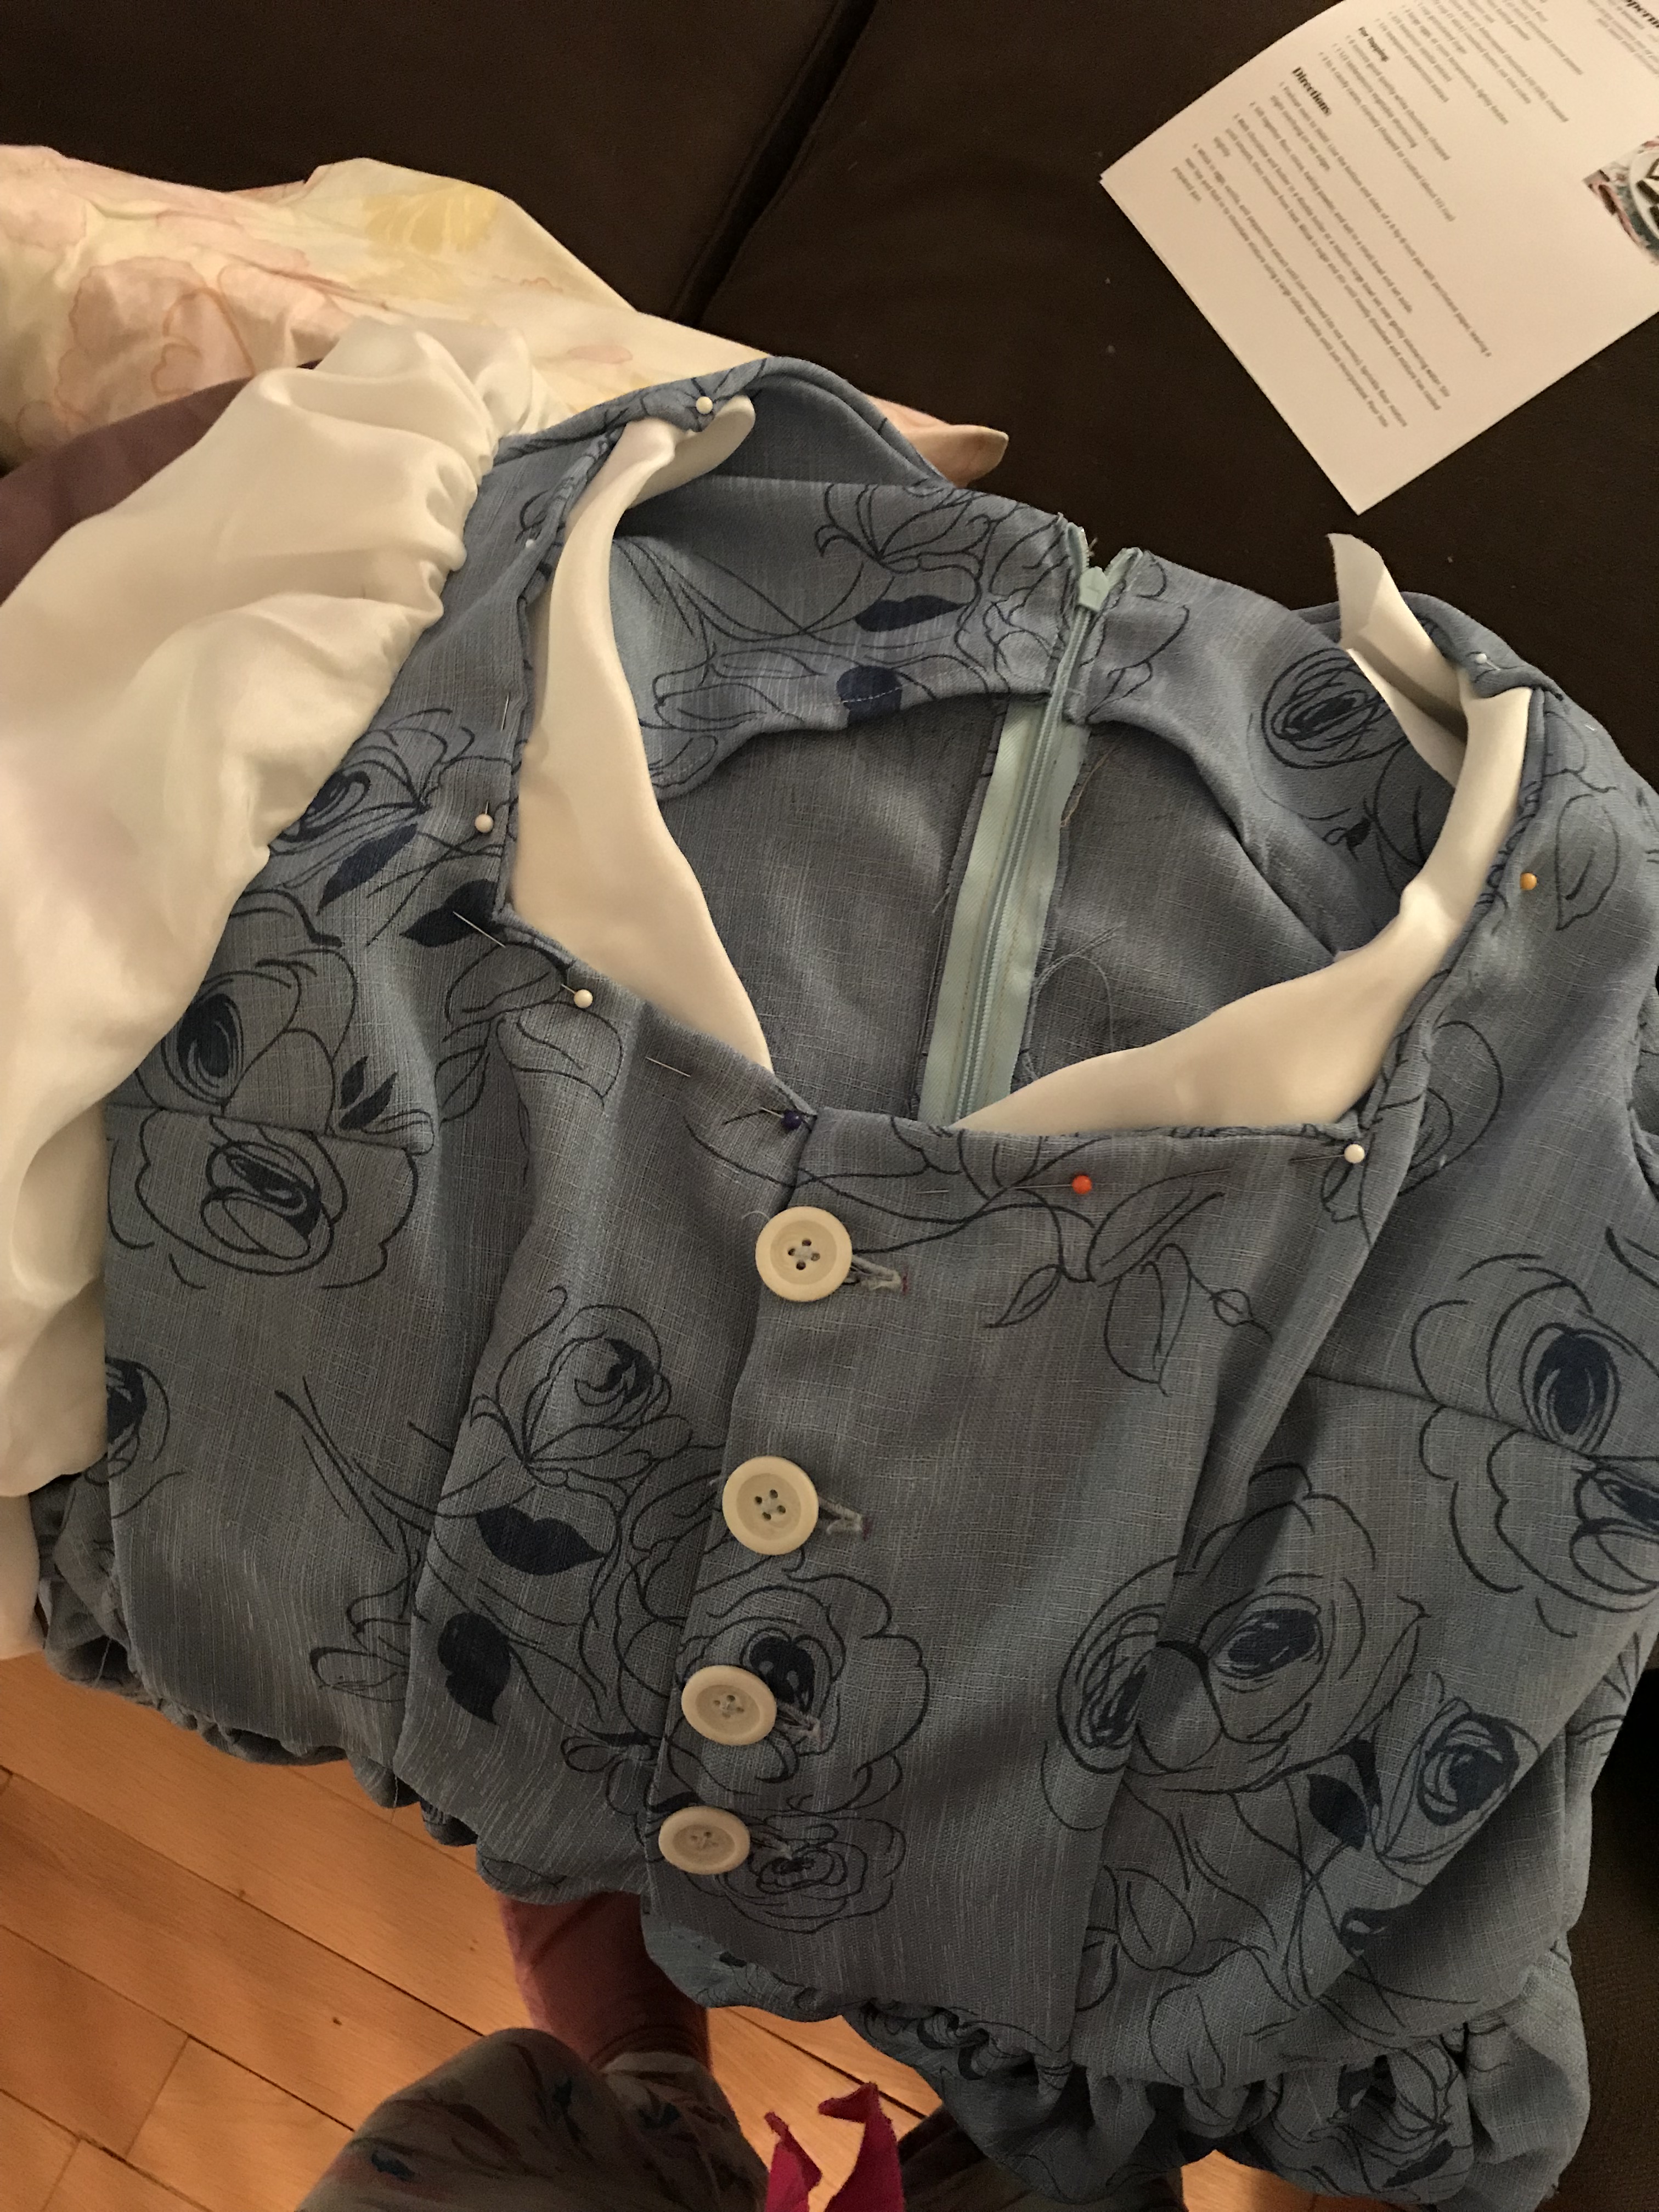
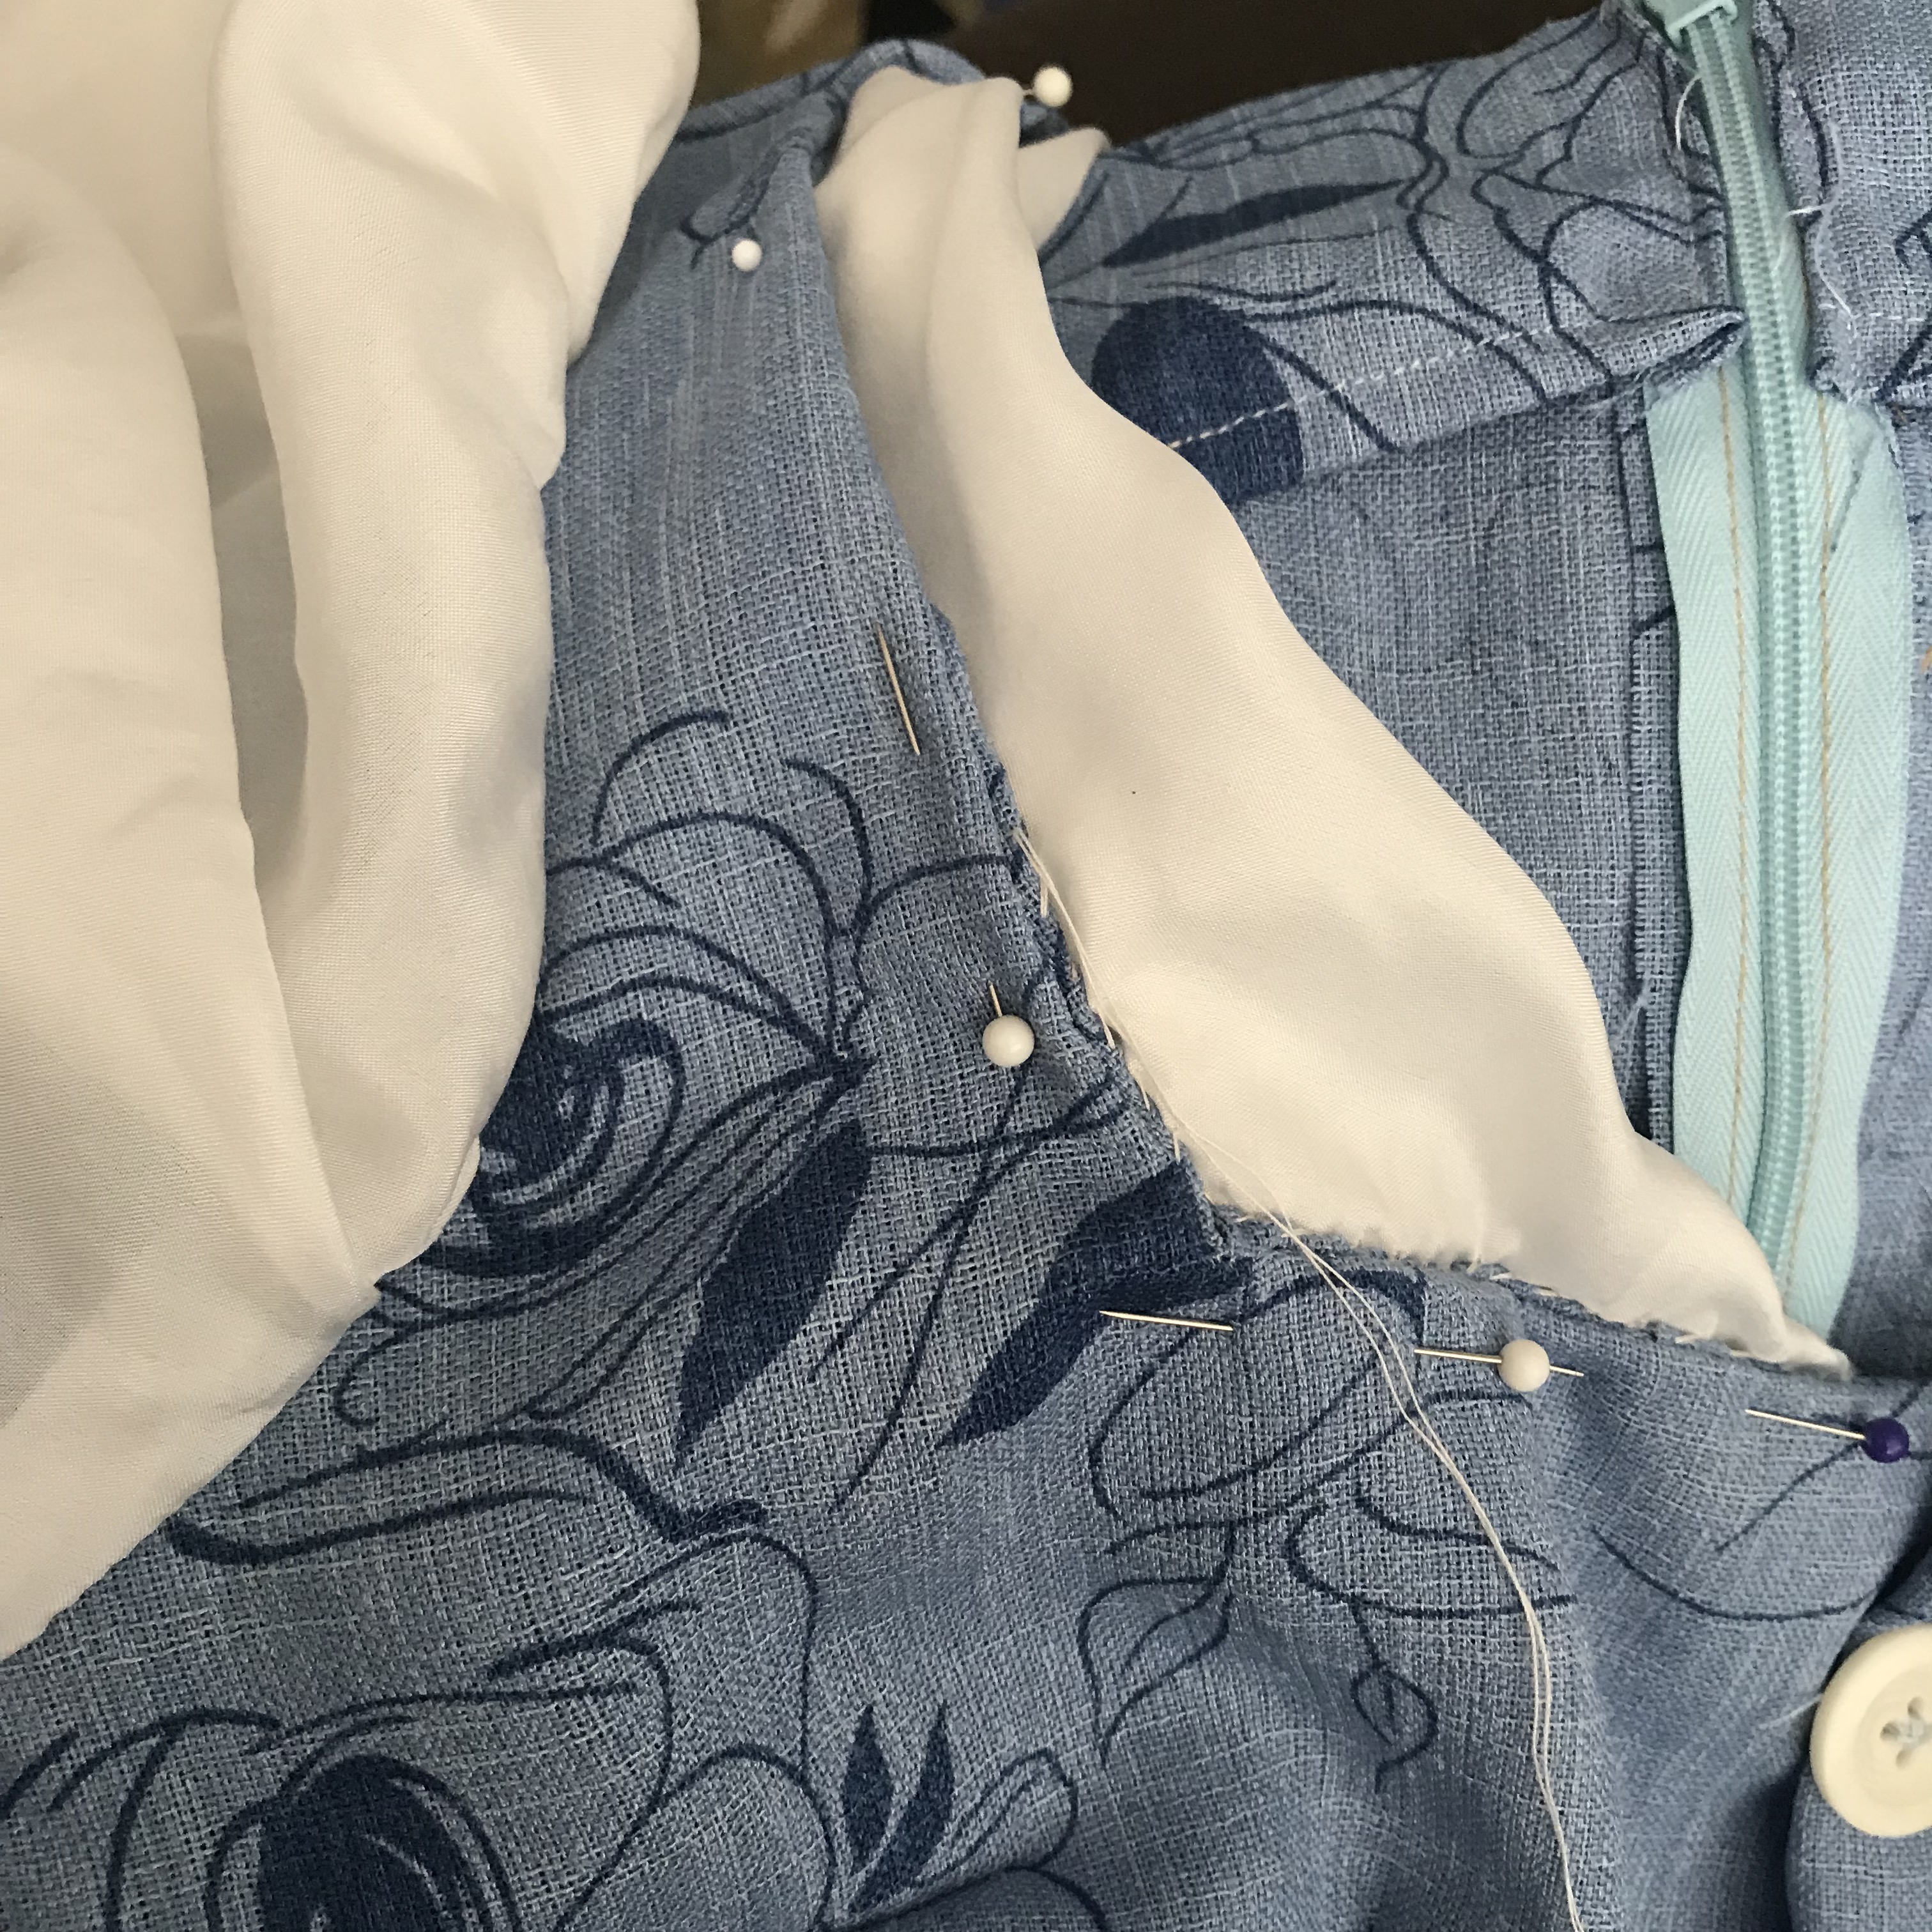
In the end, I didn’t even make a blouse. I decided it was easier for everybody if the blouse was completely fake, and just sewed into the dress. The sleeves were the easiest. I simply cut them out from the same Folkwear pattern and sewed them into the armholes. I loved how they looked in the sheer white fabric! (I can’t speak to what the fabric was as it was something I had in stock that we got for free once upon a time, but it seemed to be some sort of chiffon.) During this process, I also managed to get the buttons and buttonholes completed by finally learning how to use the automatic buttonhole foot on my machine. The buttons were intended to be nonfunctional, as I also added a zipper into the back of the dress for ease in quick changes.
The dress at this point, was basically complete. A little fitting details, and it was ready to go!


