A free day at home this past Saturday meant I could get a good start on the Procession Dress, which I think needs a new name (this one bores me), but that’s a different issue. In any case, regardless of name, I managed to make my way through most of the bodice.
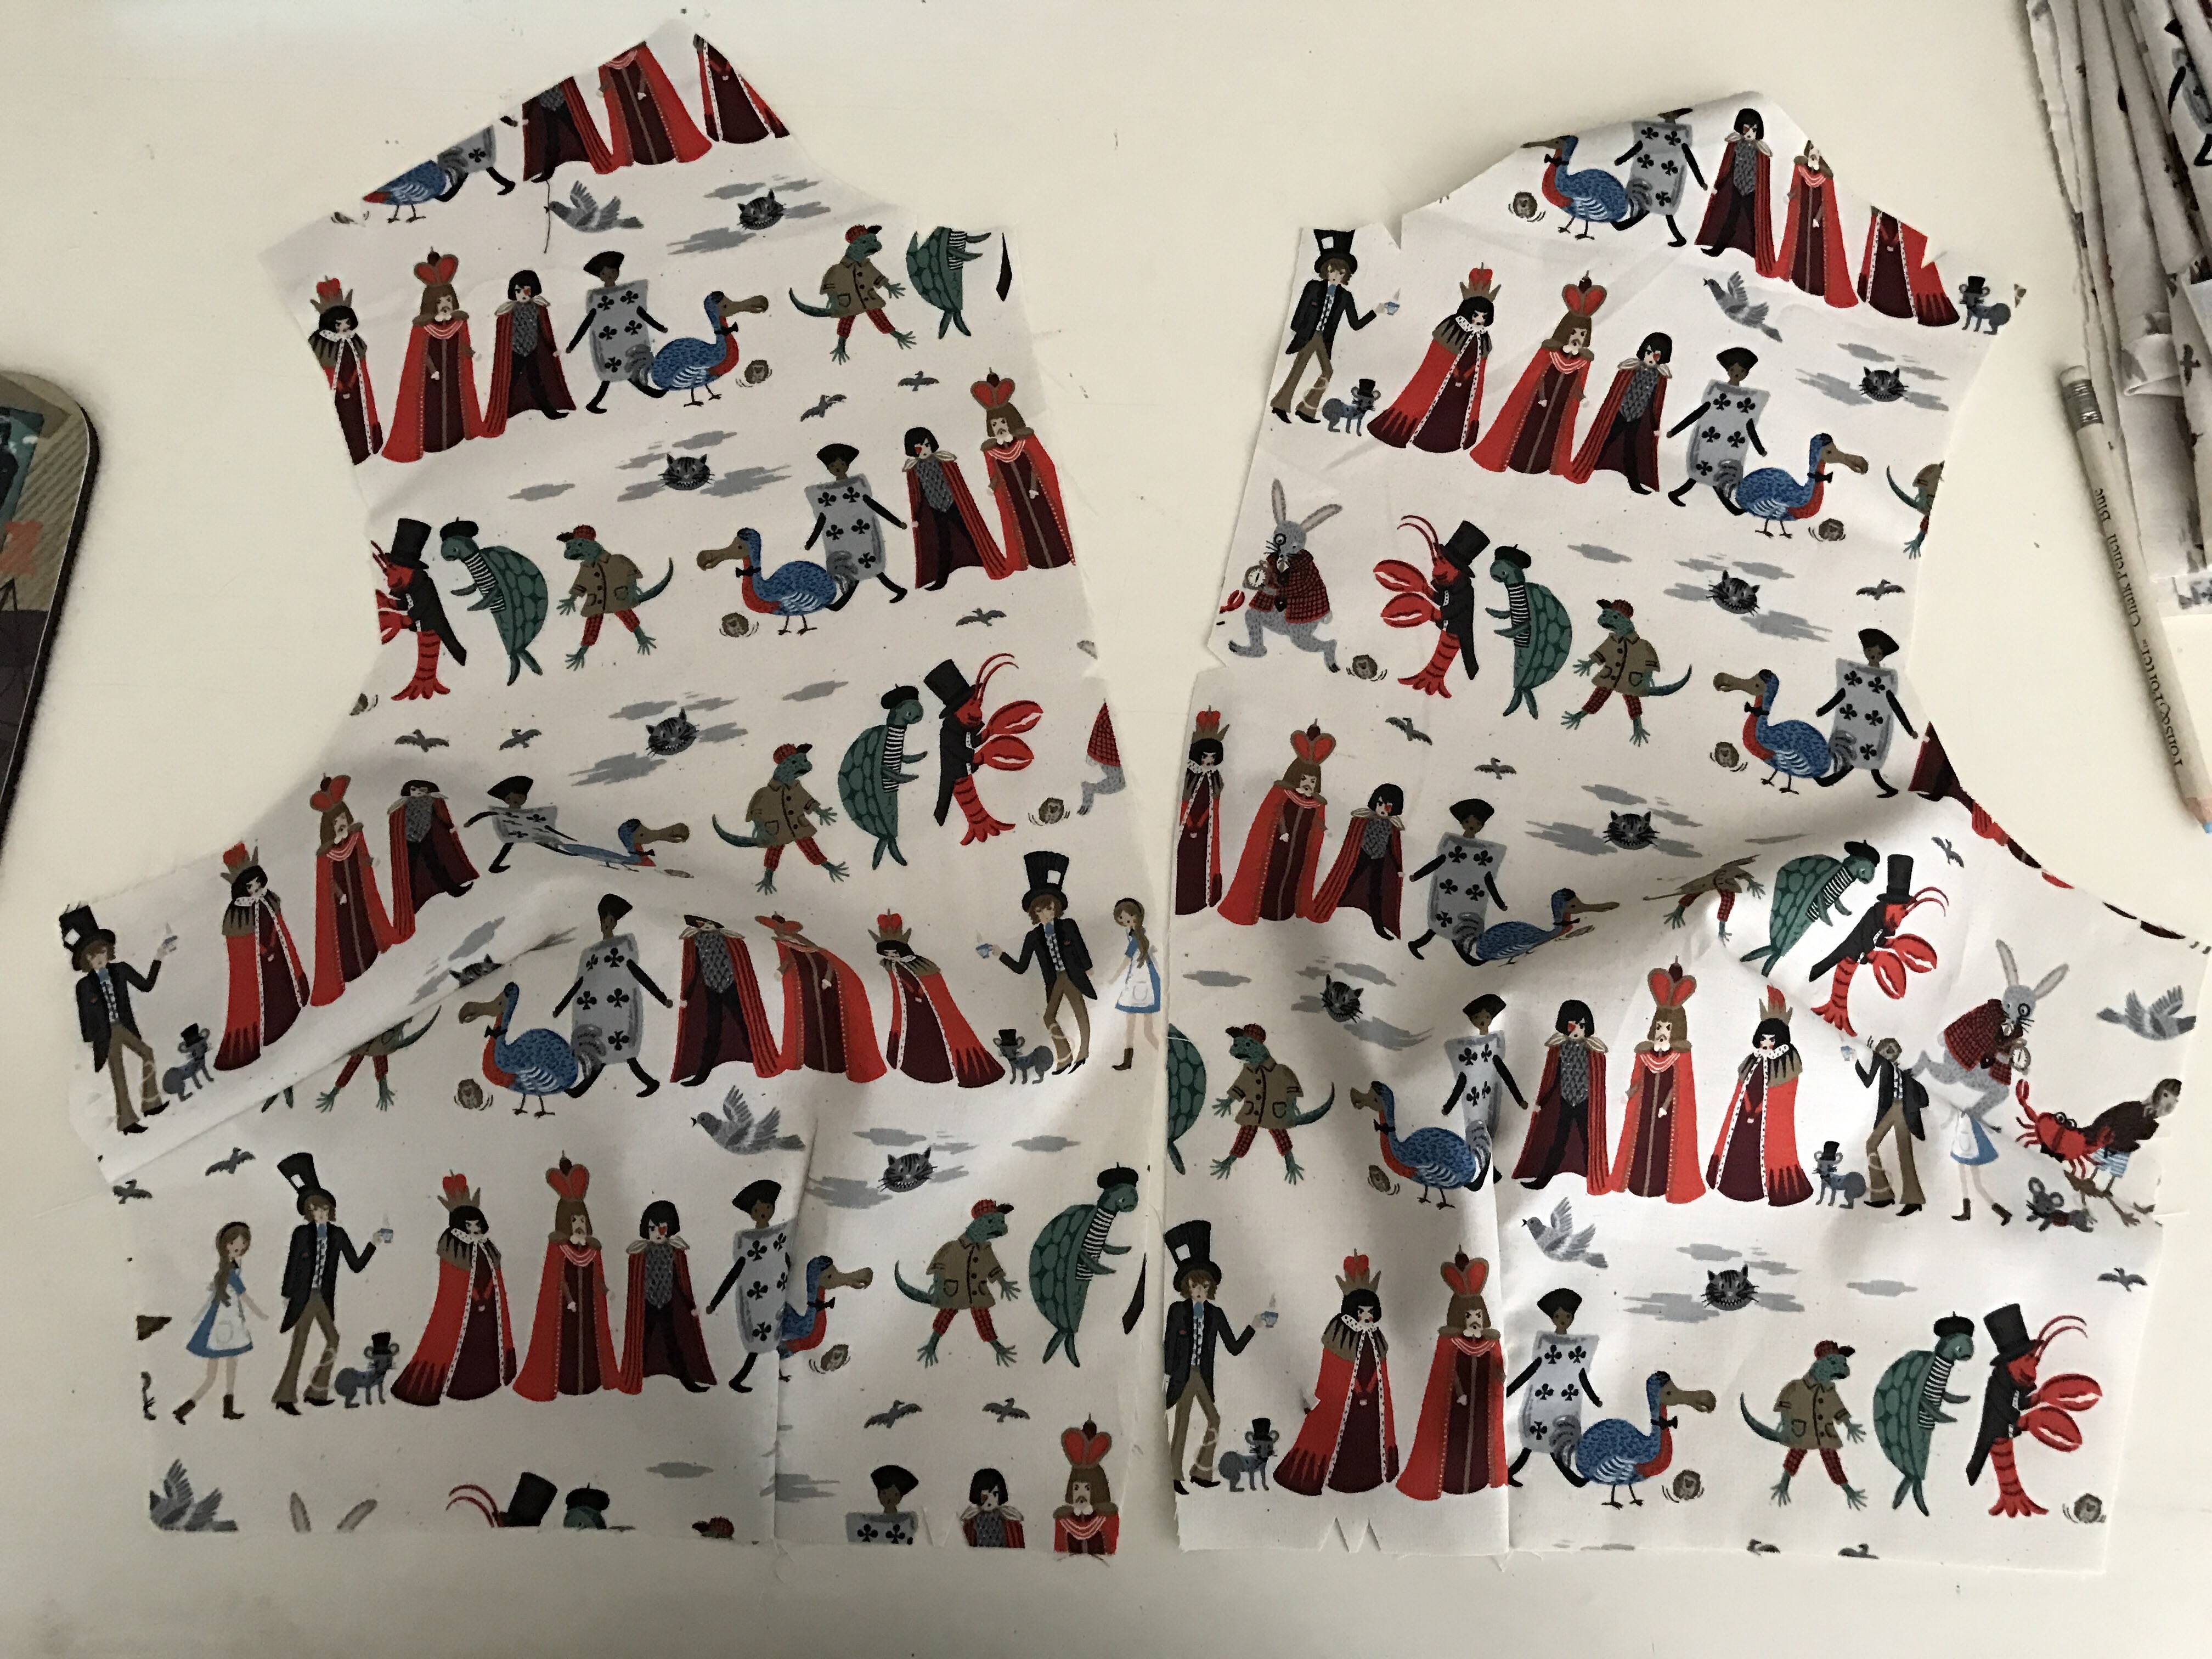
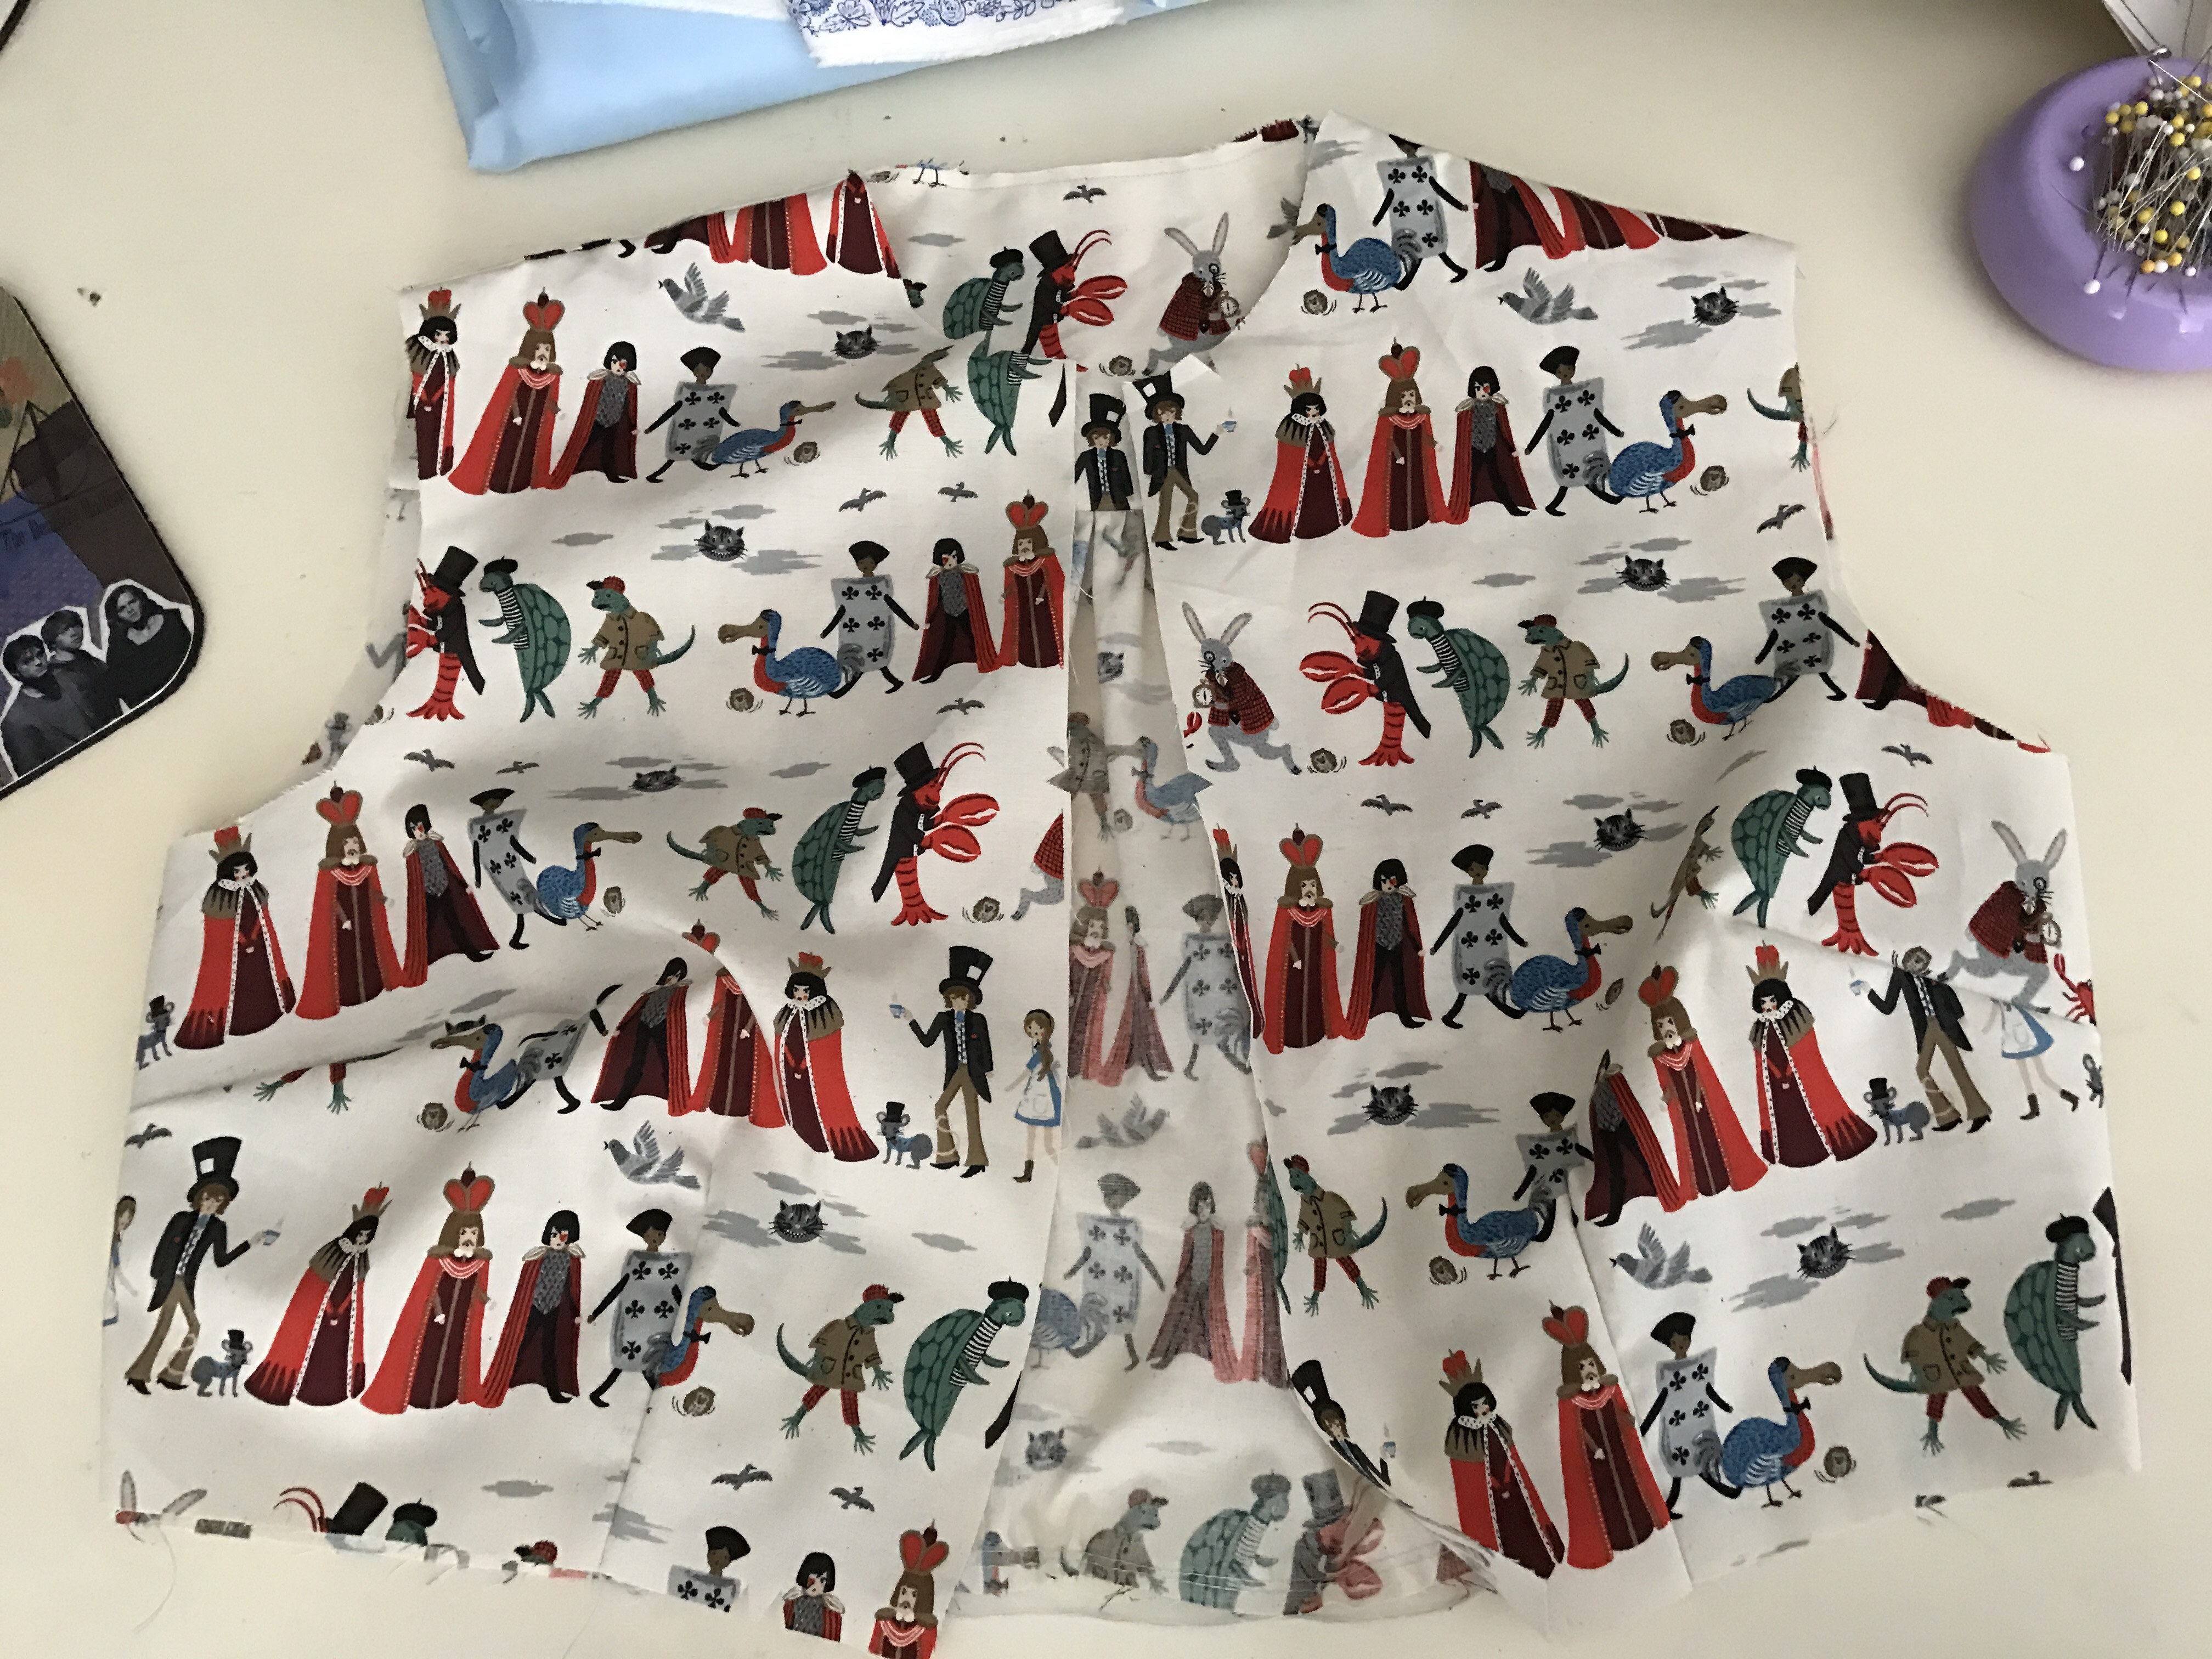
Working on the darts and putting the bodice front pieces together. The way the characters lost their heads in the top dart is a little strange but not a terrible distraction – at least, I hope it’s not.
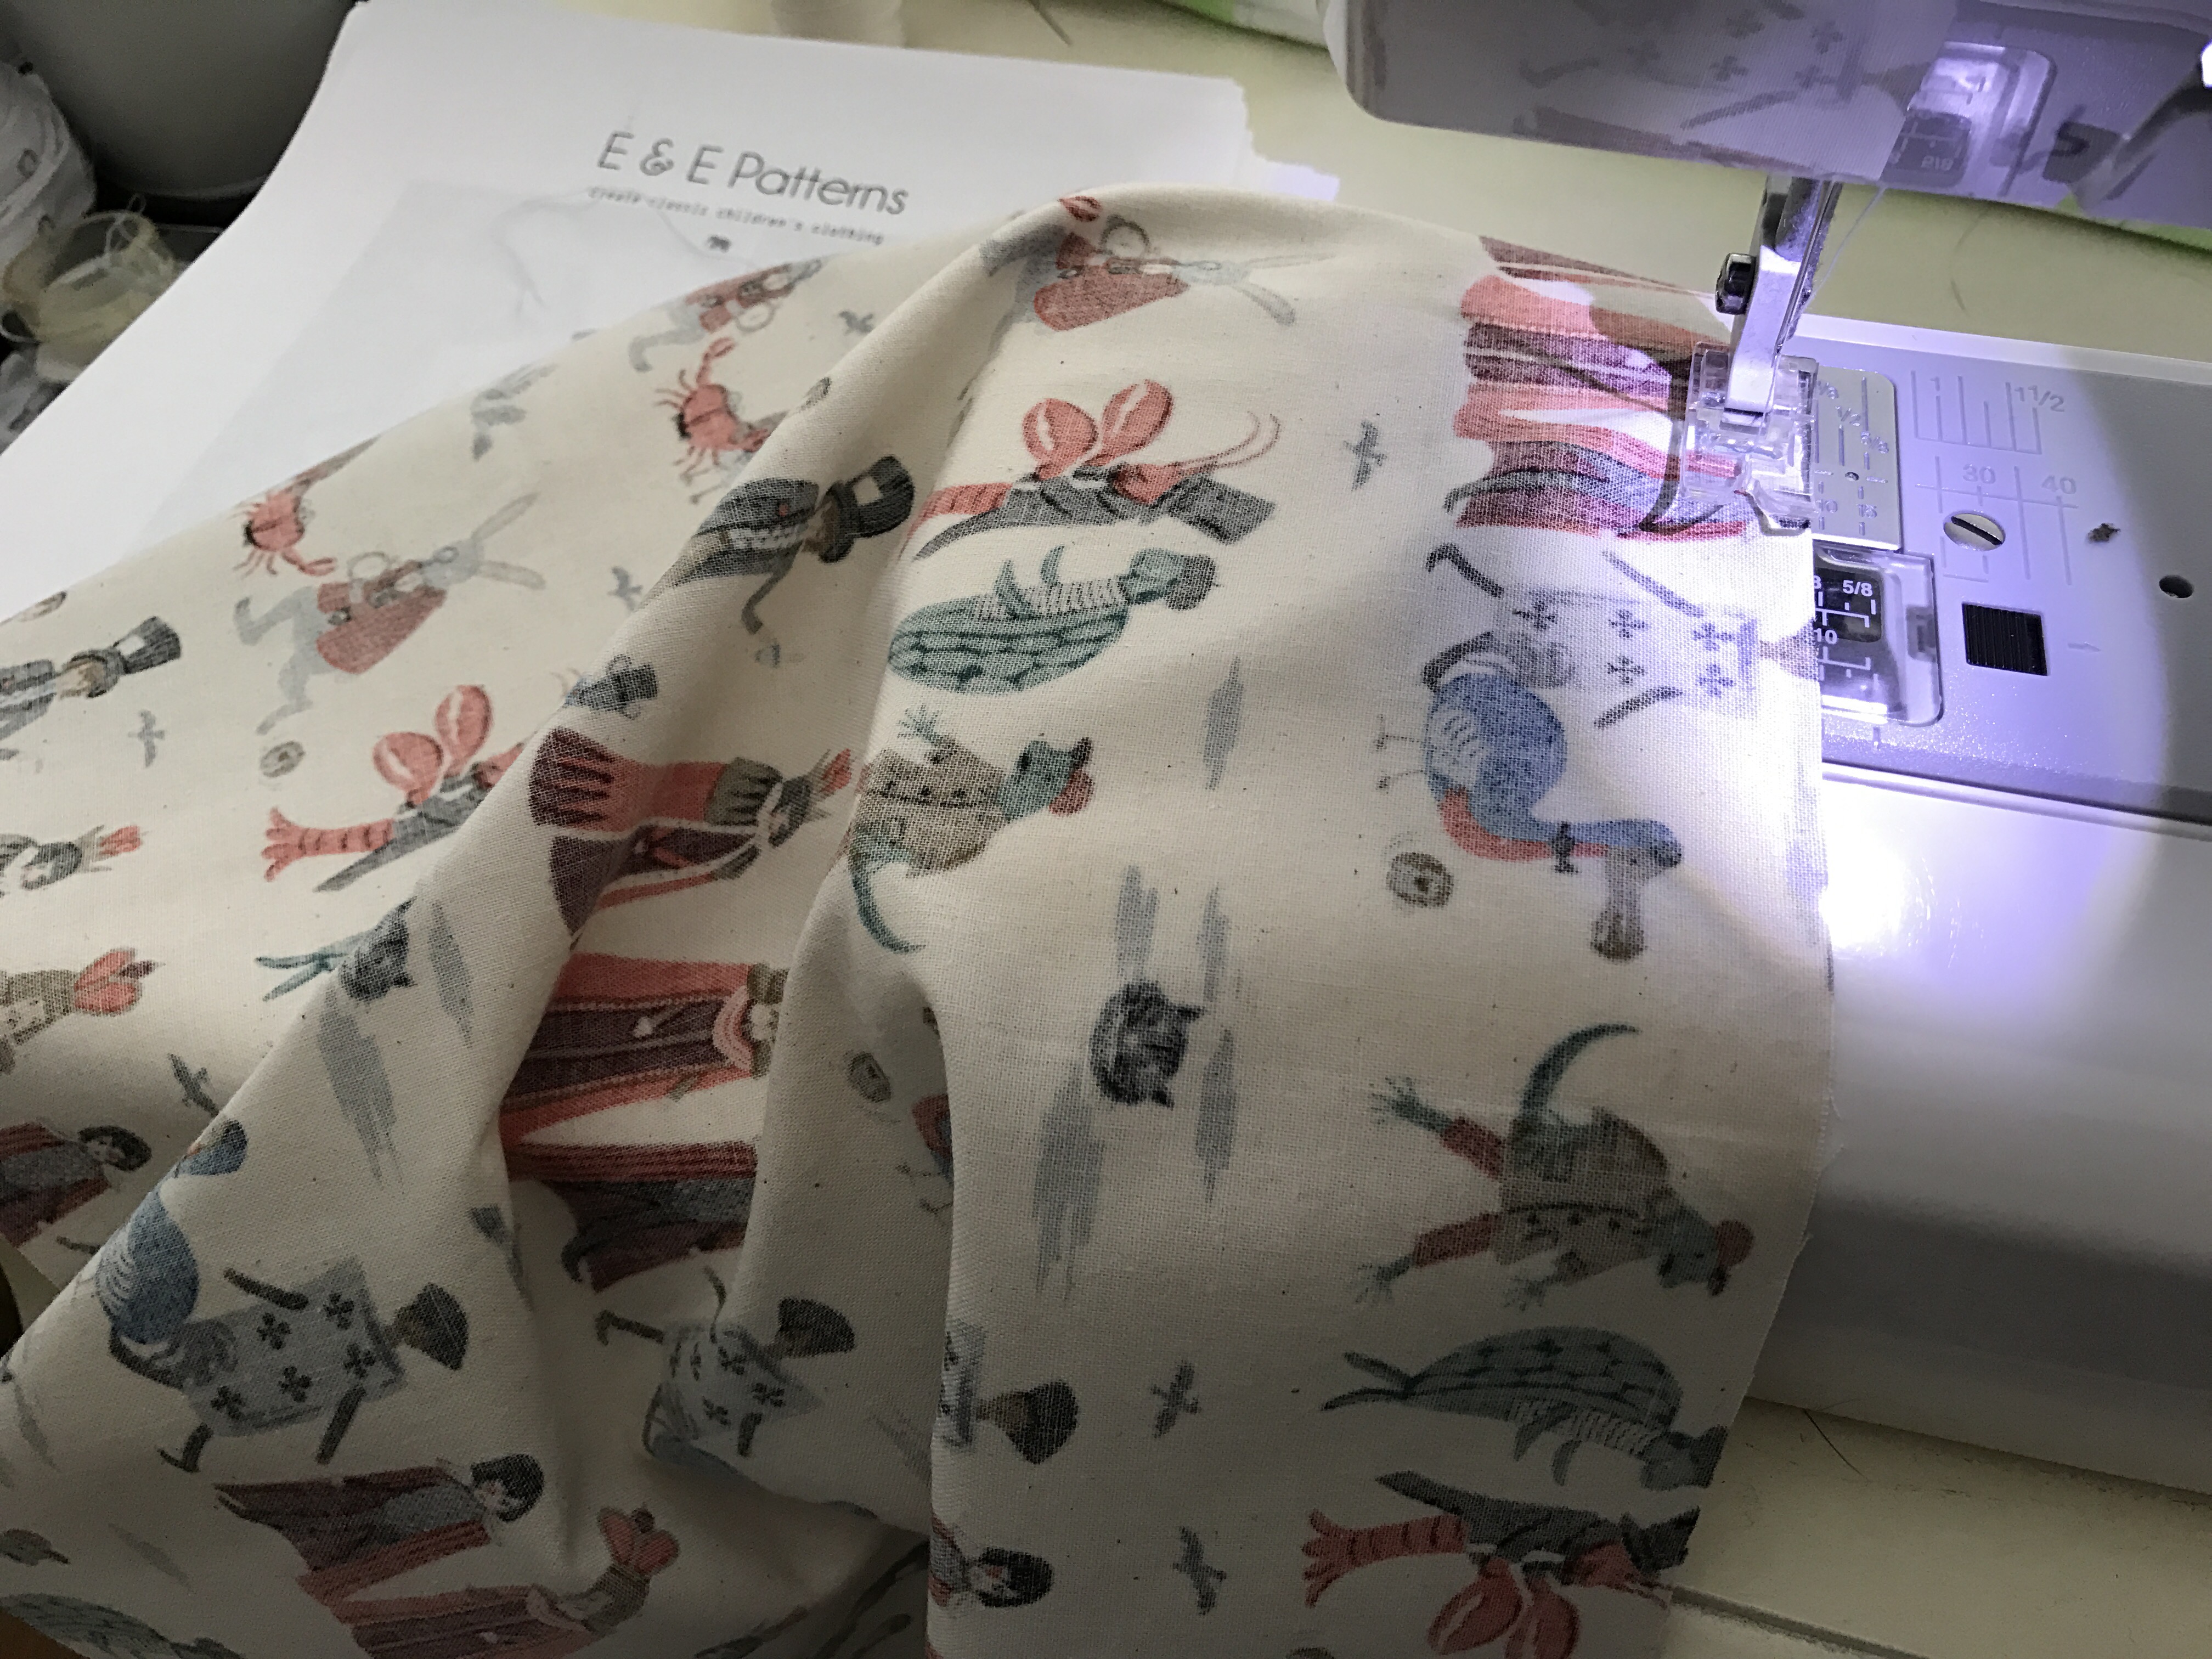
Sewing the gathering stitches into the bodice back to get them ready to be attached to the yoke.
I love it when gathering stitches come together easily. This has taken years of practice and years of trial and error.
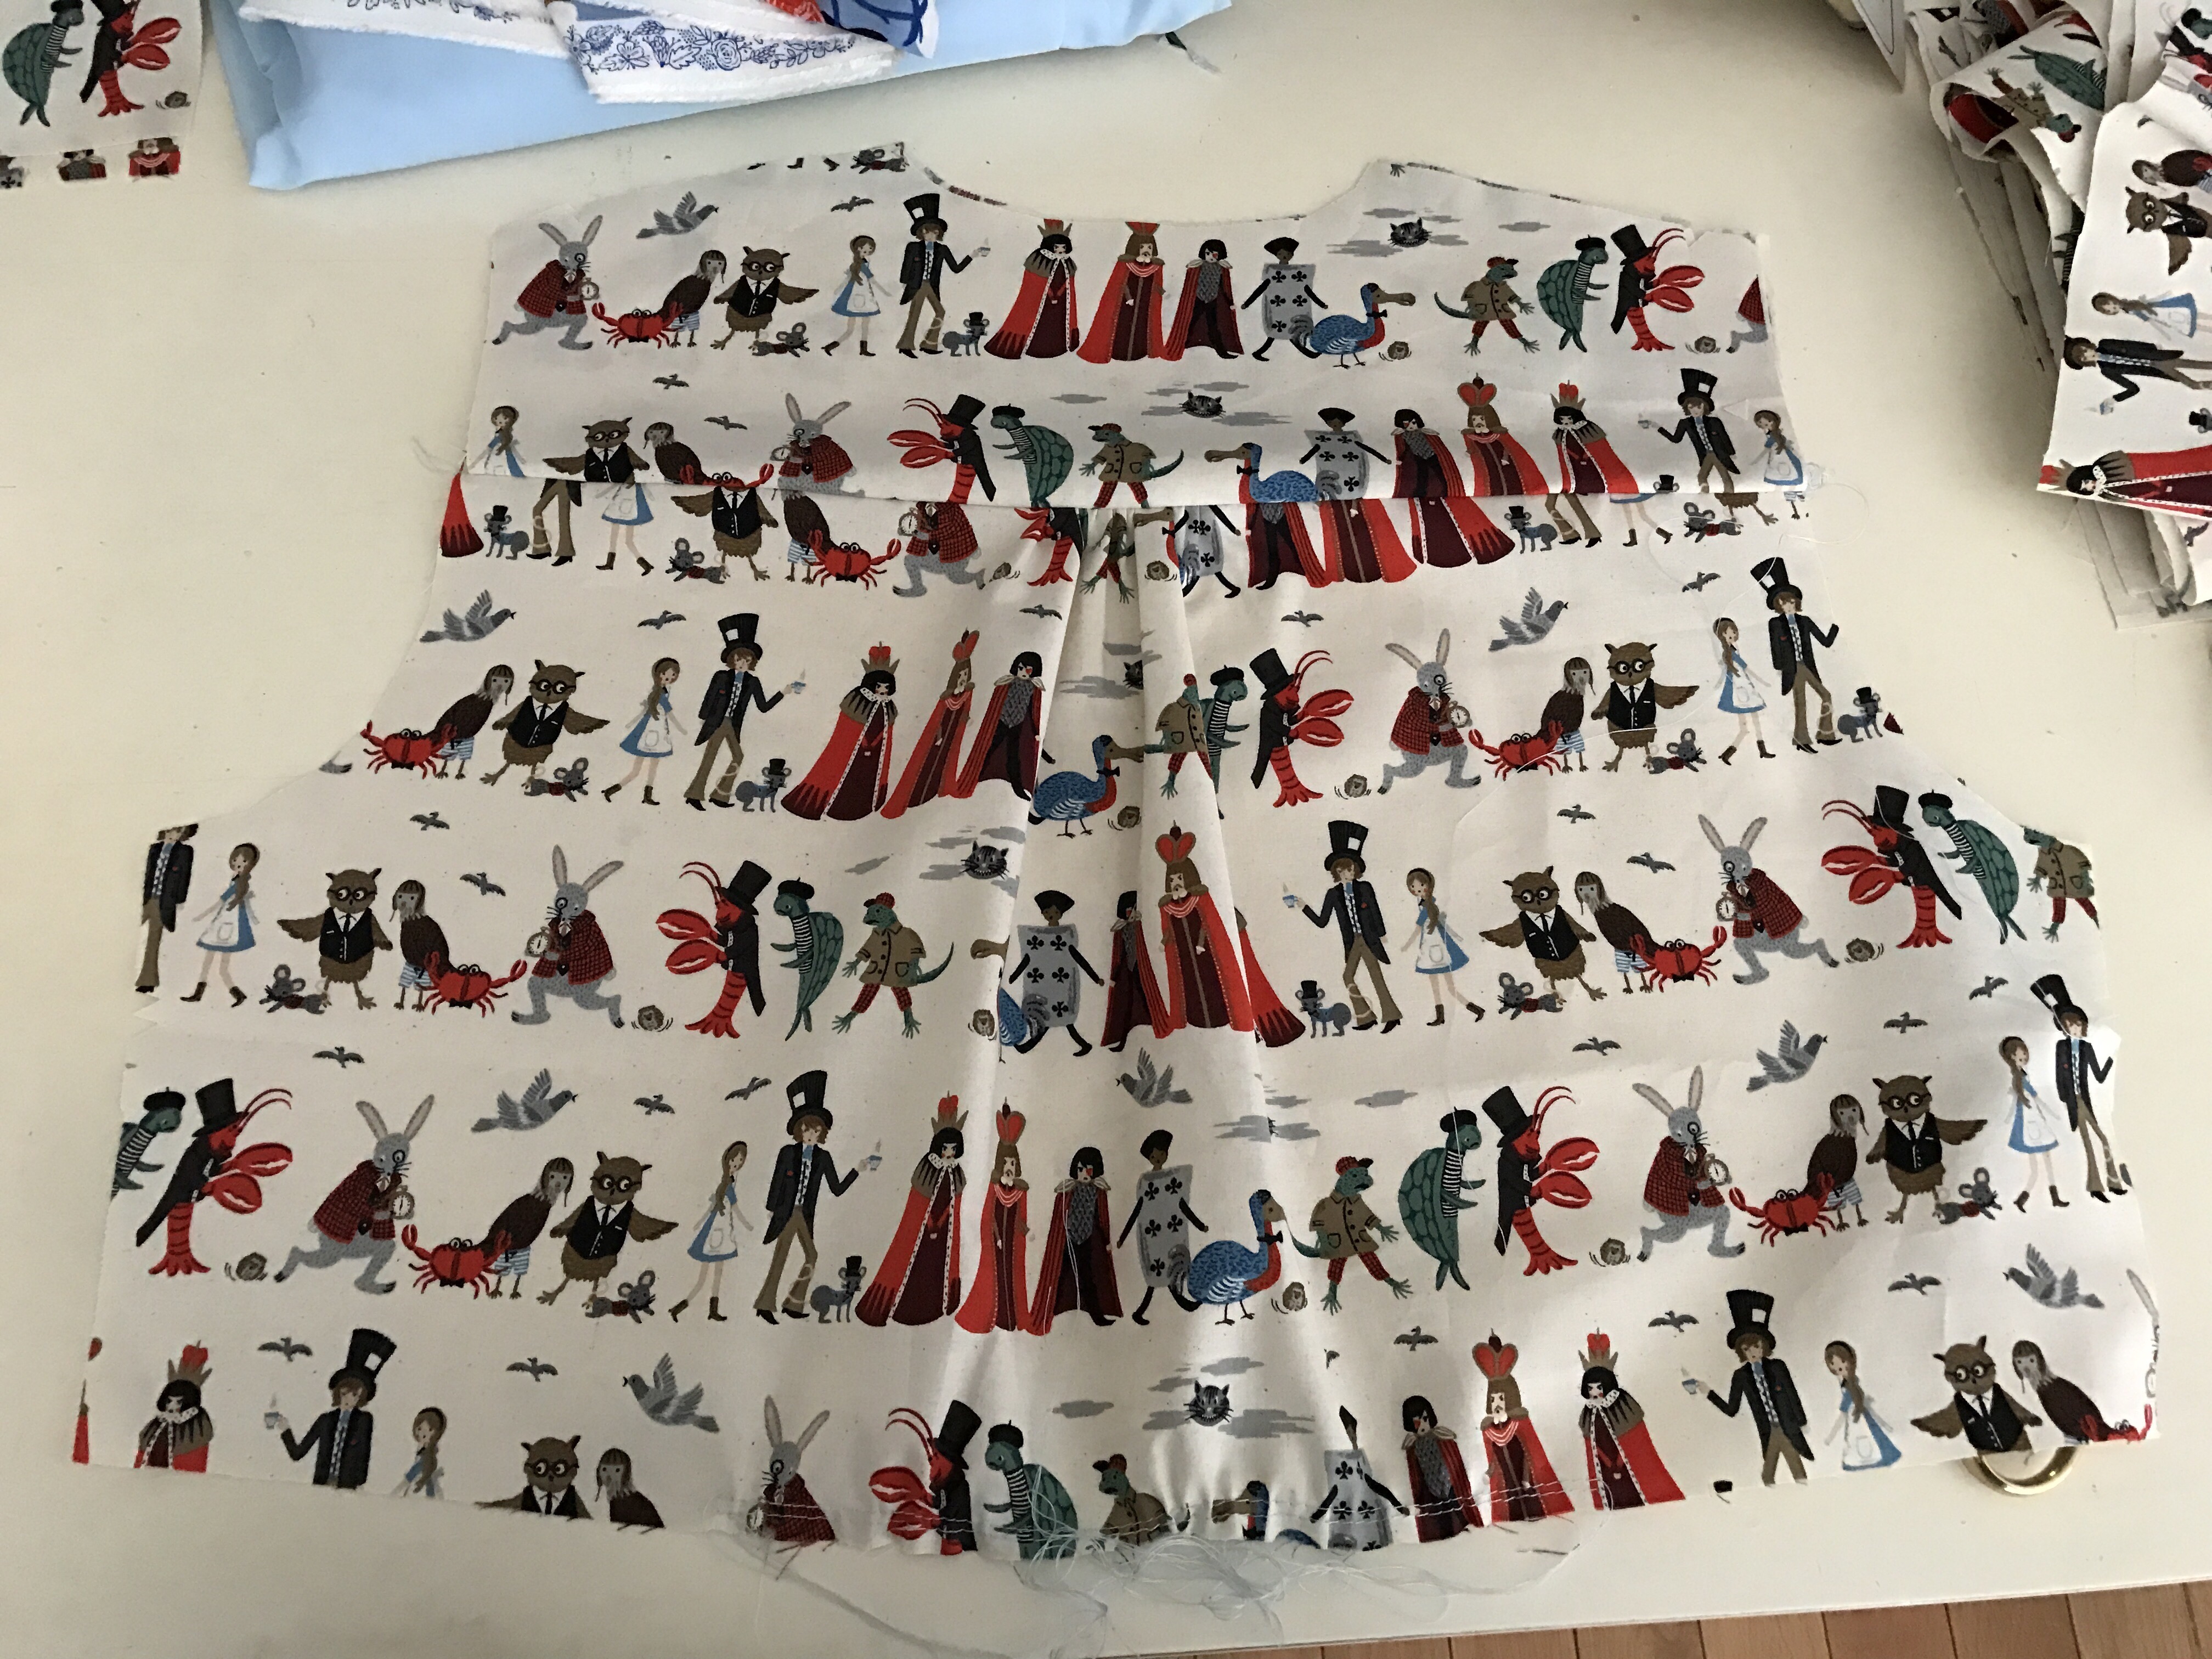
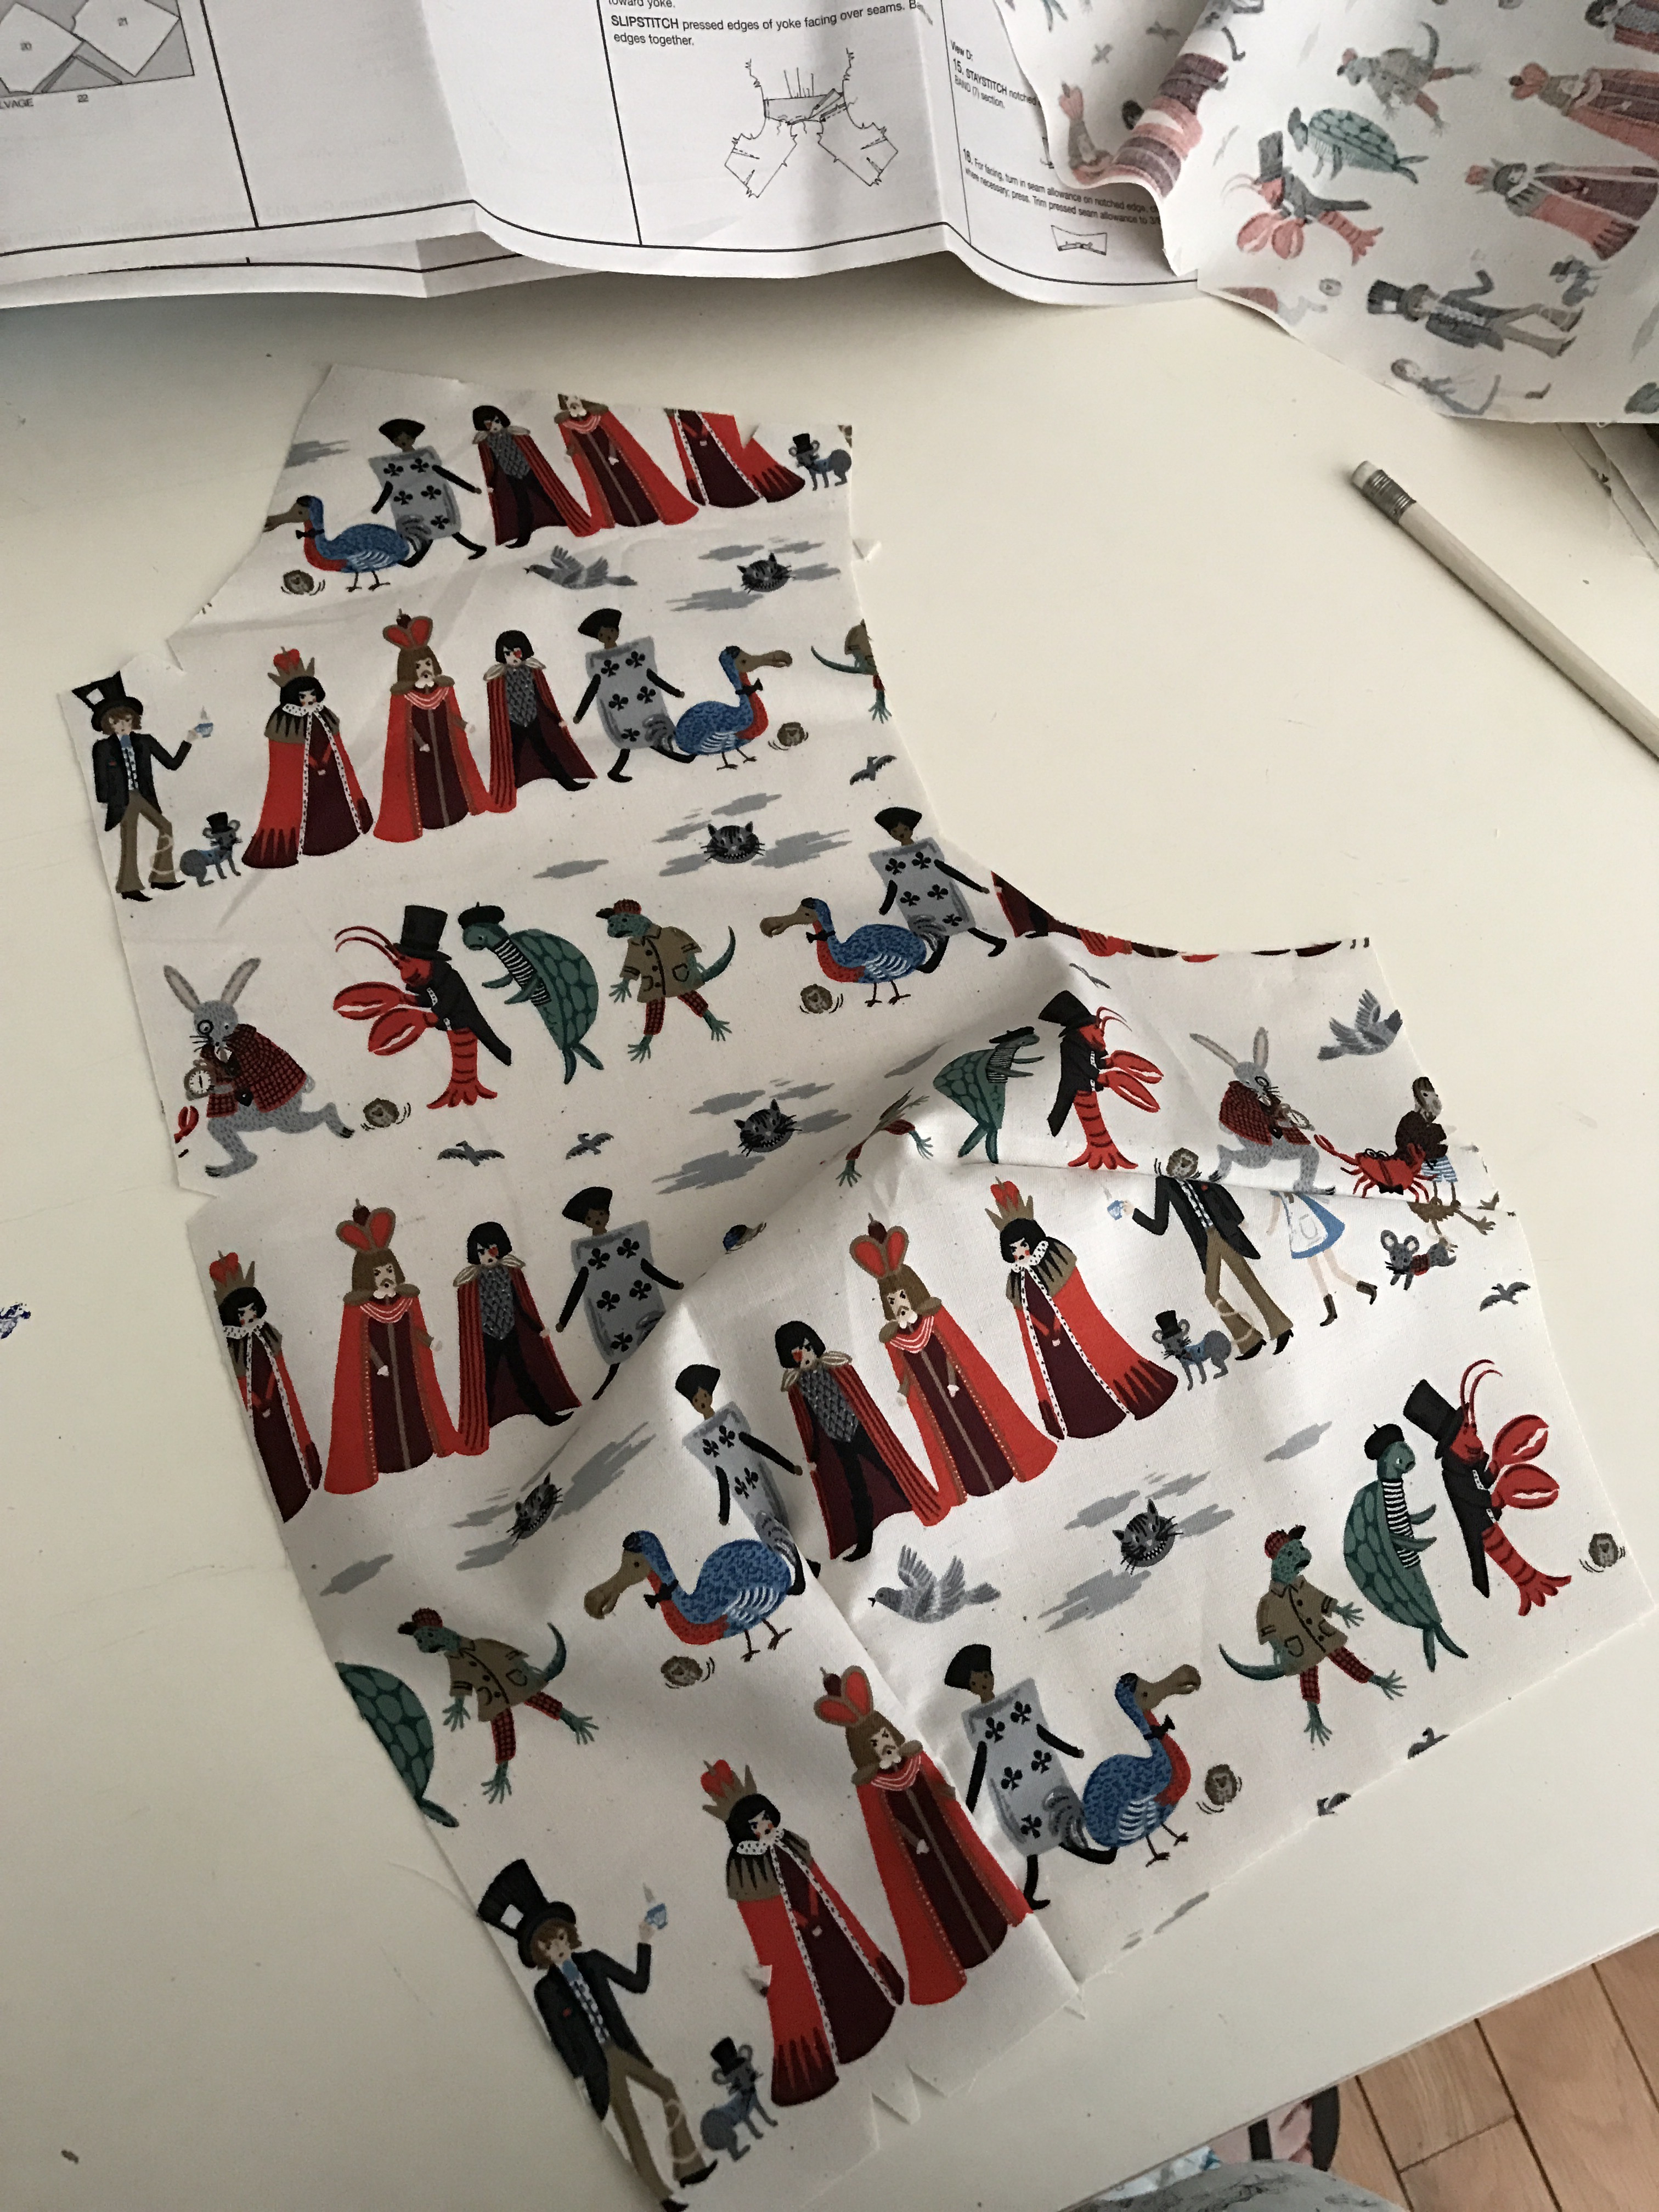
The front and back of the bodice.

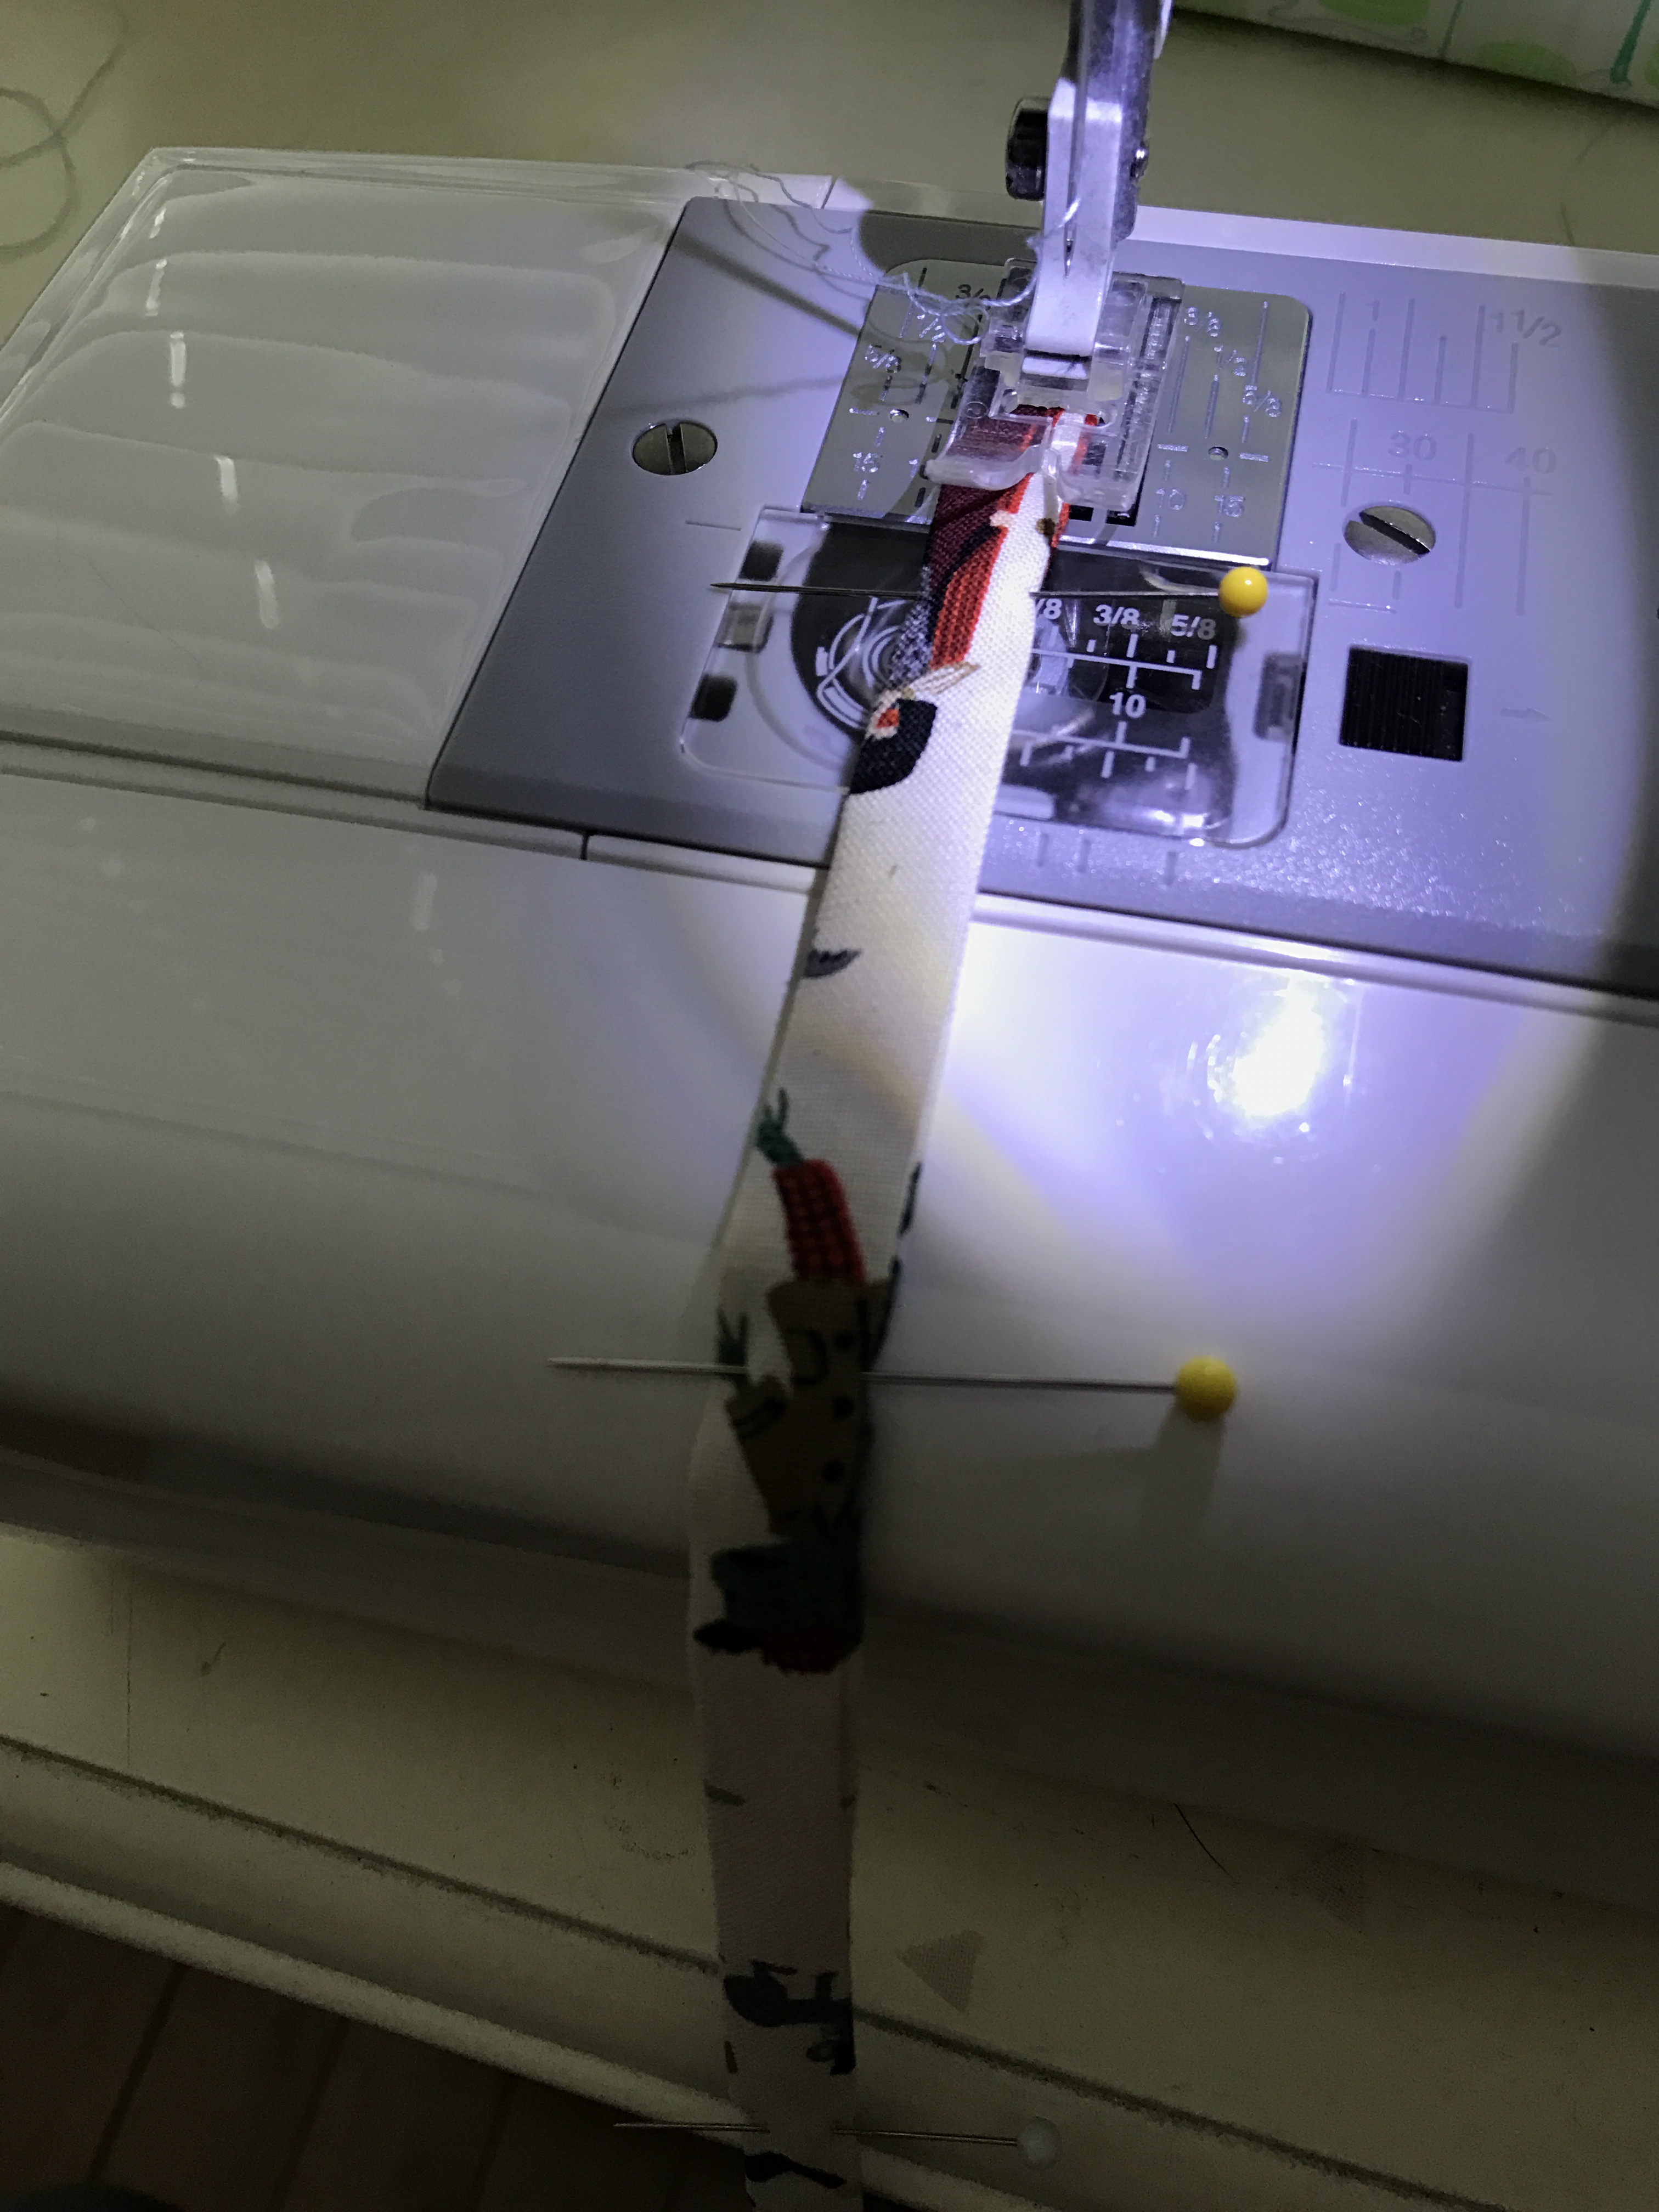
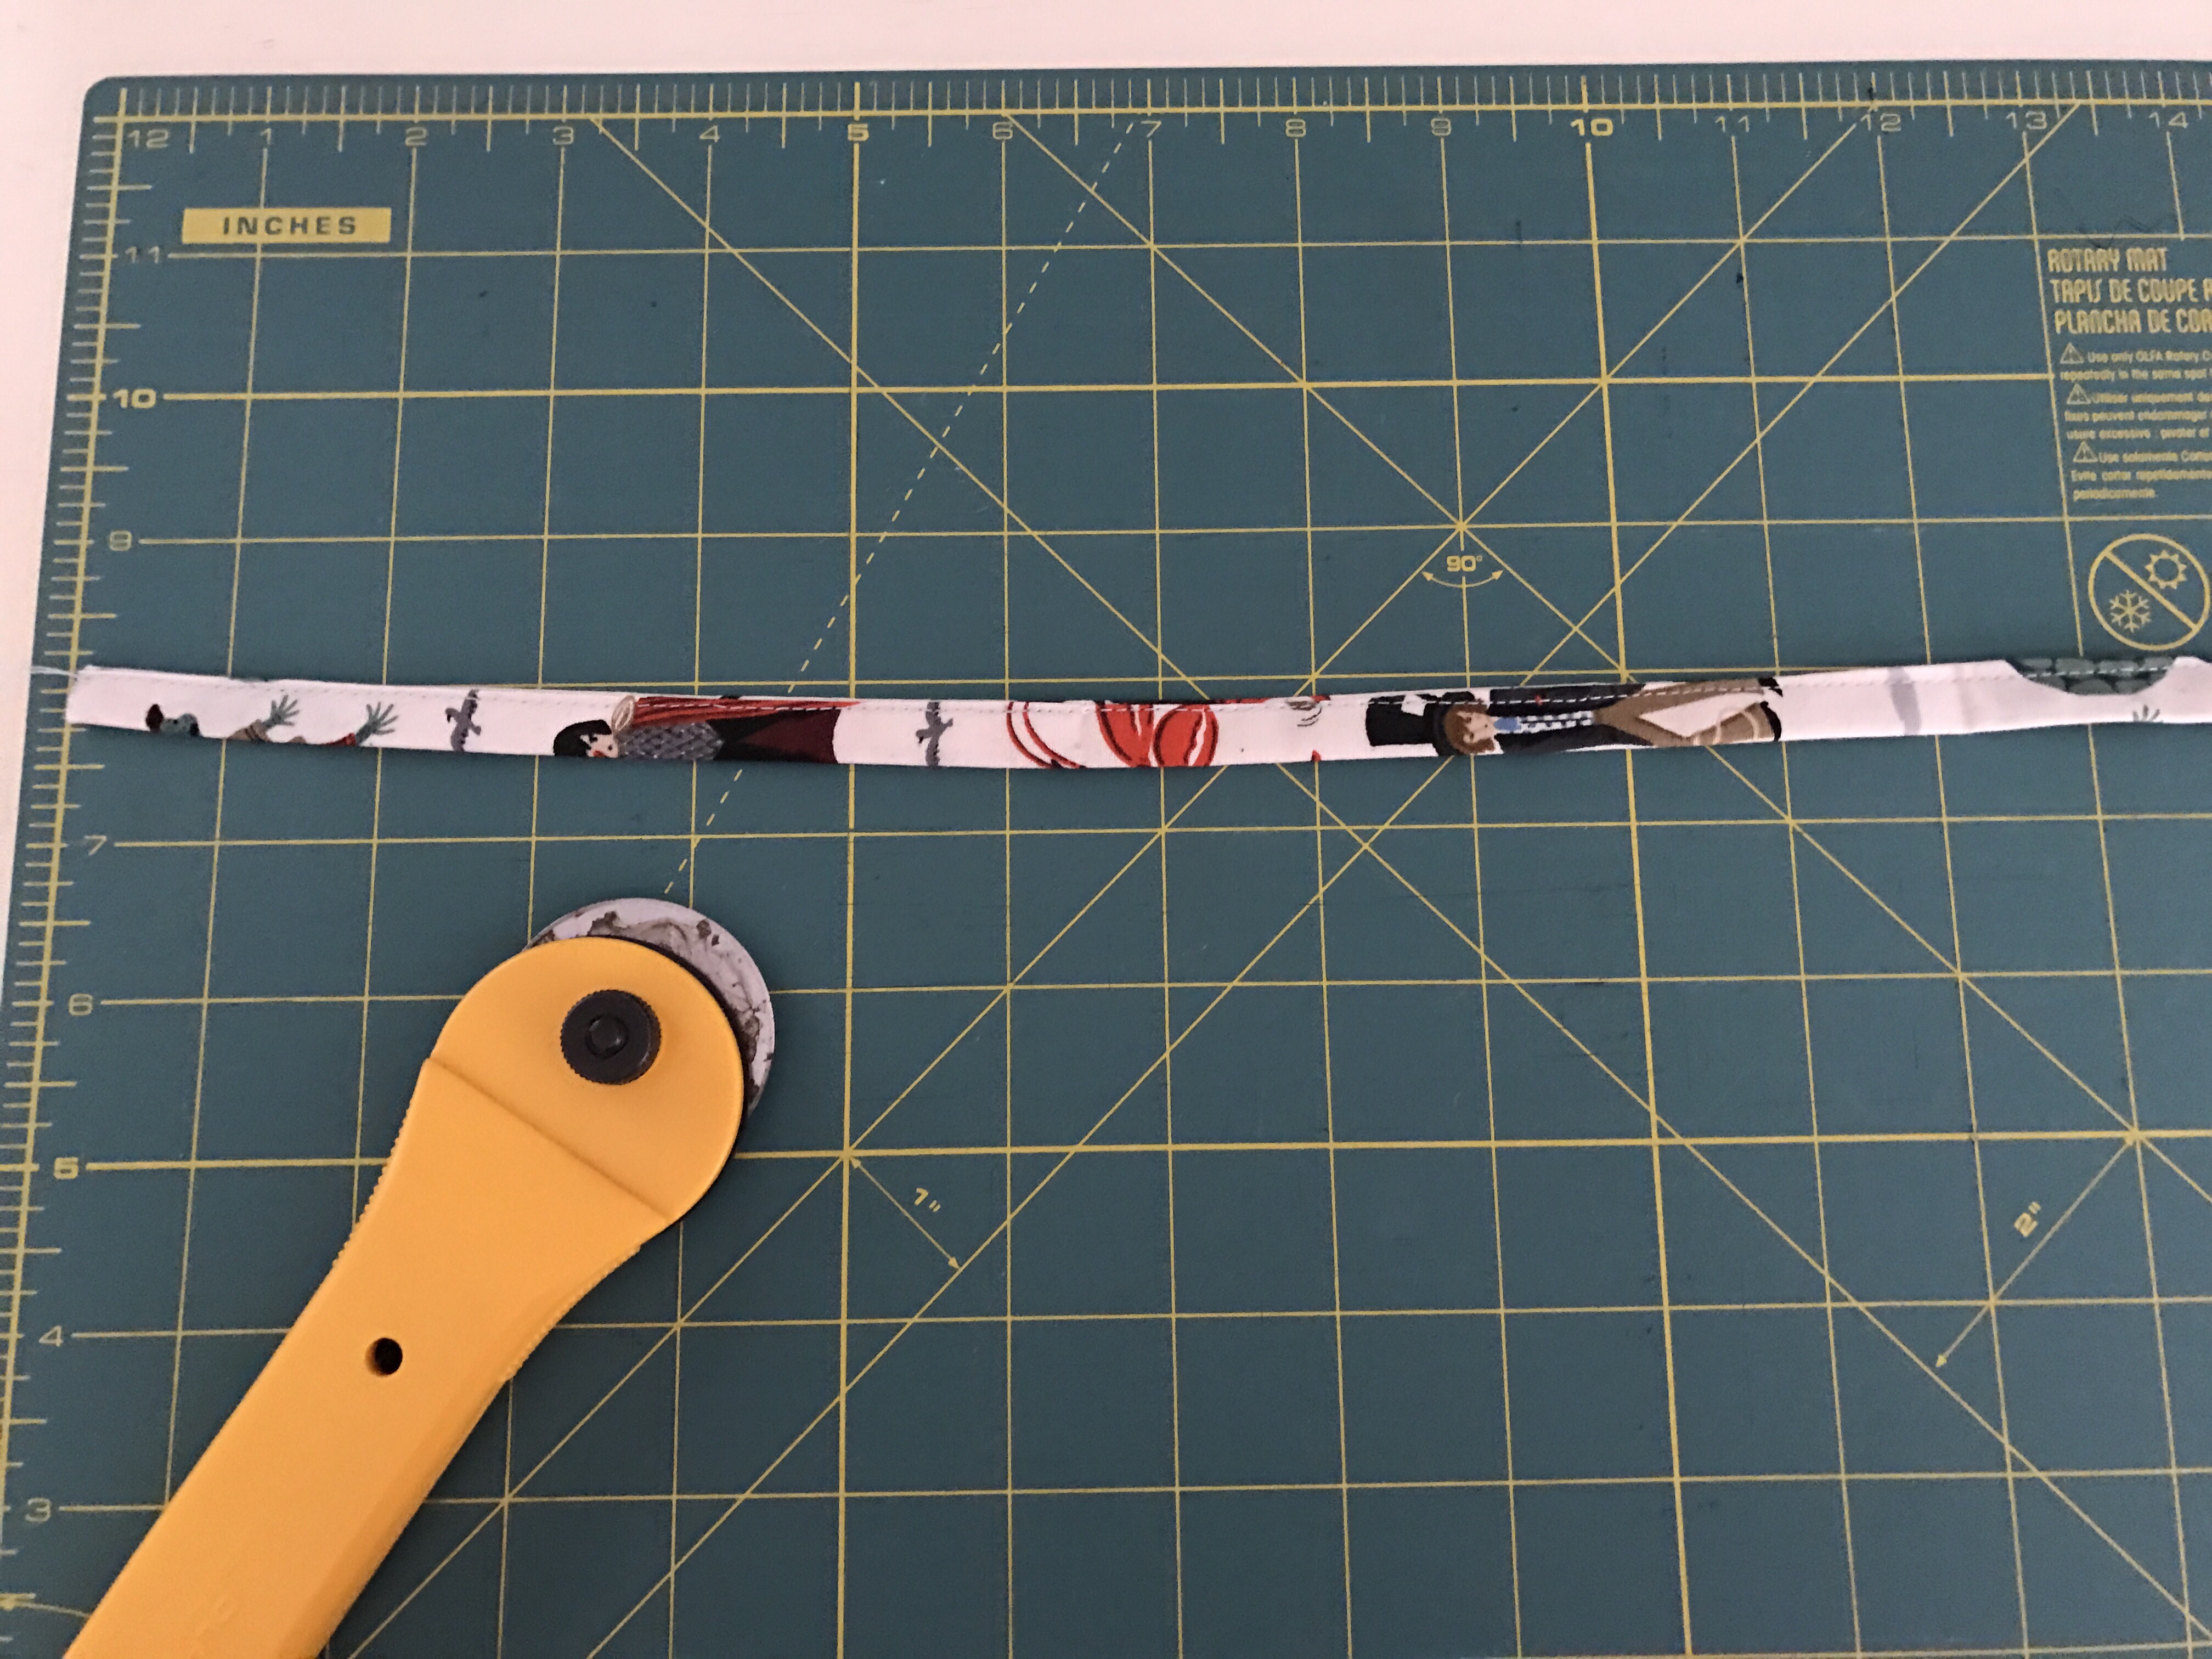
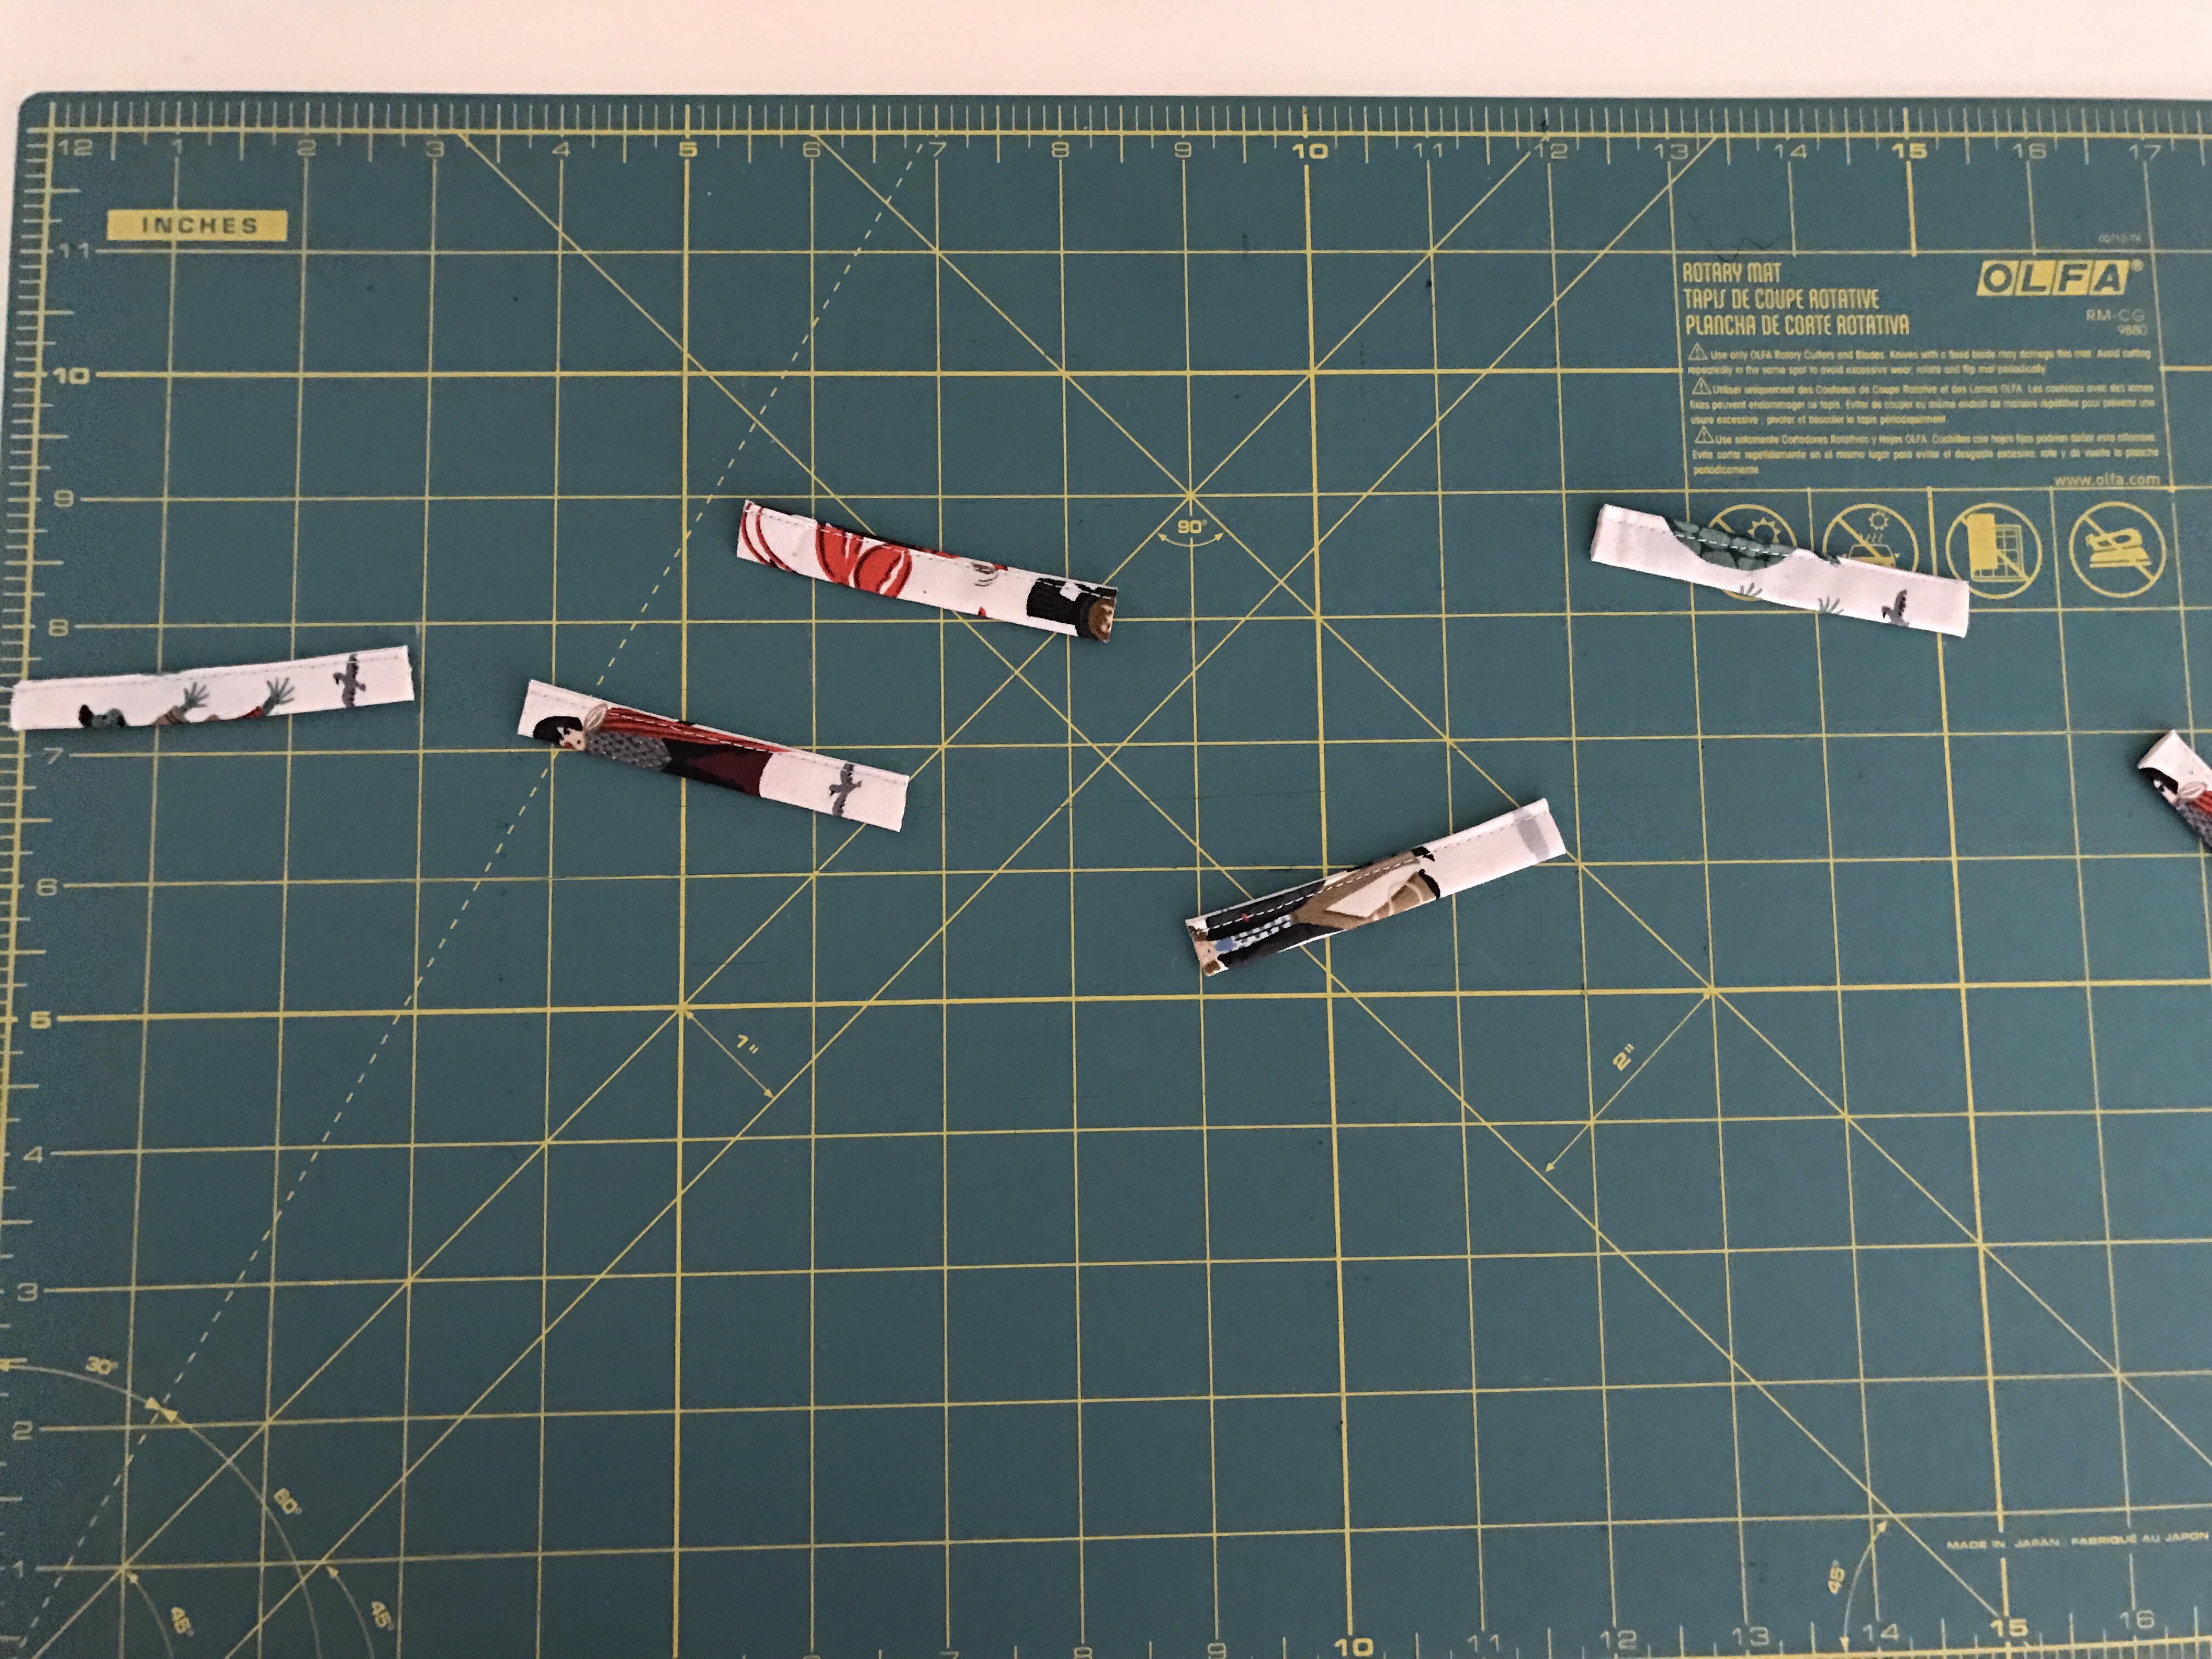
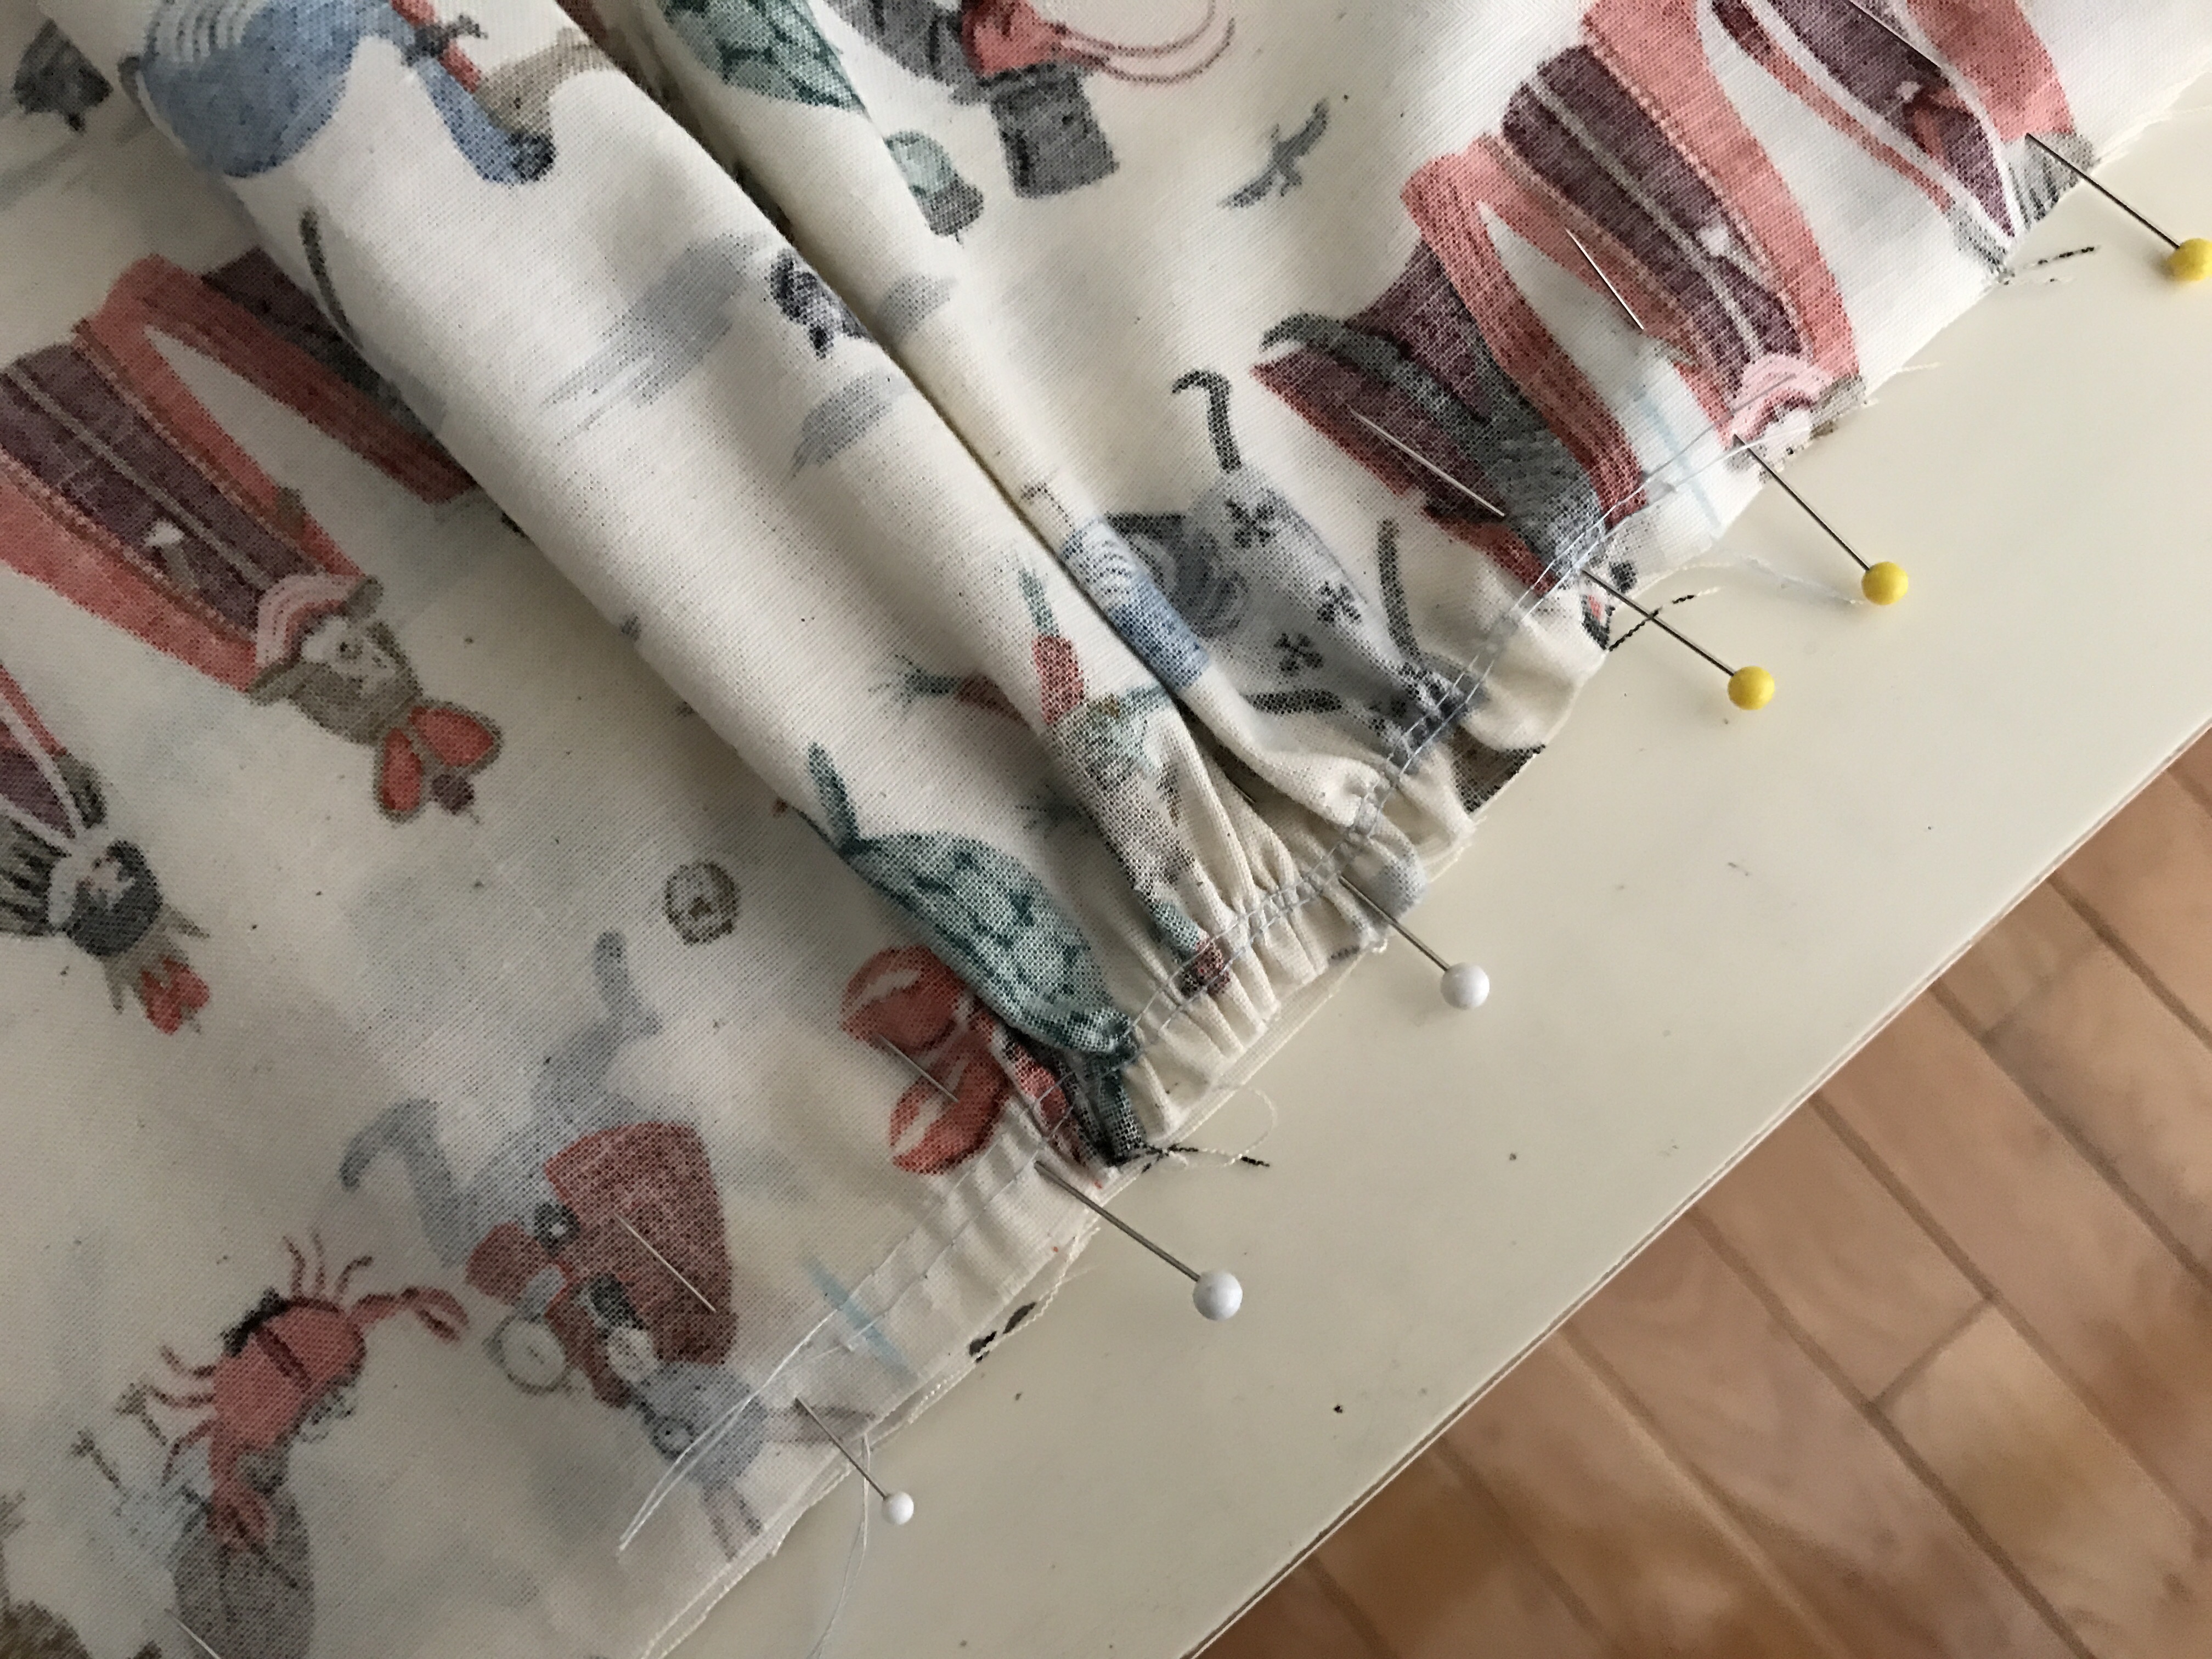
For this version of the dress, I decided to add the carriers so I could wear it with a belt (I’m thinking a red one would be awesome). The first step was to press the piece and sew it. I got to pull out my rotary cutter and mat to cut the pieces into 3 inch lengths (I didn’t really need the rotary cutter but I haven’t used it in a while). Once the carriers were basted onto the waistband, it was time to attach it to the bodice.


Here’s the attached waistband. At this point in my progress I realized that I completely forgot to cut the interfacing for some of the pieces. I think I can salvage this for the waistband (even though it’s attached) and the buttonhole and collar pieces, but I’m out of luck for the yoke st this point. Oh well, worse things have happened, and thankfully this is not a mistake that ruins the overall aesthetic of the dress.
Next up: cutting that interfacing and getting started on the skirt pieces. Love how quickly this pattern goes together!
