Having cut out the interfacing, I can move on with the dress progress. Checking the directions, I didn’t need to put interfacing in the yoke so it turns out, there’s no harm done. Just goes to show, even if you’ve made the pattern before you need to double check the directions.
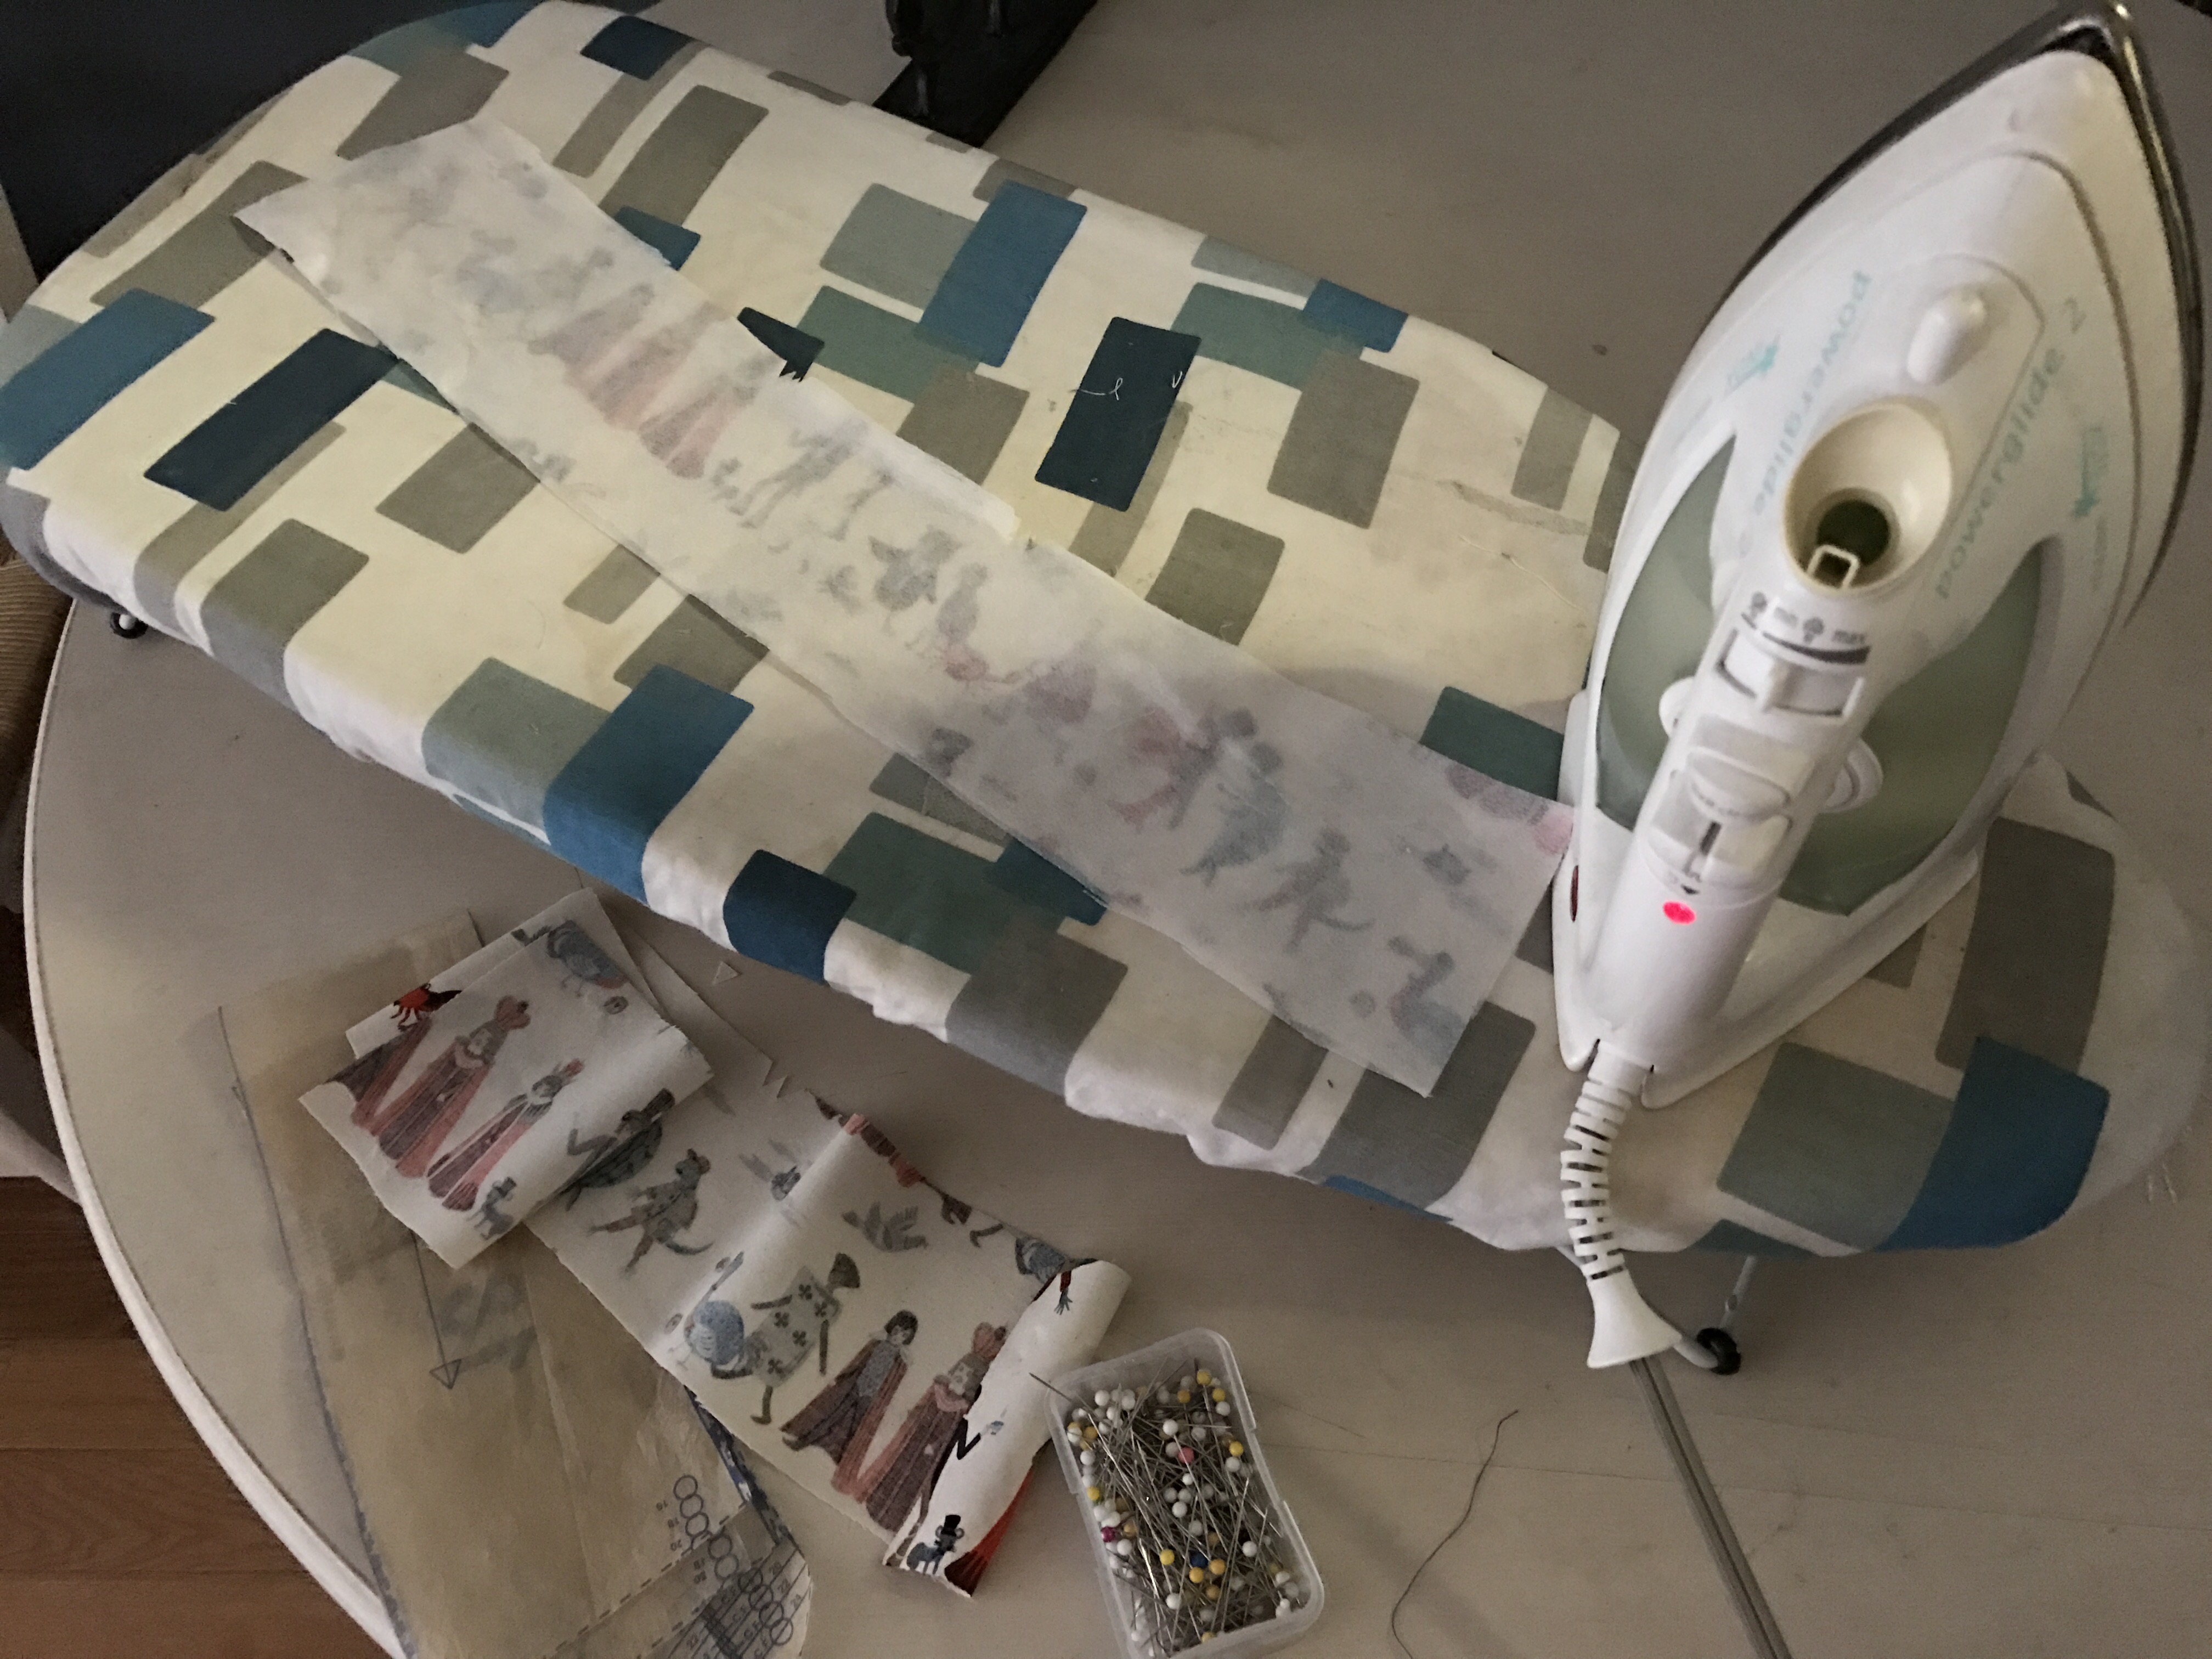

Cutting and ironing the interfacing. One happy thing that happened as a result of my small mistake was I discovered I have a giant roll of interfacing in my stash. It was hidden behind my fabric box, having fallen out of sight, and I forgot that I bought it.
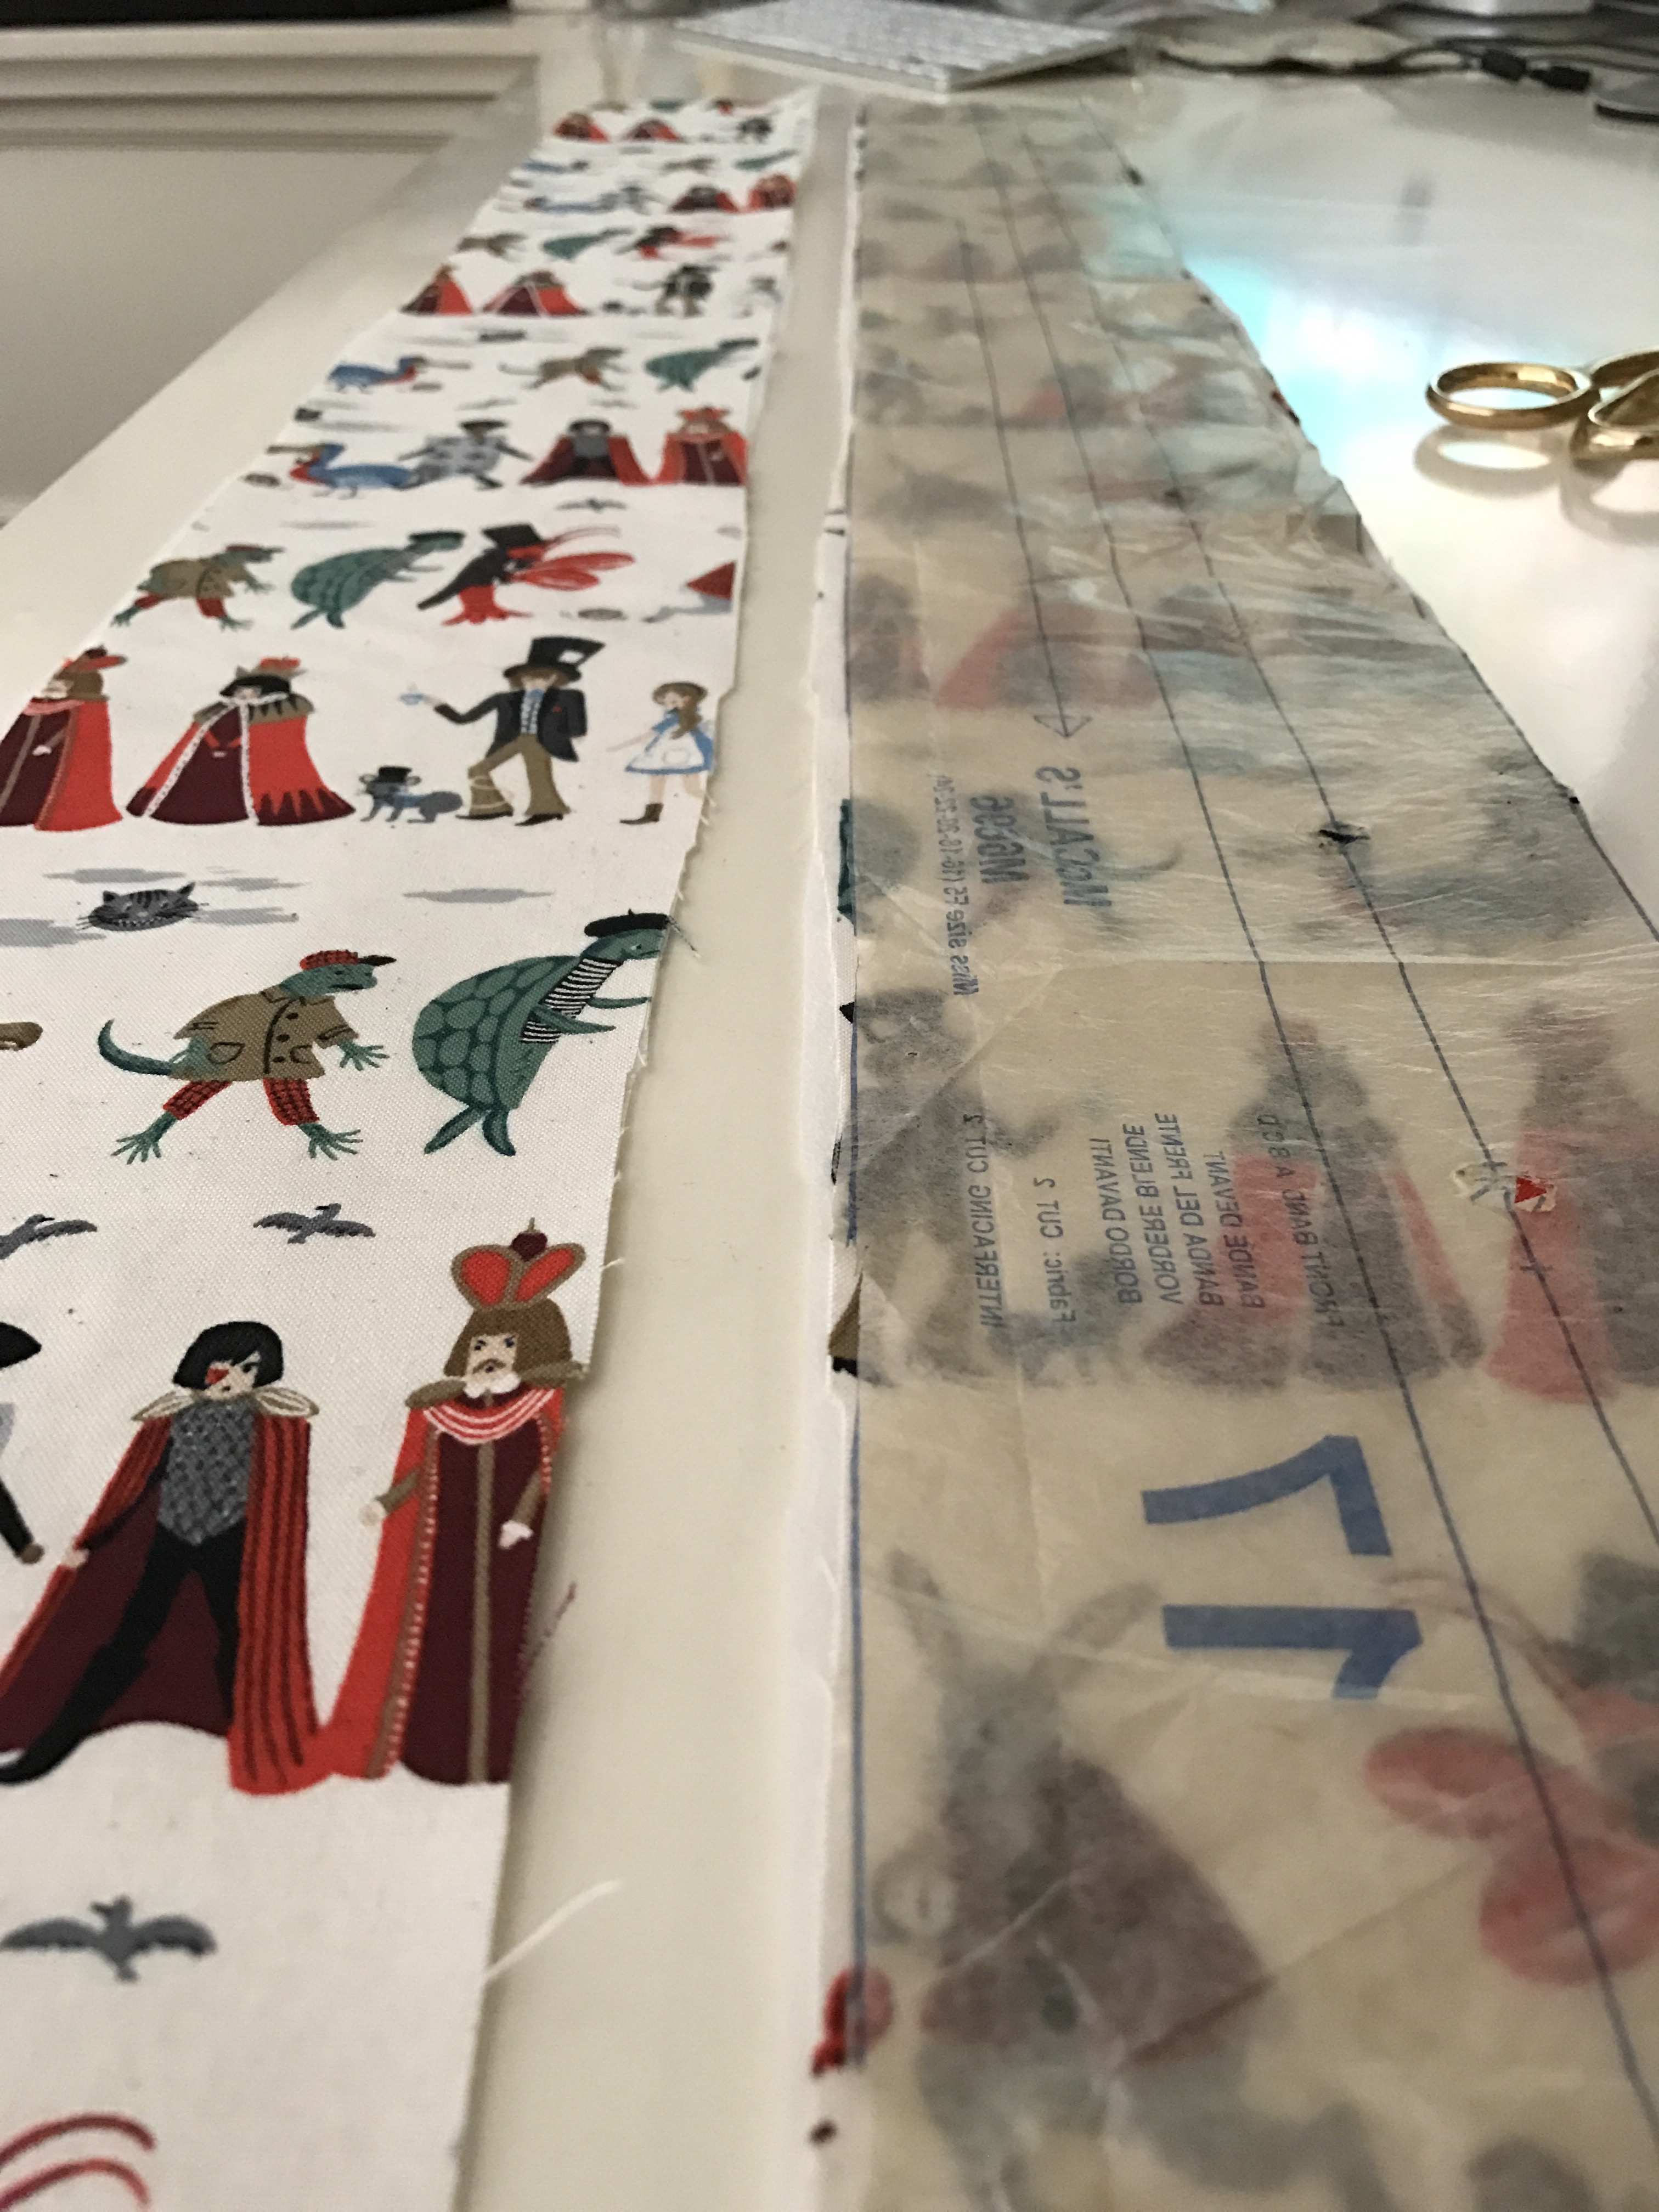
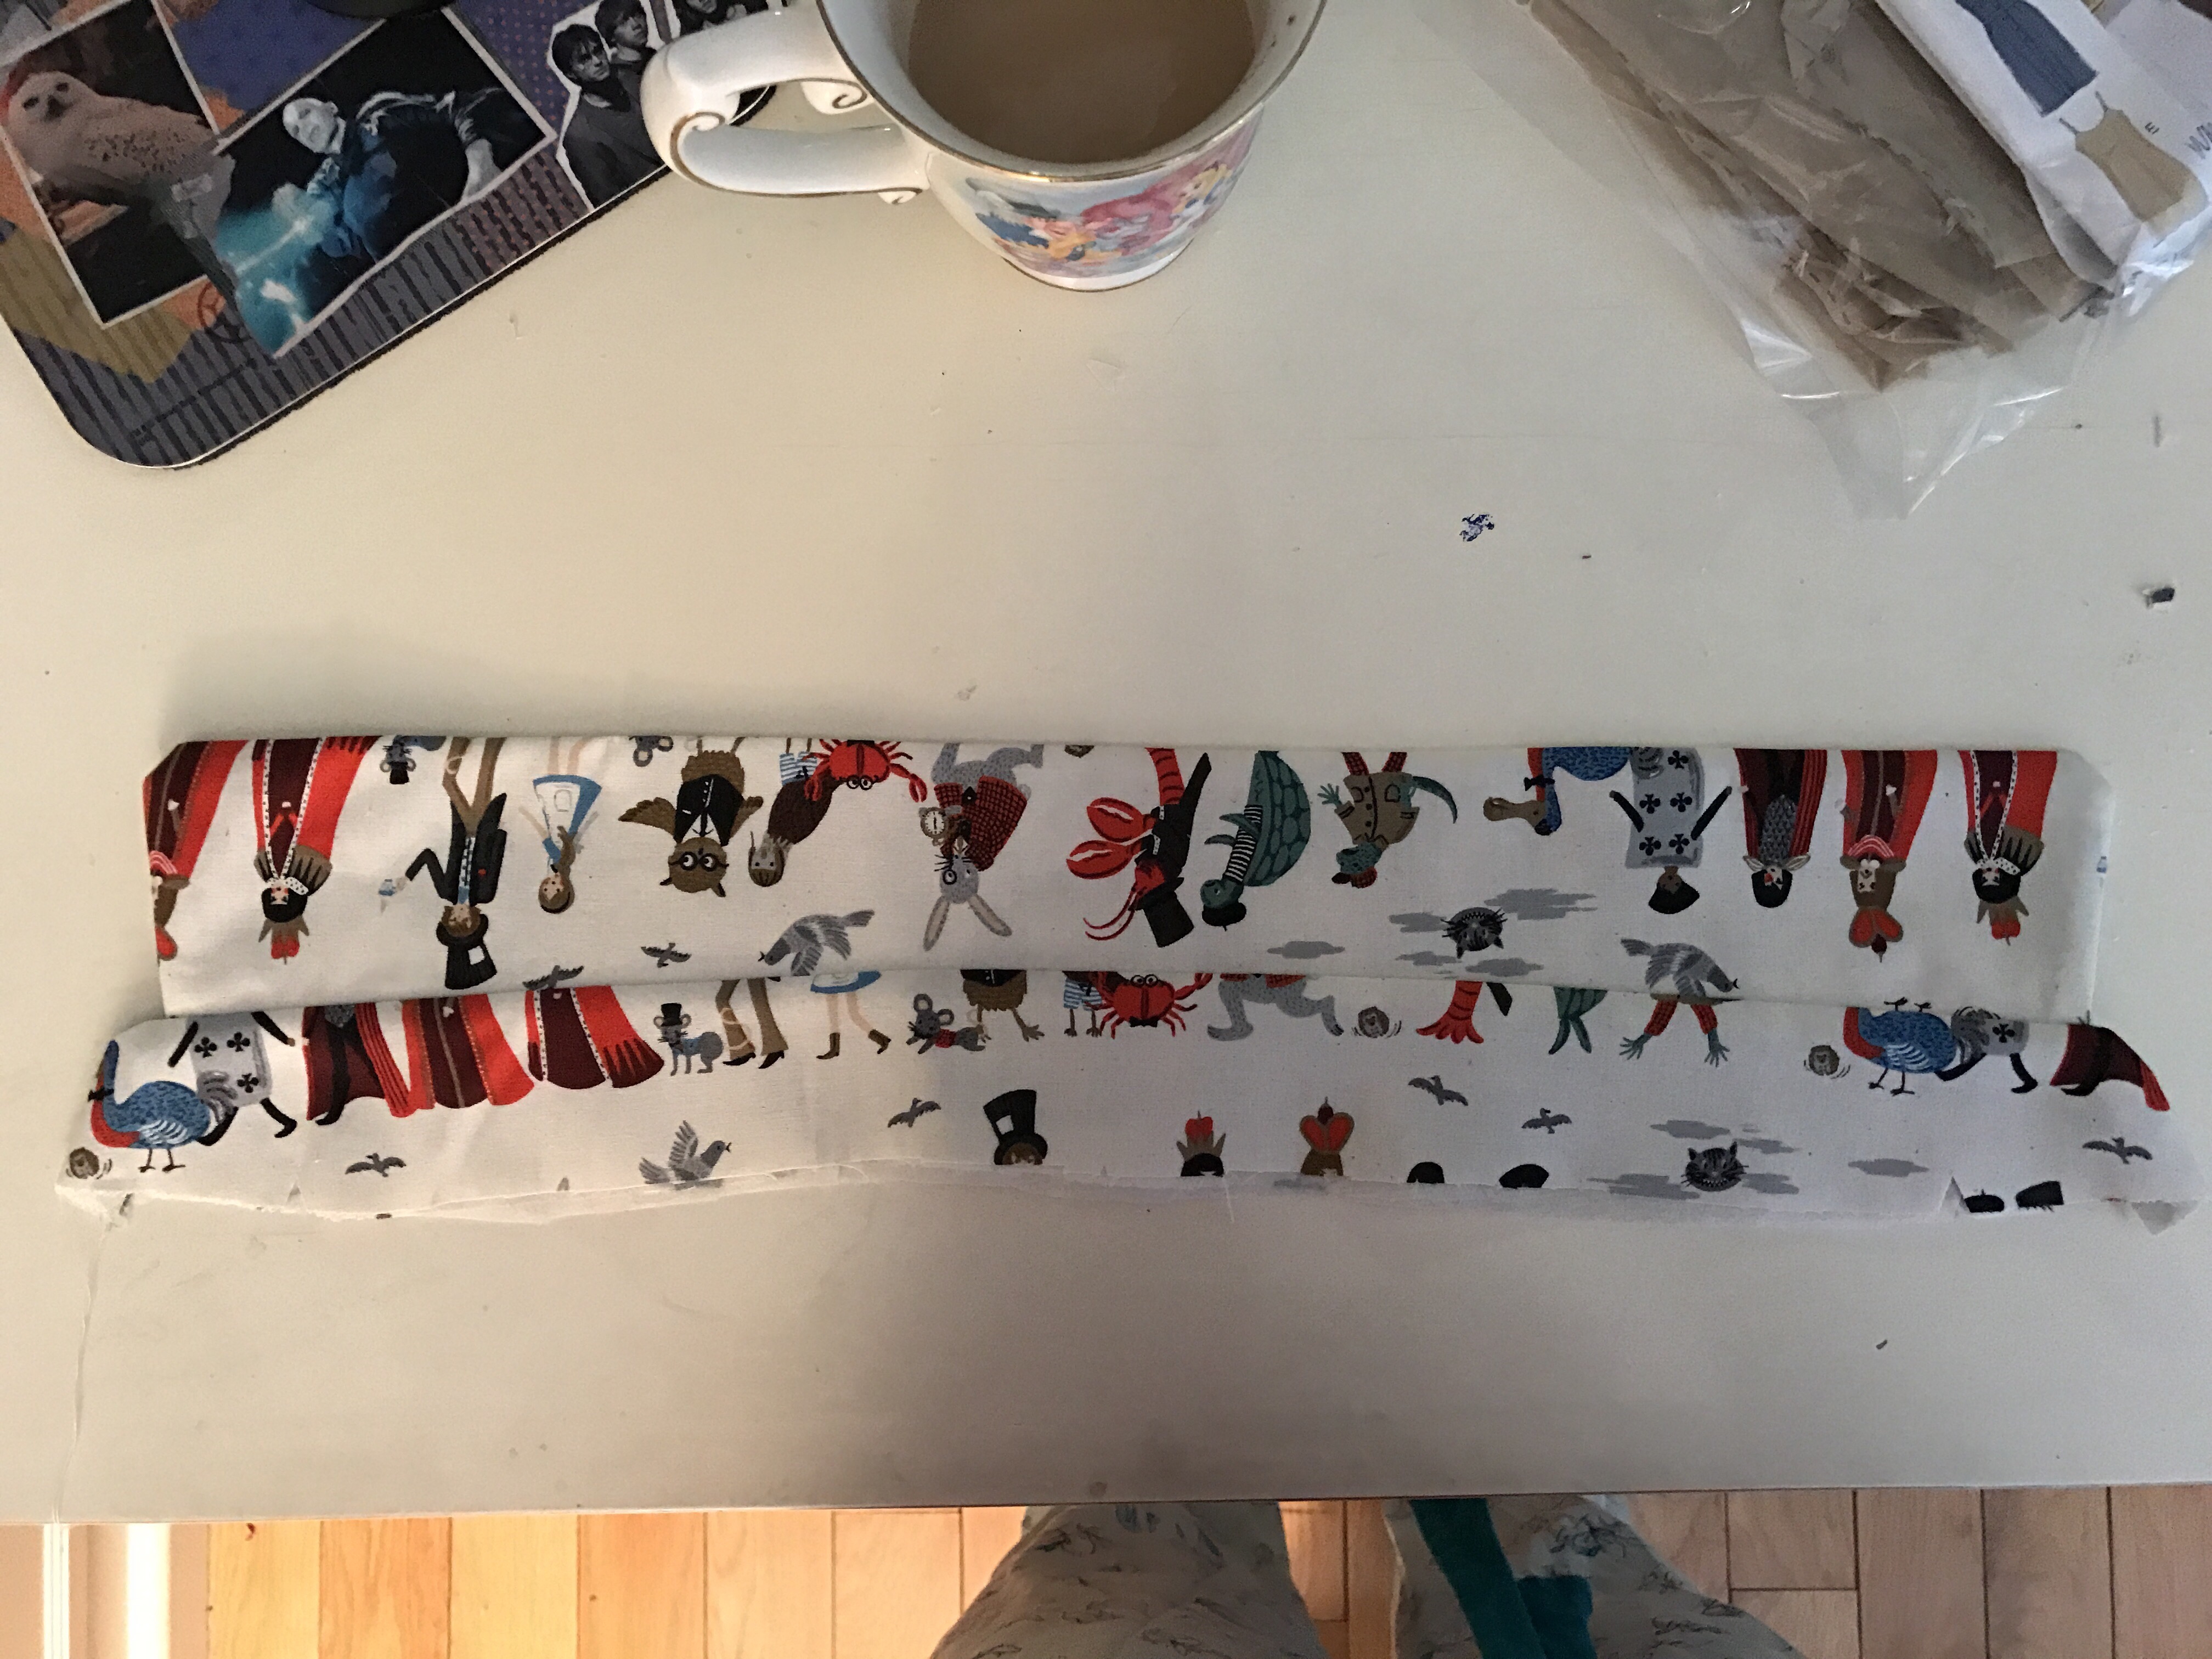
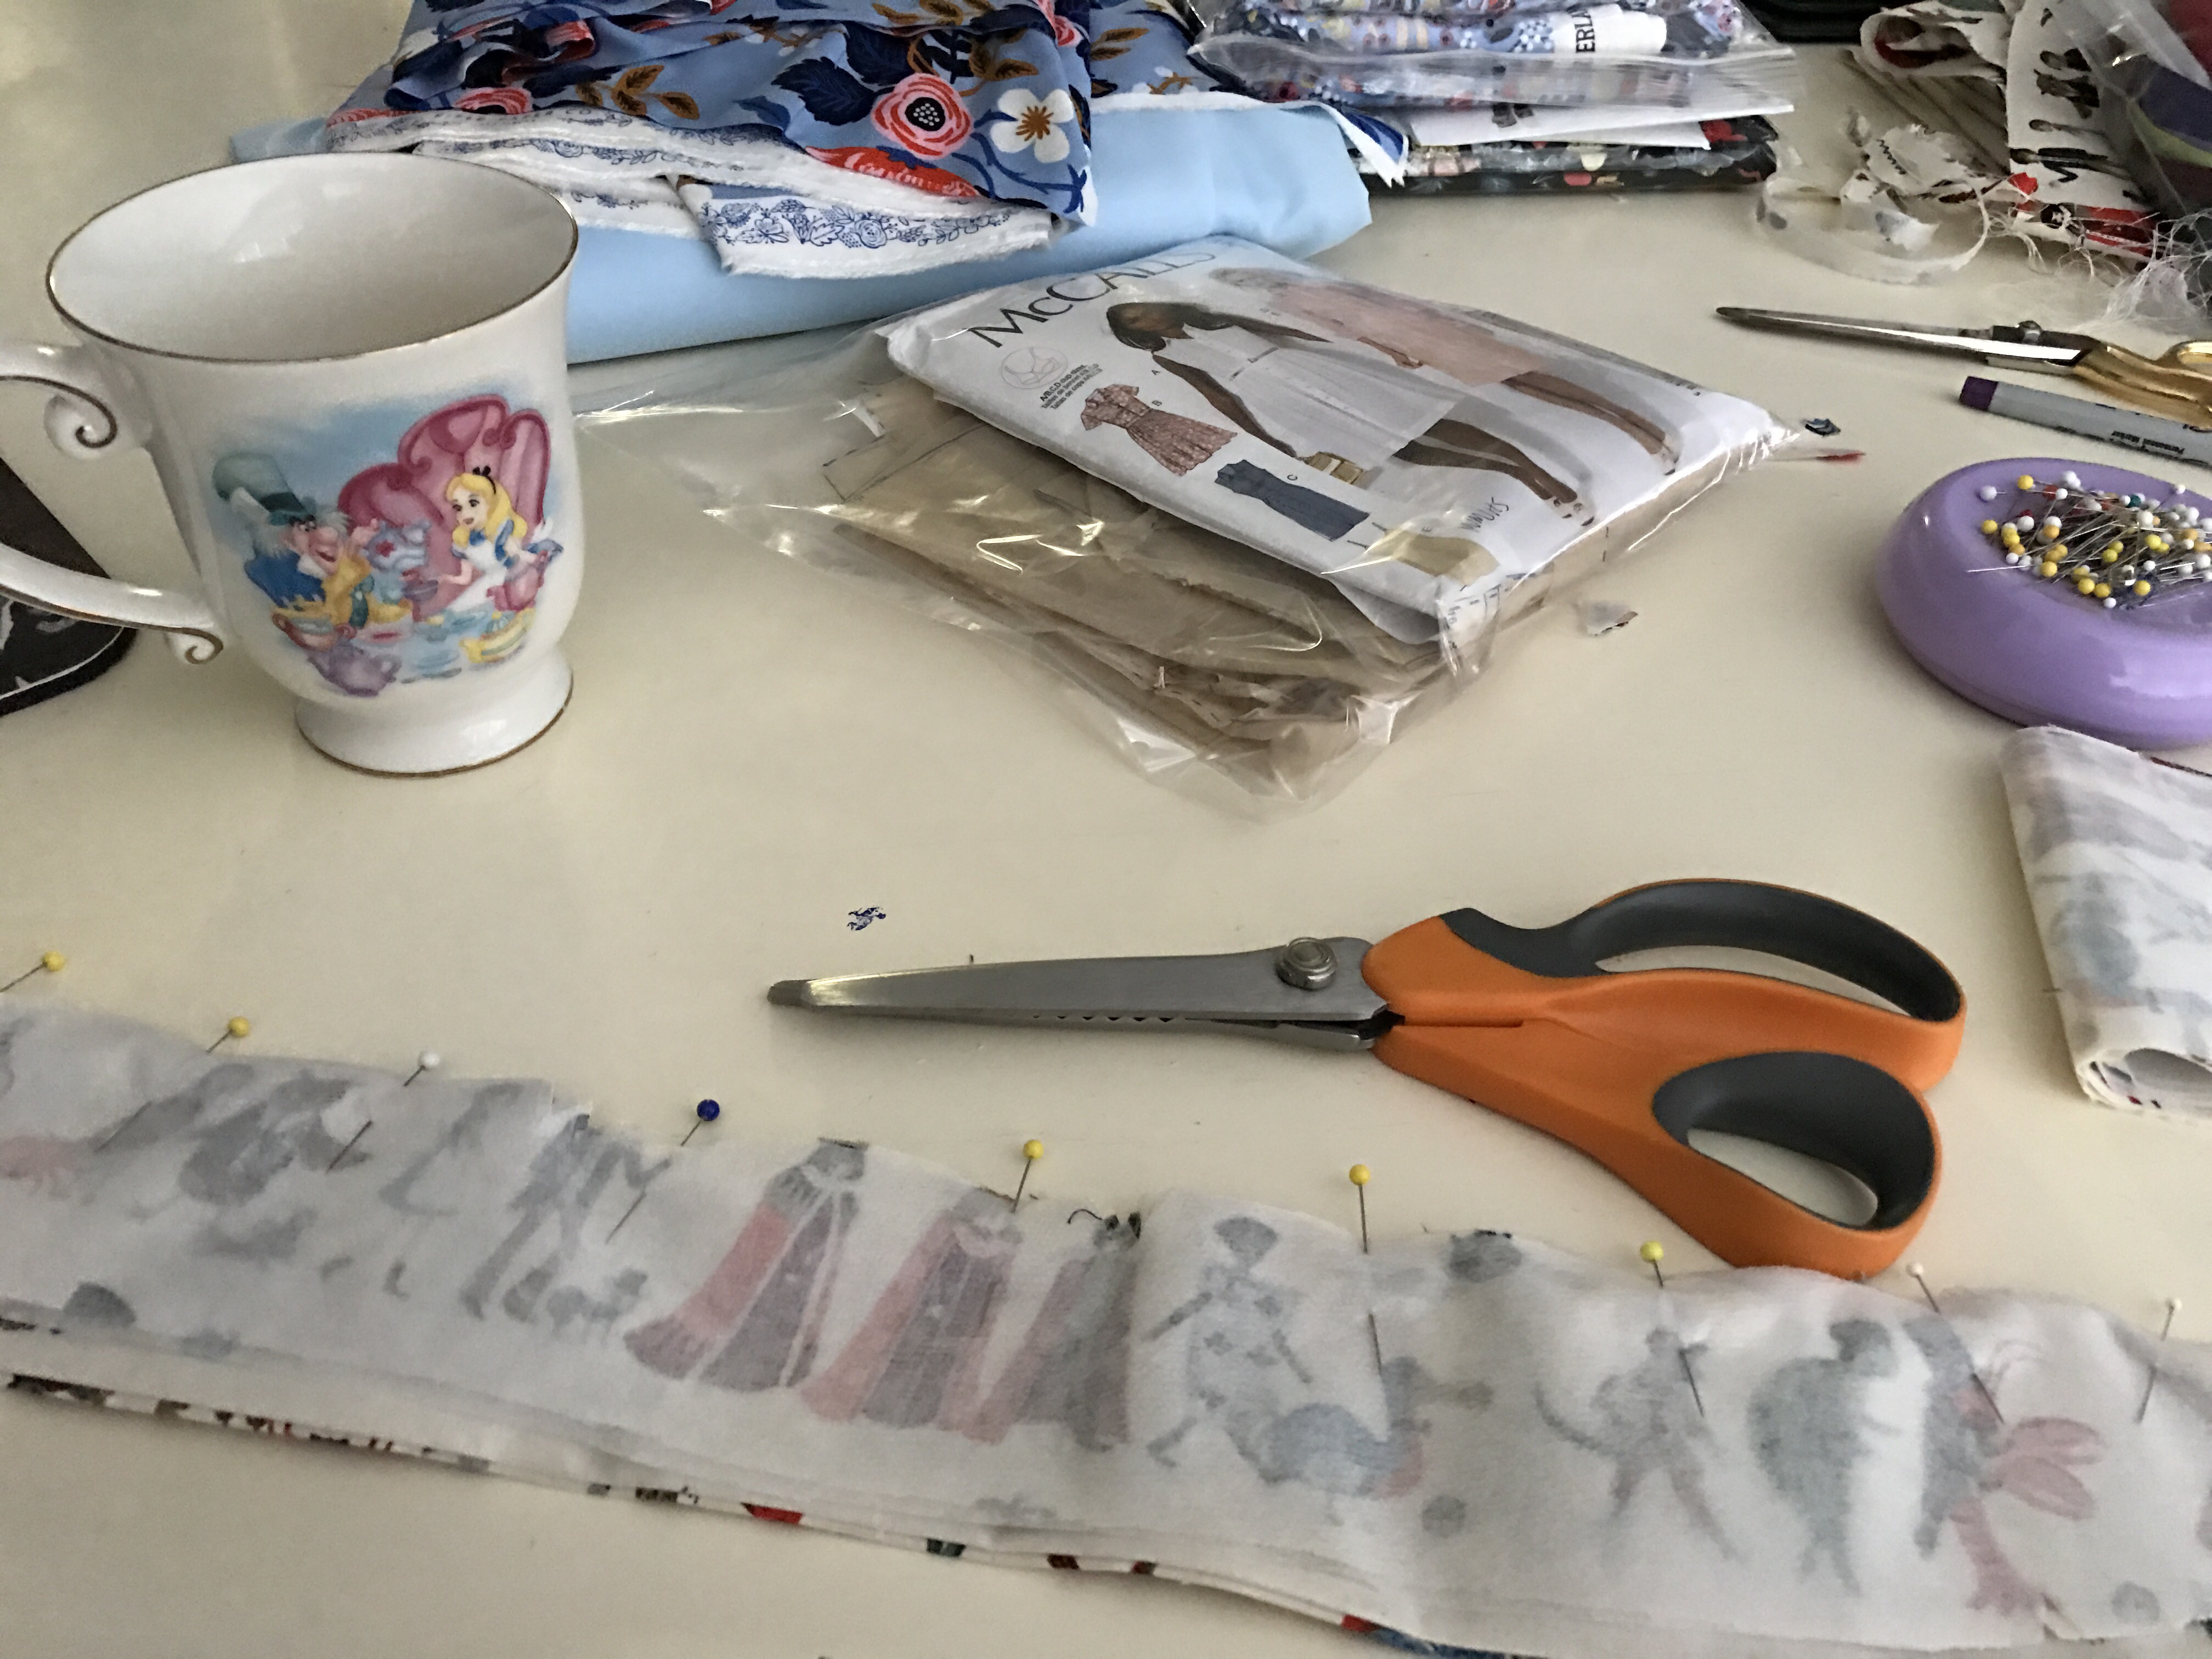
While I had all these pieces out, I also made sure I made the markings on the button band pieces.

The back of the skirt, complete with attached pockets, all finished (and on my kitchen floor as I plugged my phone in to charge in there and then realized I was neglecting to take pictures).

Sewing the skirt layers together and creating the pockets. This is one of the easier ways to make pockets that I have ever come across.
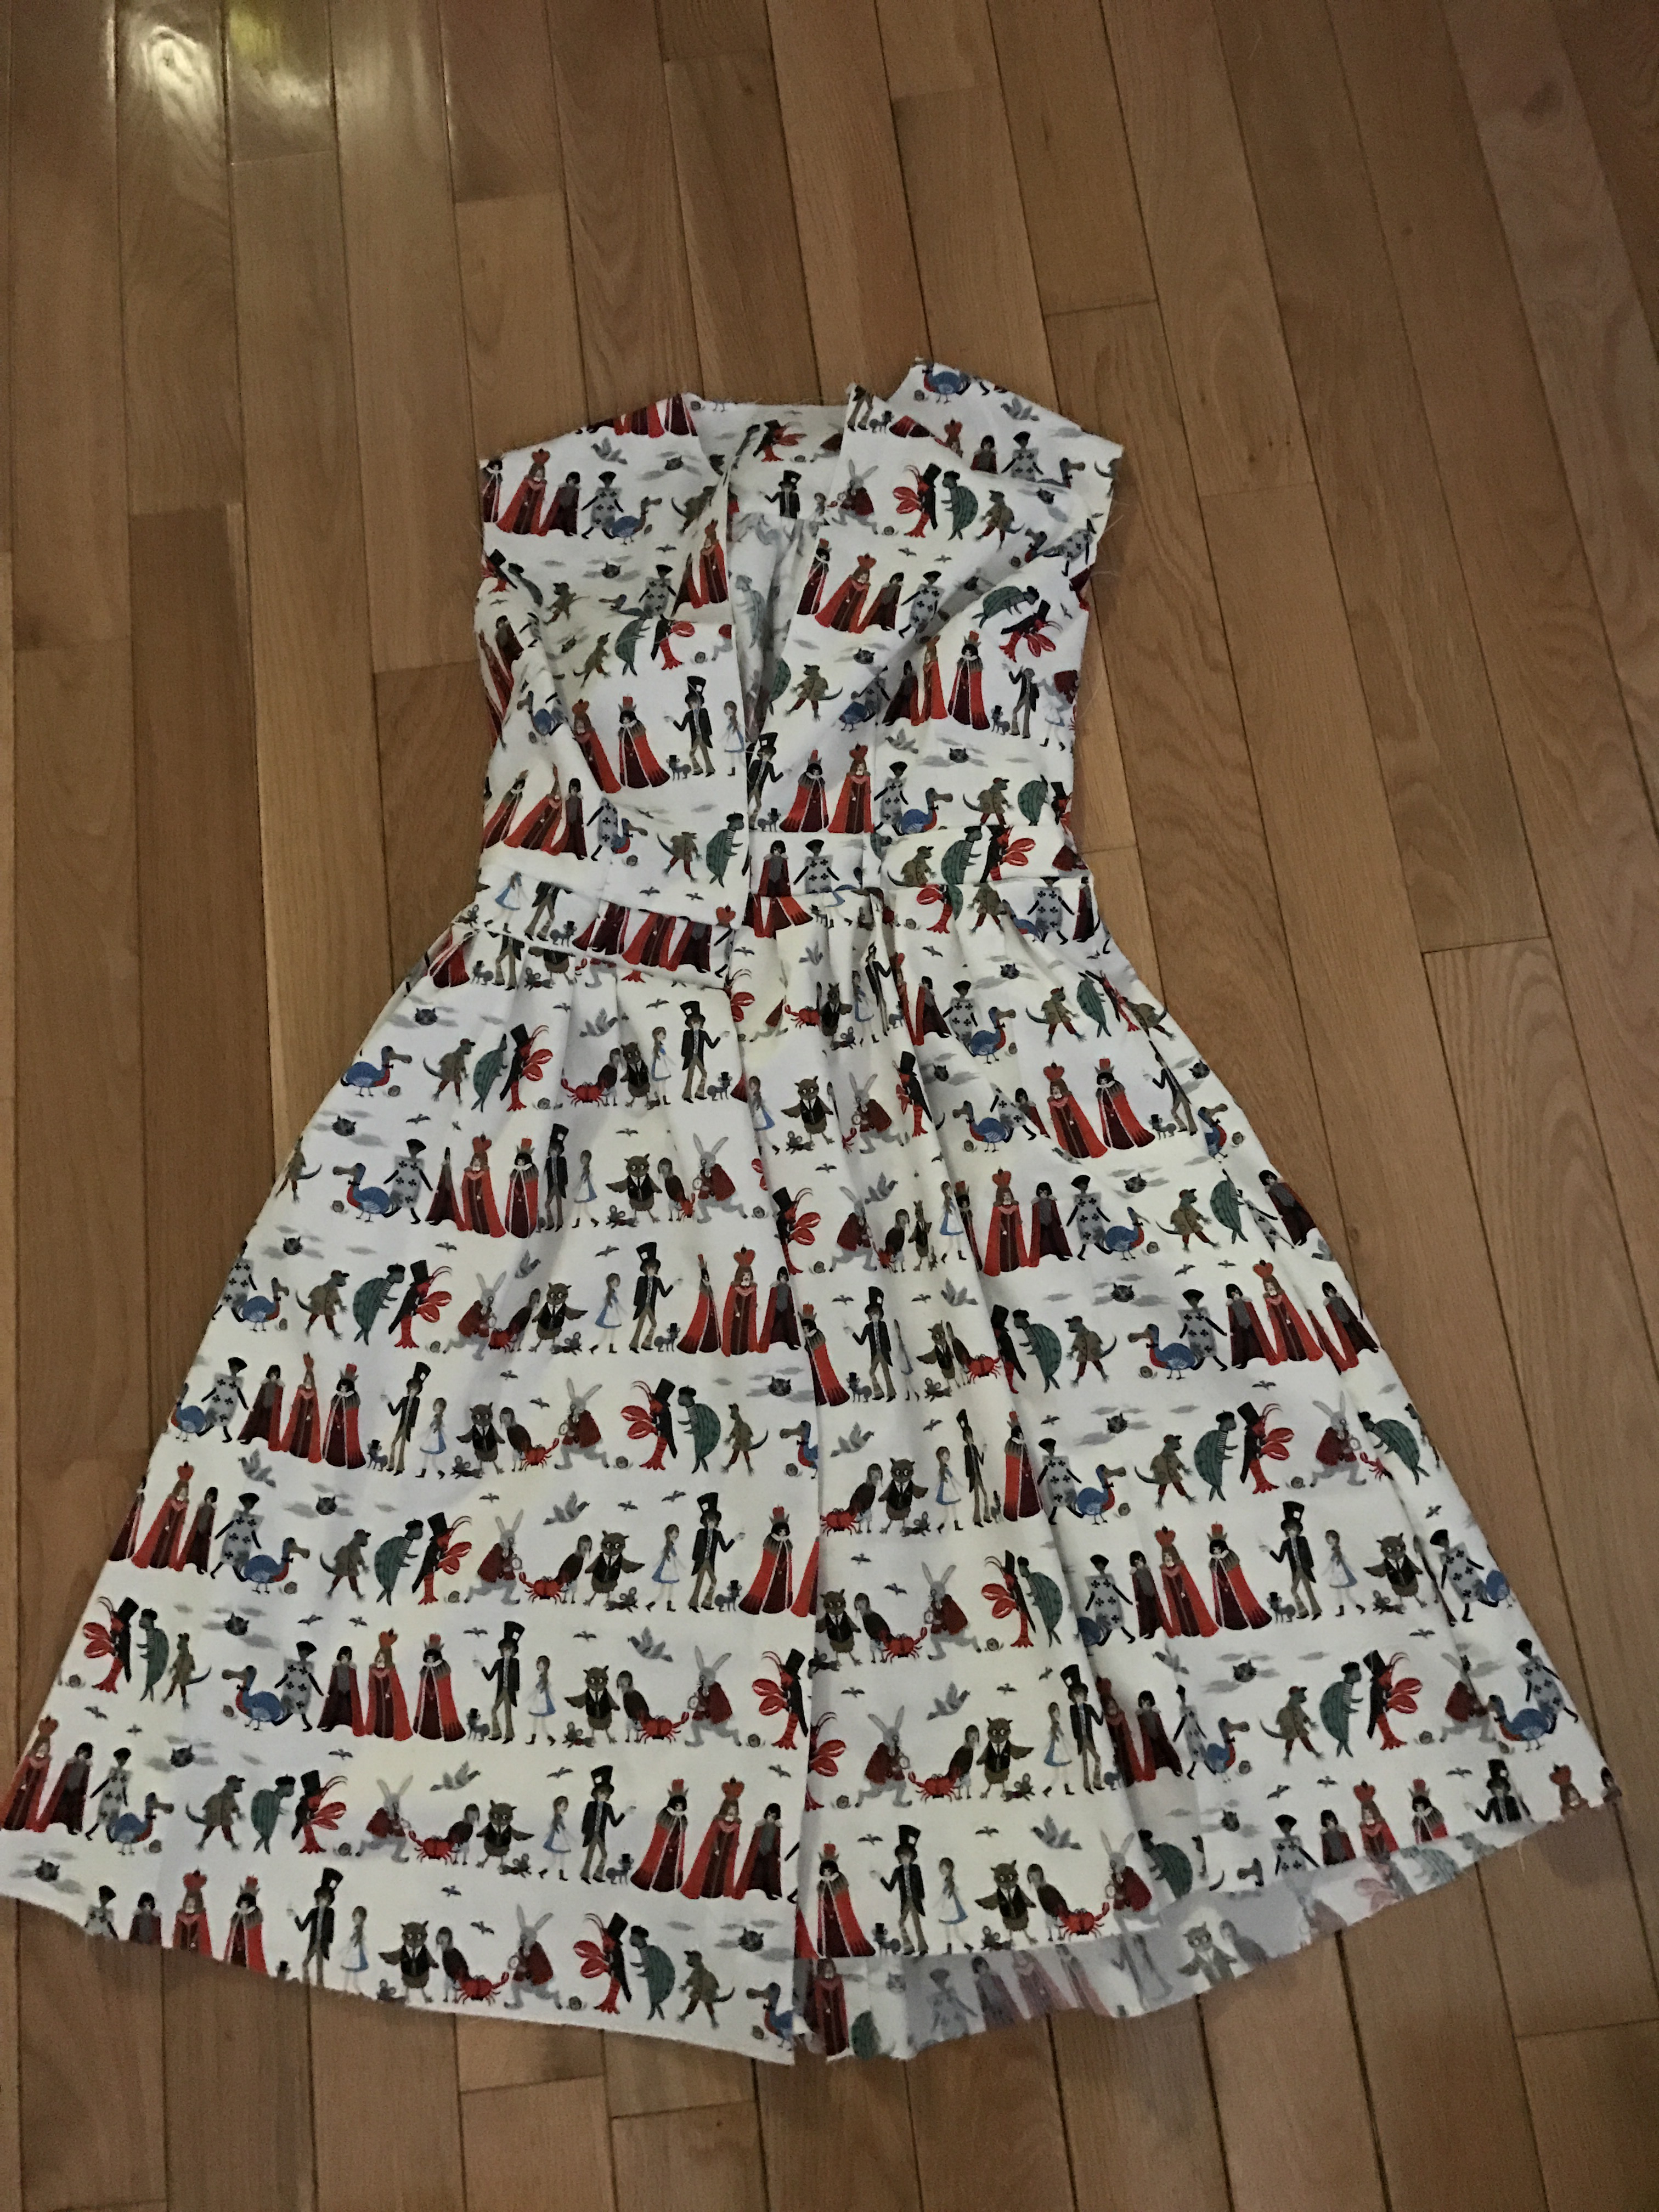
The completed shell, bodice and skirt attached.
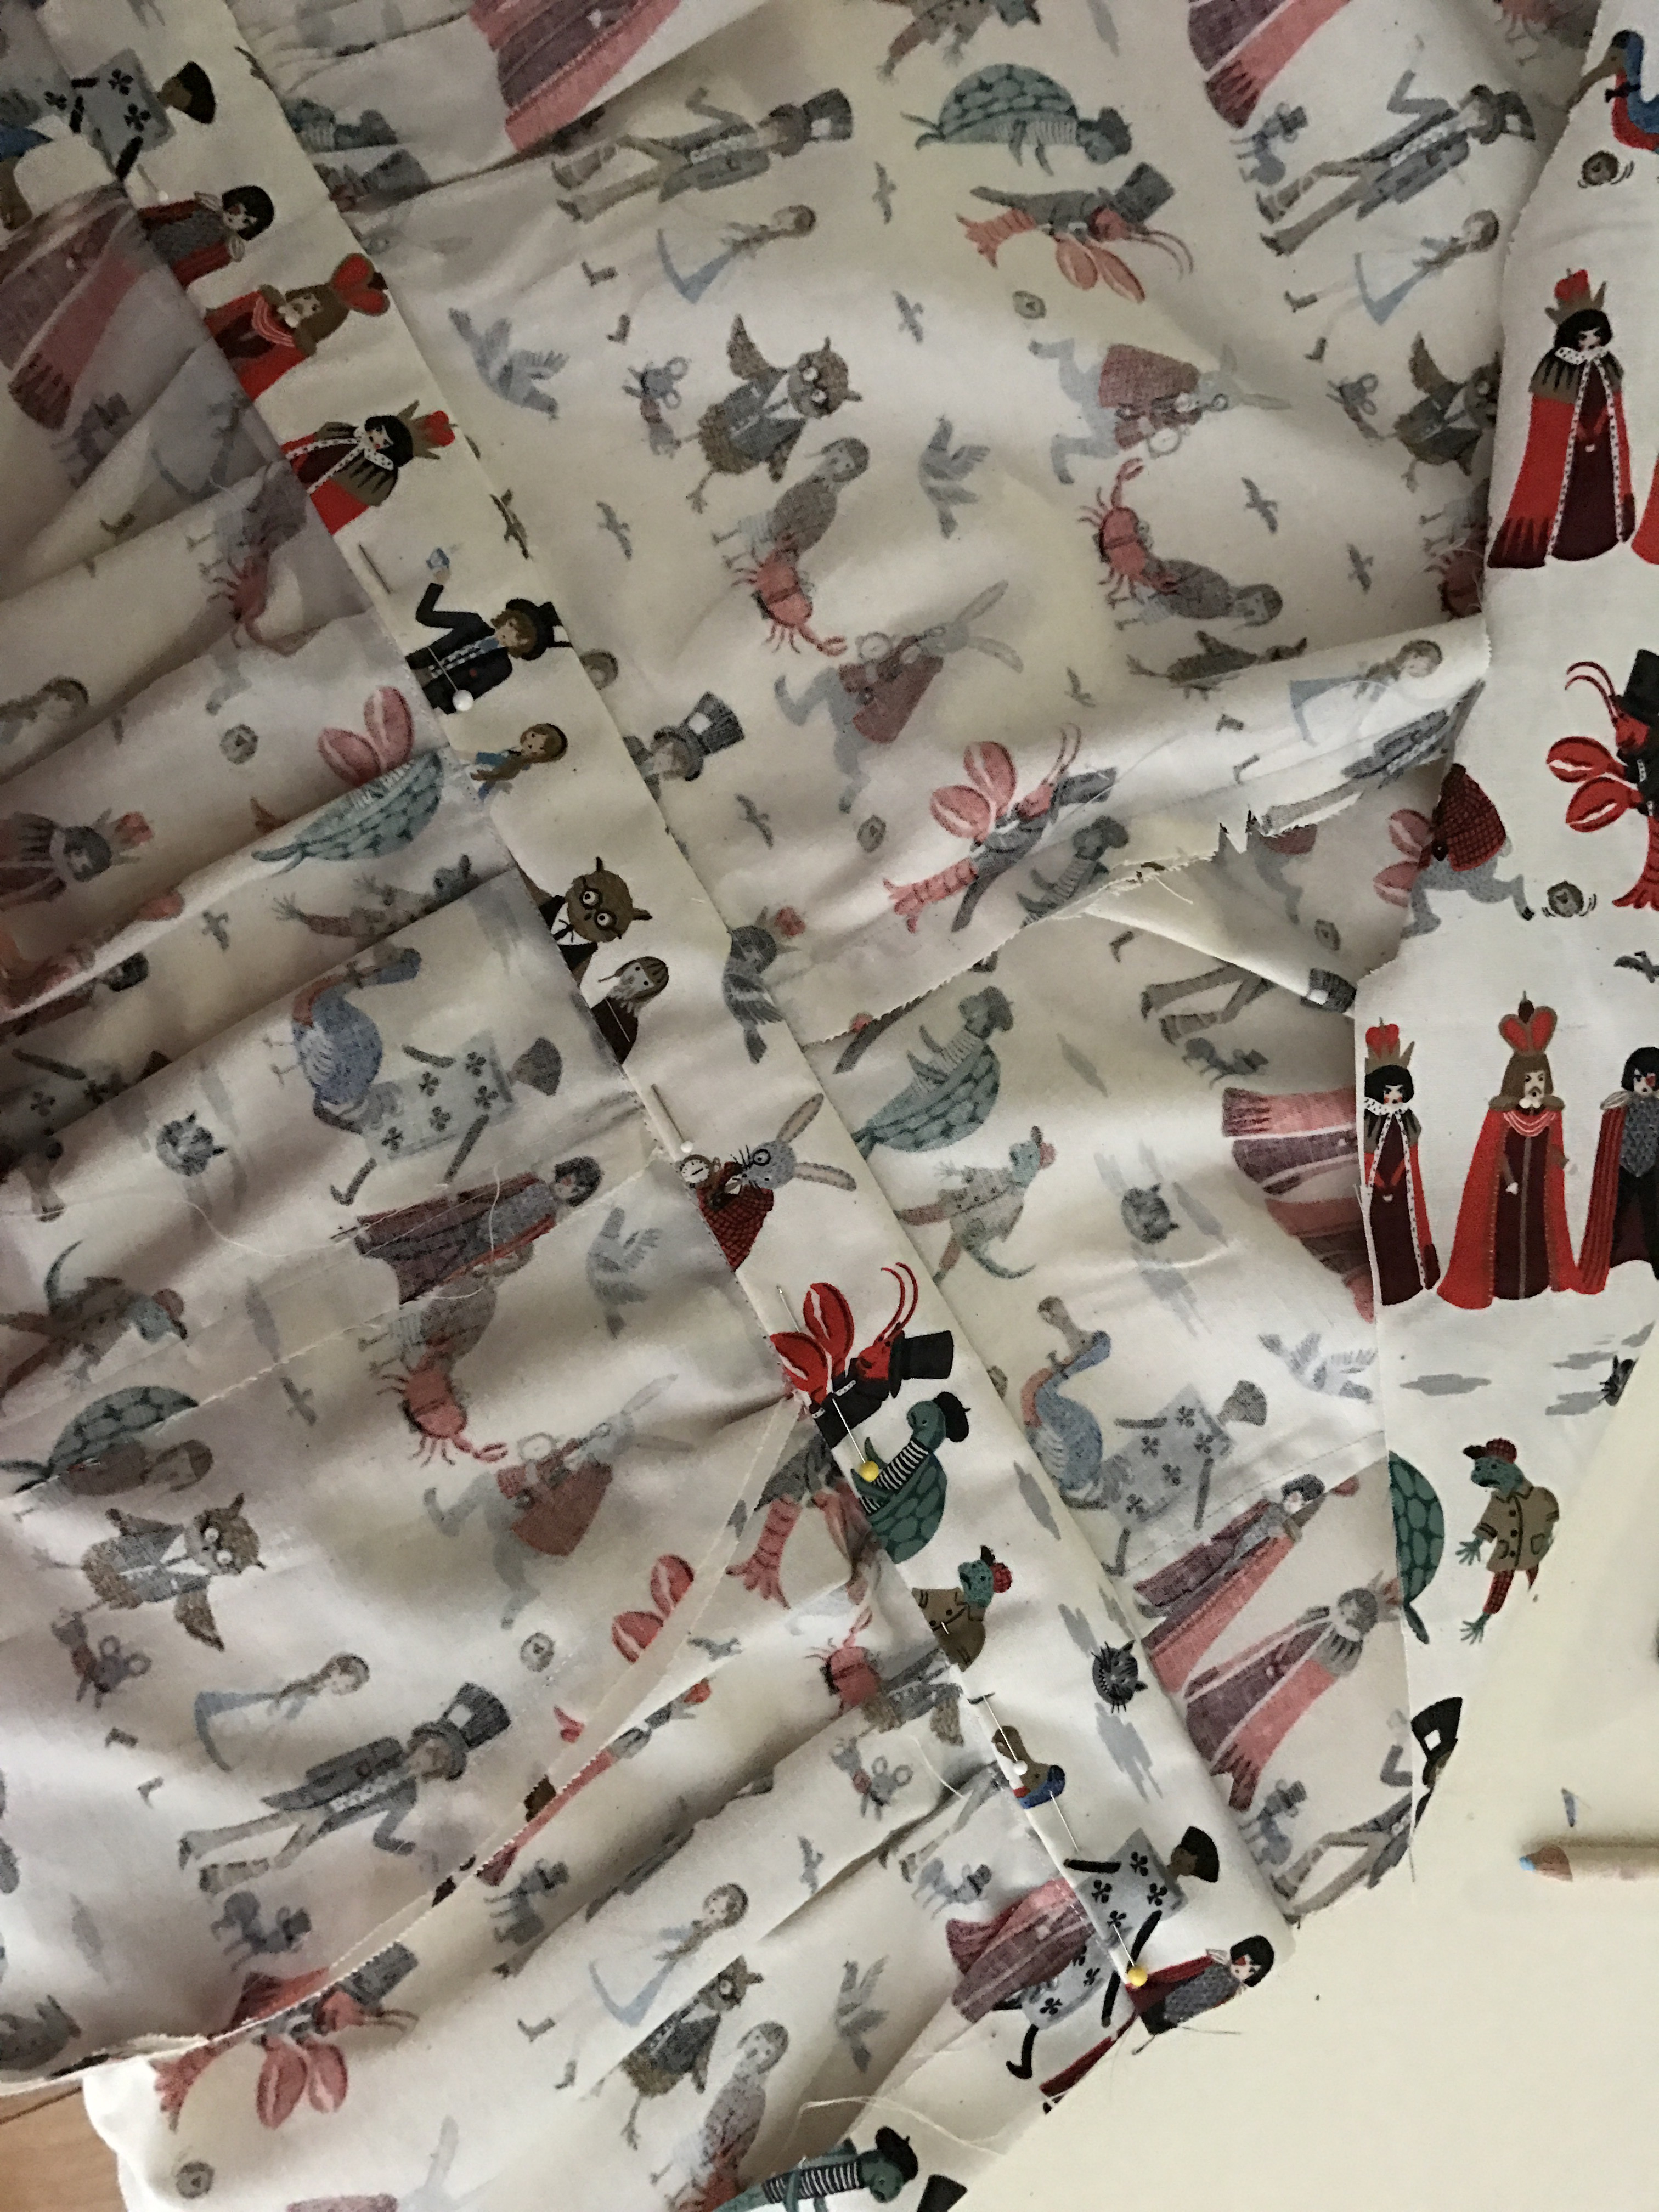
Pinning the waistband facing and getting ready to sew it down by hand.
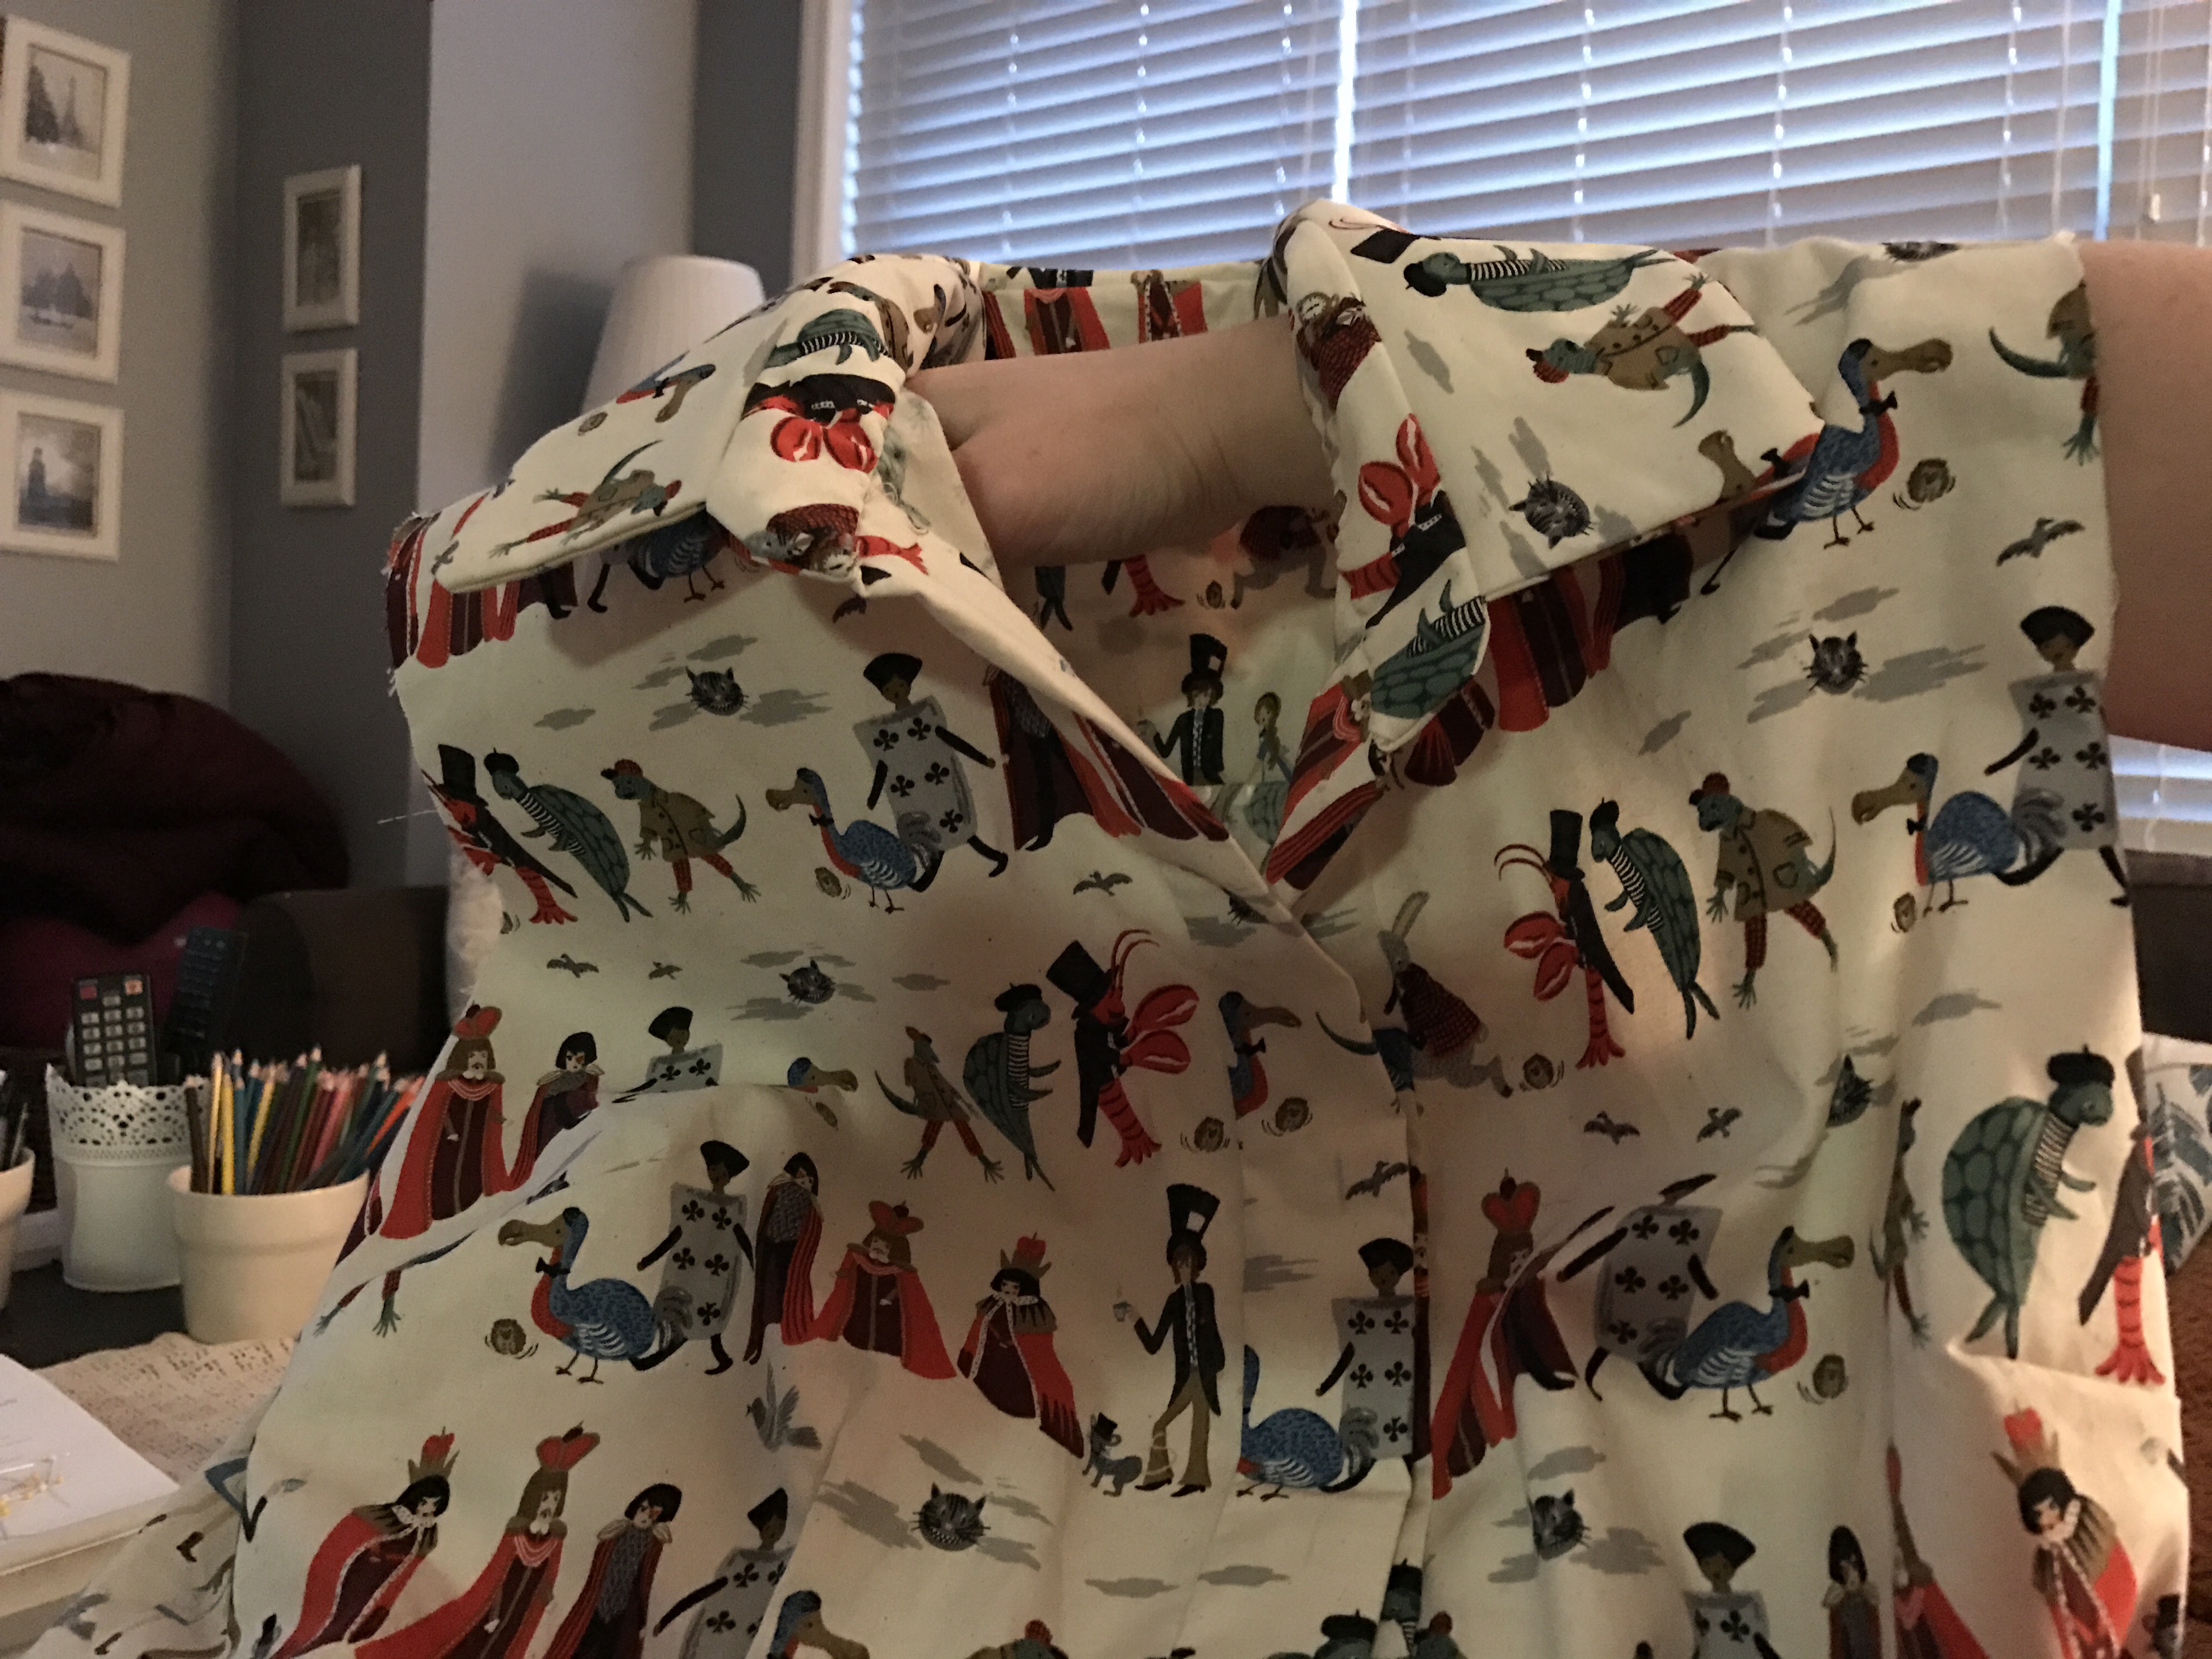
Getting a jump on putting the collar together. Pictures are in reverse order: top is the completed collar piece, bottom is pinning the pieces together.
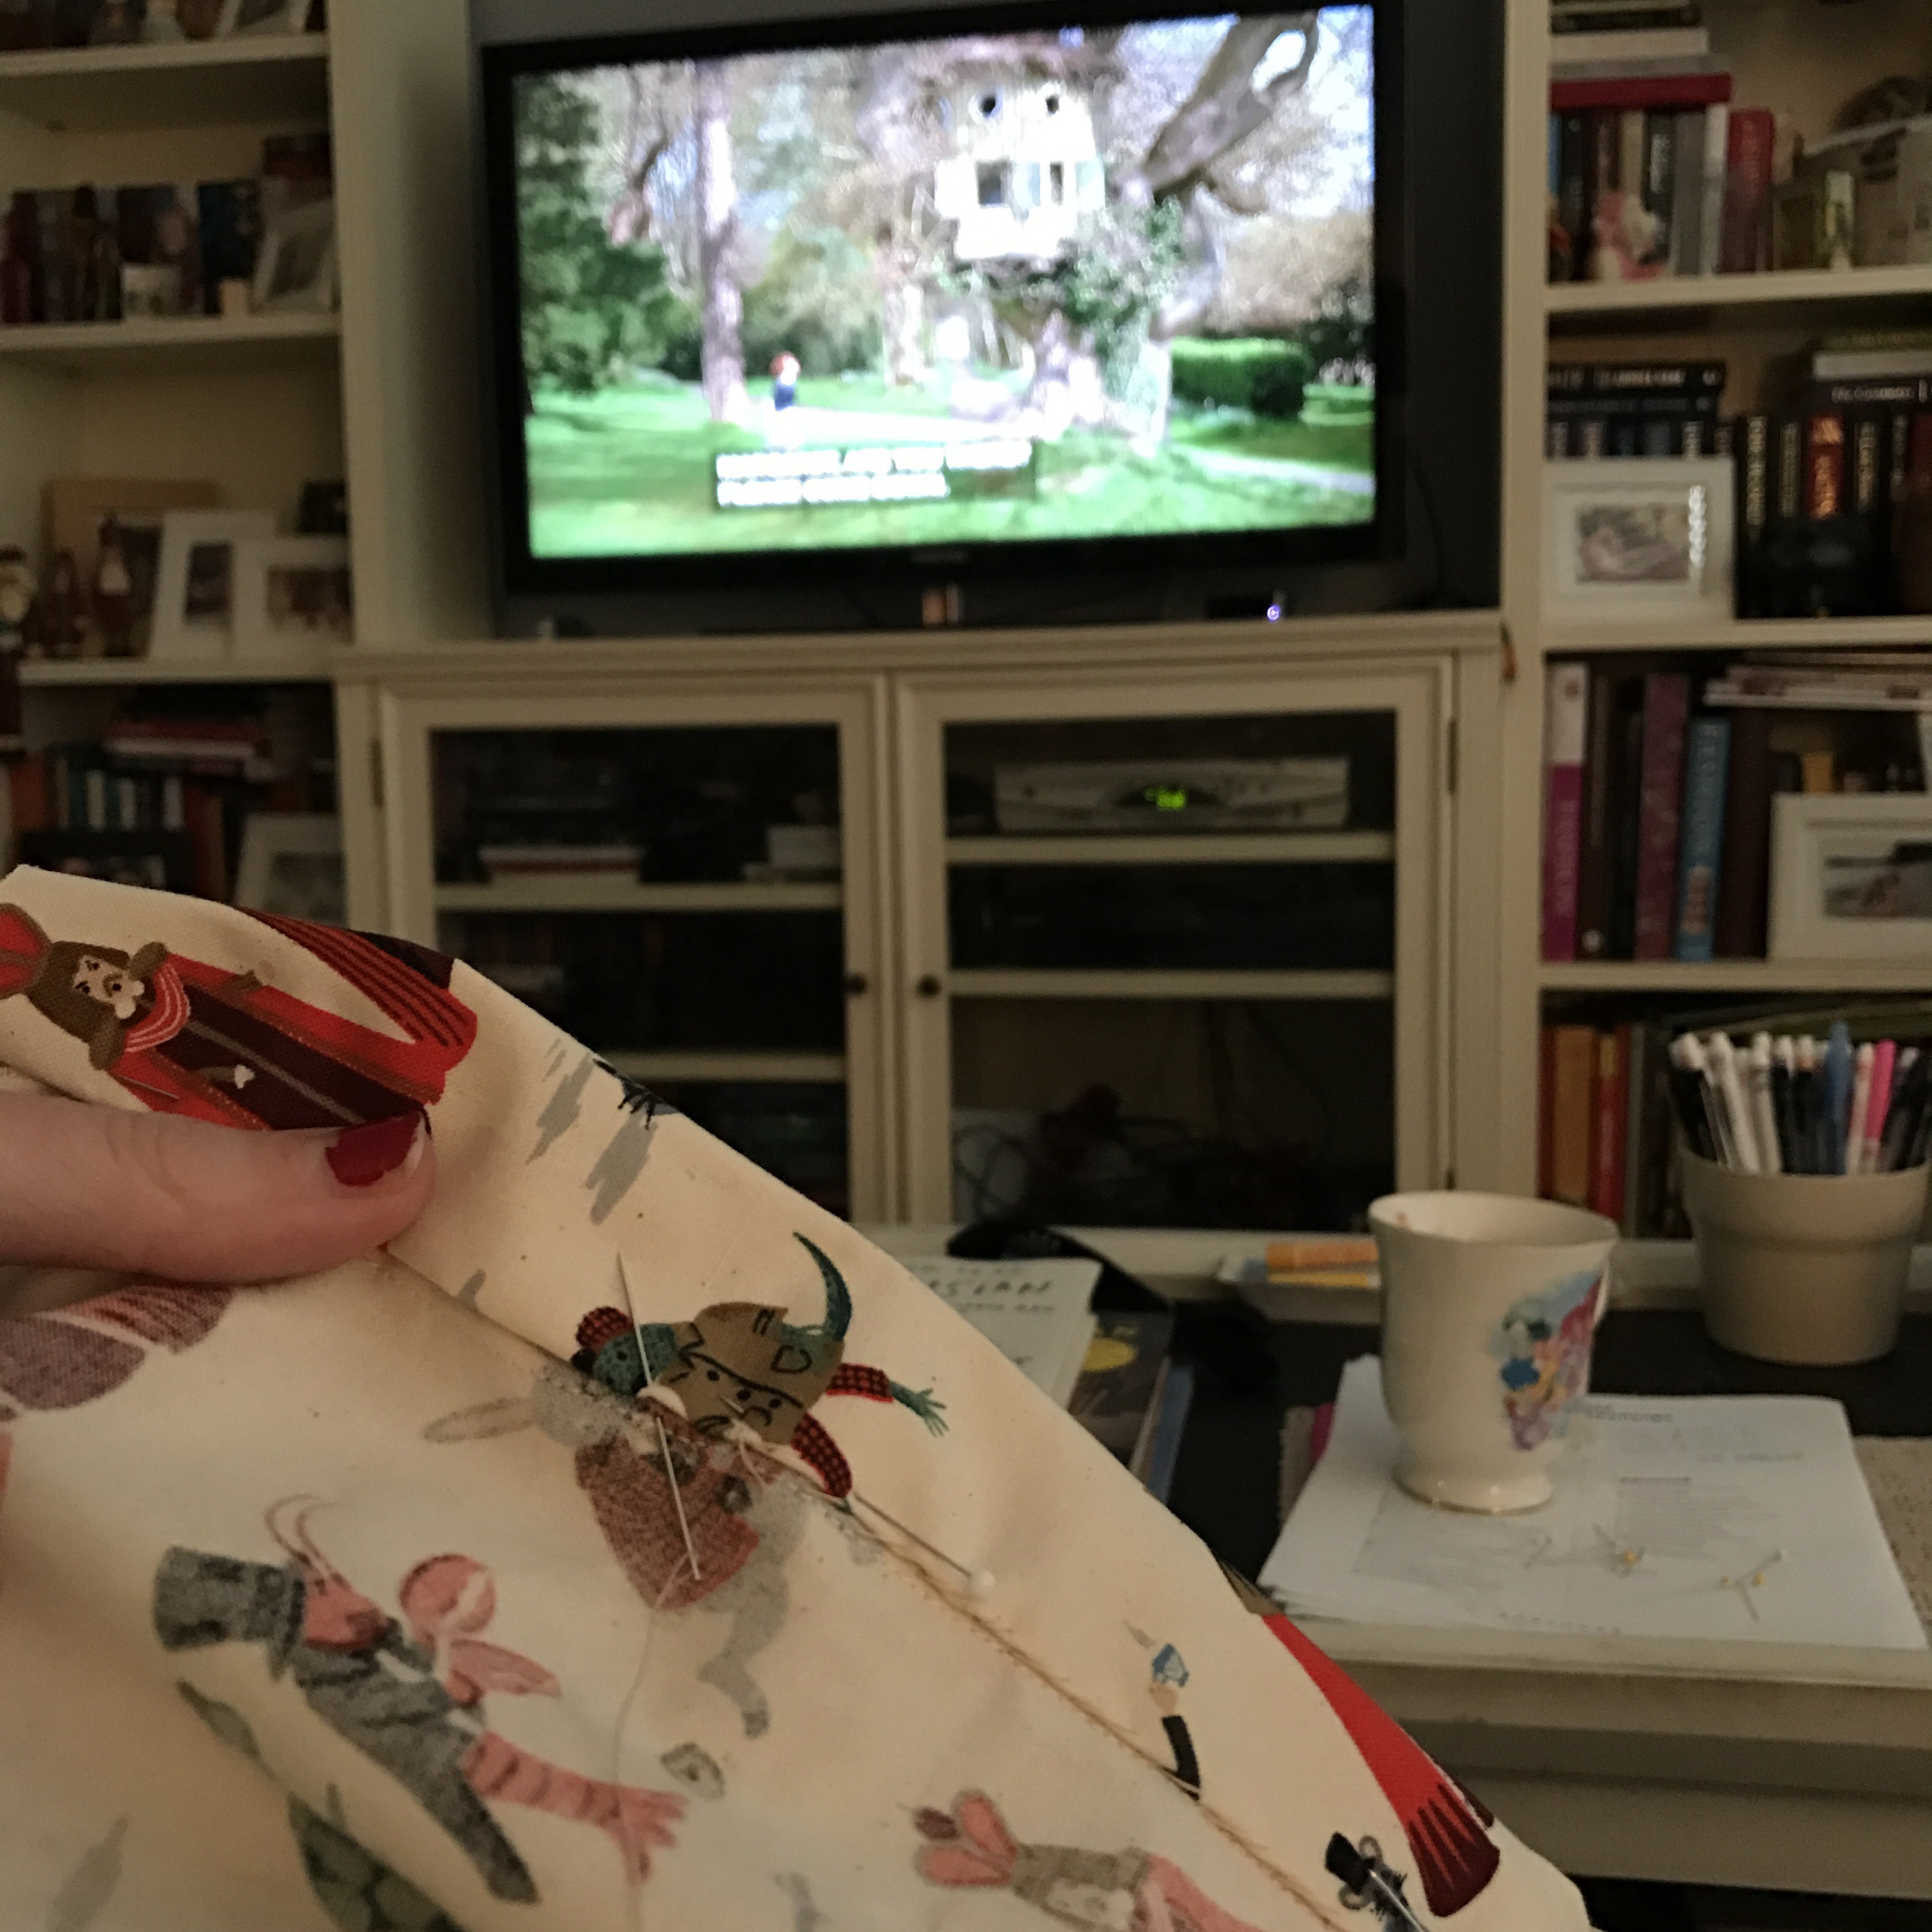
Hand stitching the buttonband into place while watching Sense & Sensibility. The best way to sew is to put on your favorite movies and just let the day take you into your projects.
Collar attached and the dress is just about completed and ready! All I have left is the finishing work: buttons, buttonholes and hemming.
Rather than a fourth post with the finishing work, I’ll probably do a general “finishing” post in the near future once I’ve done this and added the zipper to the Queen Anne Dress.
