NOTE: This is a repost from two years ago. Prepping for the holidays have me busily running around trying to get everything done before the celebrations begin (including an early one this weekend!). With Frozen Jr. getting closer and closer, I thought it would be fun to look back at Beauty and the Beast.
This will be the first in my series on my costumes for Beauty and the Beast. I’ve been holding off on posting any progress photos for the most part, because I wanted the costumes to be a glorious surprise when they hit the stage. Today I start by showing you the process of making the ballgown.
Despite the fact that Beauty and the Beast has the awesome challenge of the furniture costumes, I was most looking forward to making Belle’s iconic yellow ballgown. I will admit that I almost changed the color, but in the end I knew to give the public what they wanted (and were used to) and, truth be told, it just felt kind of wrong to make it another color. And so a bright yellow ballgown it was.
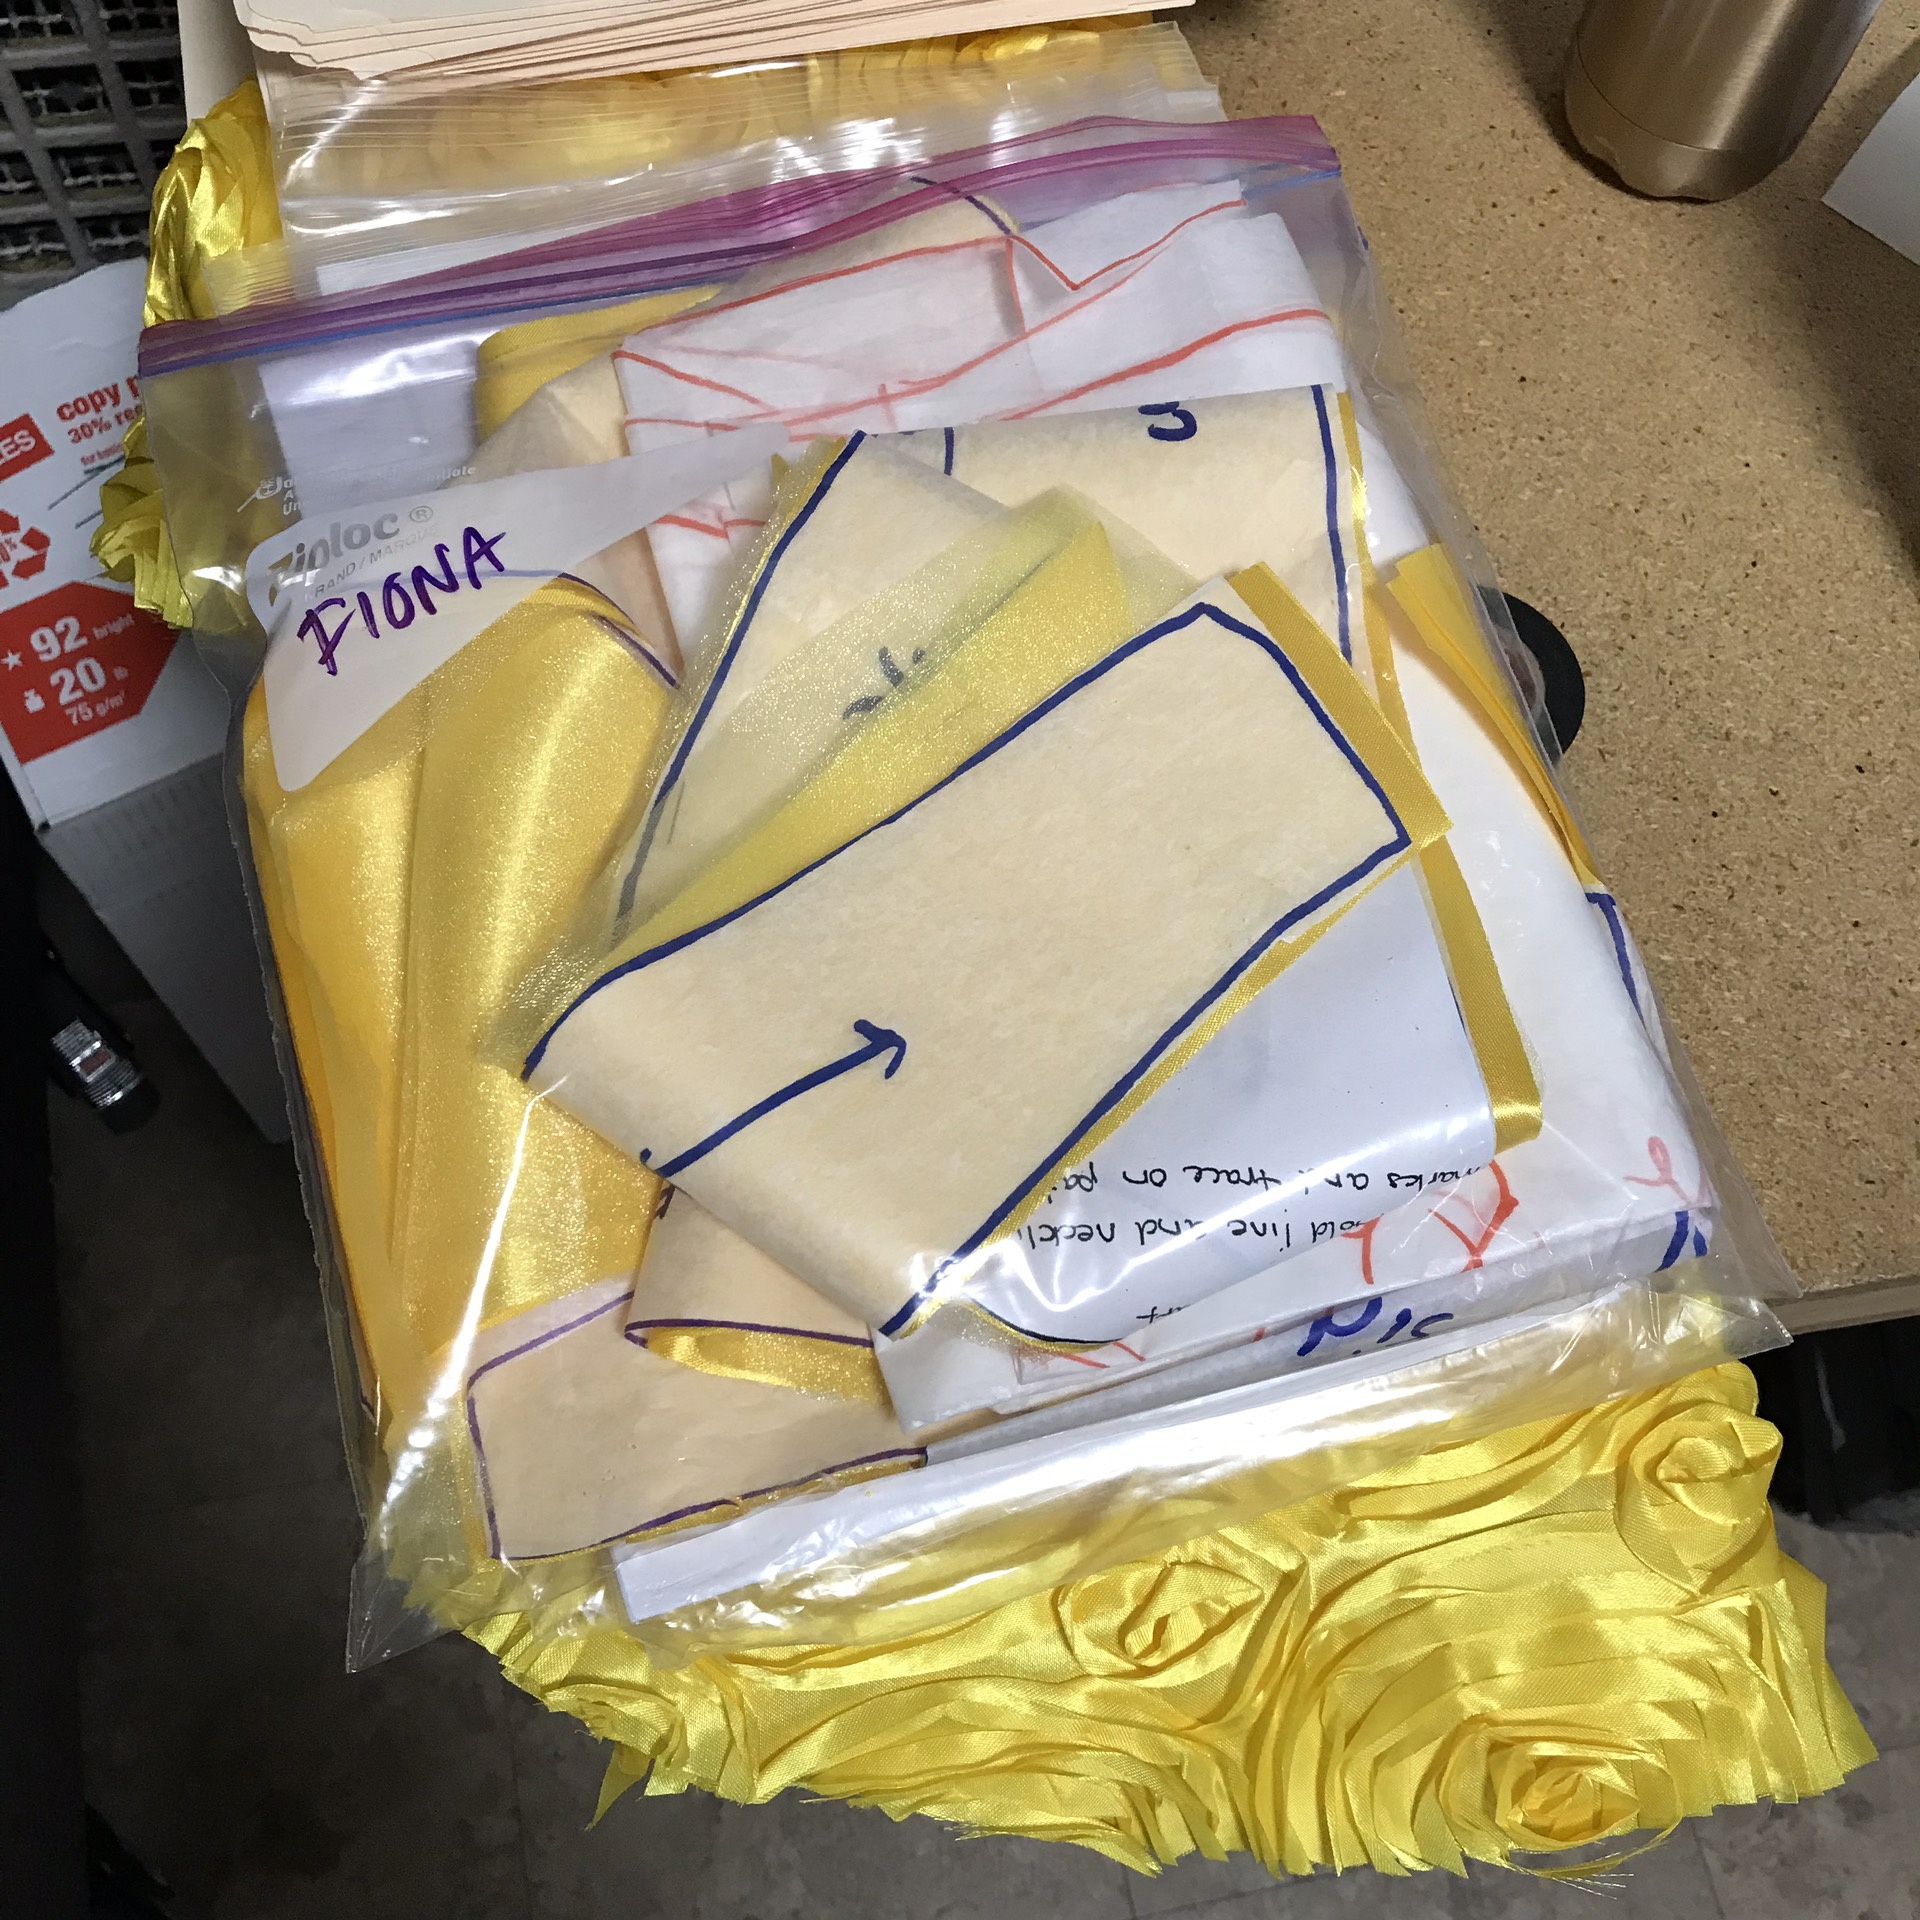
As with everything else, I wanted to give the feel of the familiar while making it my own. The design itself was a mixture of three different patterns because nothing quite matched my design (my process is usually to sketch and then find patterns similar to what I came up with since I have yet to learn to draft my own patterns).

I used the skirt from this Butterick pattern because I liked the scalloped skirt layer. Upon reading the directions, I discovered the bottom skirt is only a panel and I didn’t like that. And so this pattern, from Truly Victorian came in. I had actually purchased this pattern first and then decided not to use it but changed my mind to use the base skirt and ruffle:

I didn’t like the bodice on the Butterick pattern at all and so I ended up finding the bodice and sleeves at Timeless Stitches. I decided on the puffed/petal combination sleeve to mirror the skirt layers and the bodice with the sweetheart neckline.

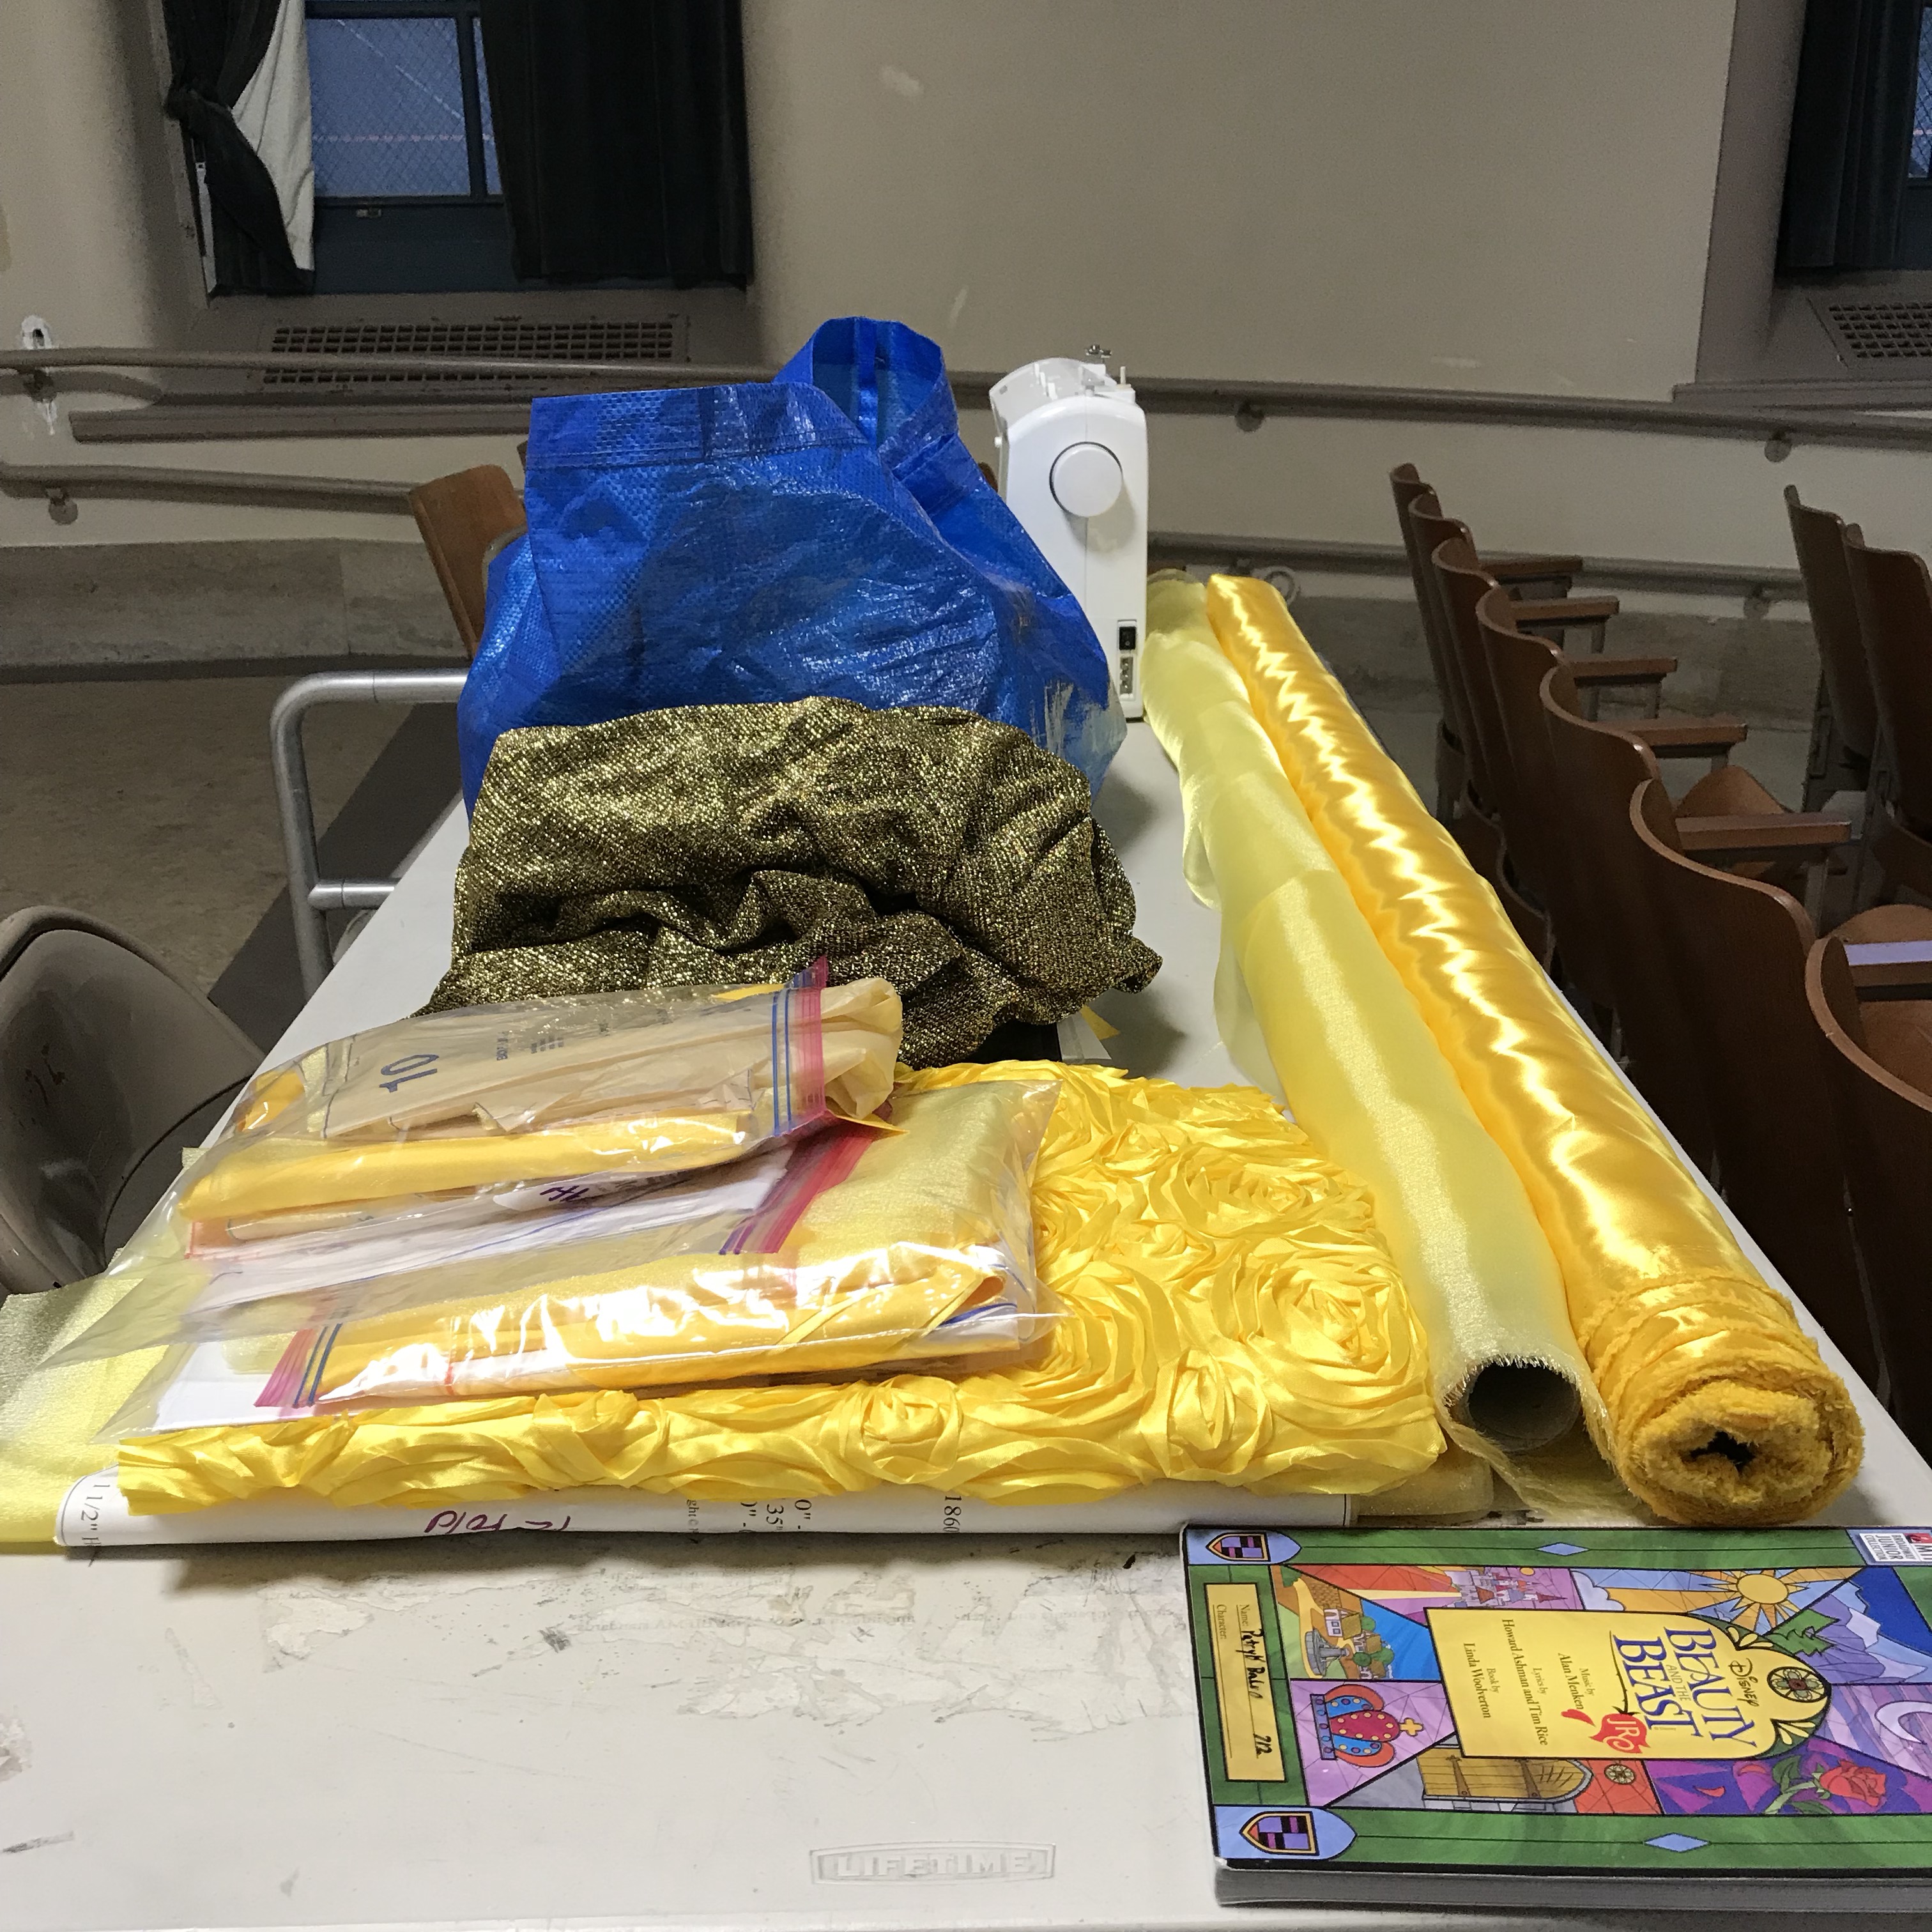
Patterns in hand, it was time to choose fabrics. Because I knew I needed a lot of fabric and had to make two ballgowns, I wanted to get a decent deal, and so I ended up getting some crystal organza and bridal satin on Fabric at Fabric Wholesale Direct. The rosette fabric I actually found on Amazon, and purchased because it was a better deal than the ruffle chiffon I originally had my eye on. It turns out it’s perfect:

Patterns needed to be traced and different pieces organized but it was soon time to cut. Cutting was such a process! I have never really made a real ballgown before and, while I knew more or less what I was in for, I was still surprised at all those skirt pieces I had to cut to accommodate the hoop! Then there was the added challenge of combining multiple patterns and making sure no elements got left out. I think in the end it took three days to get this step done, all the while with me chomping at the bit to get some sewing done!


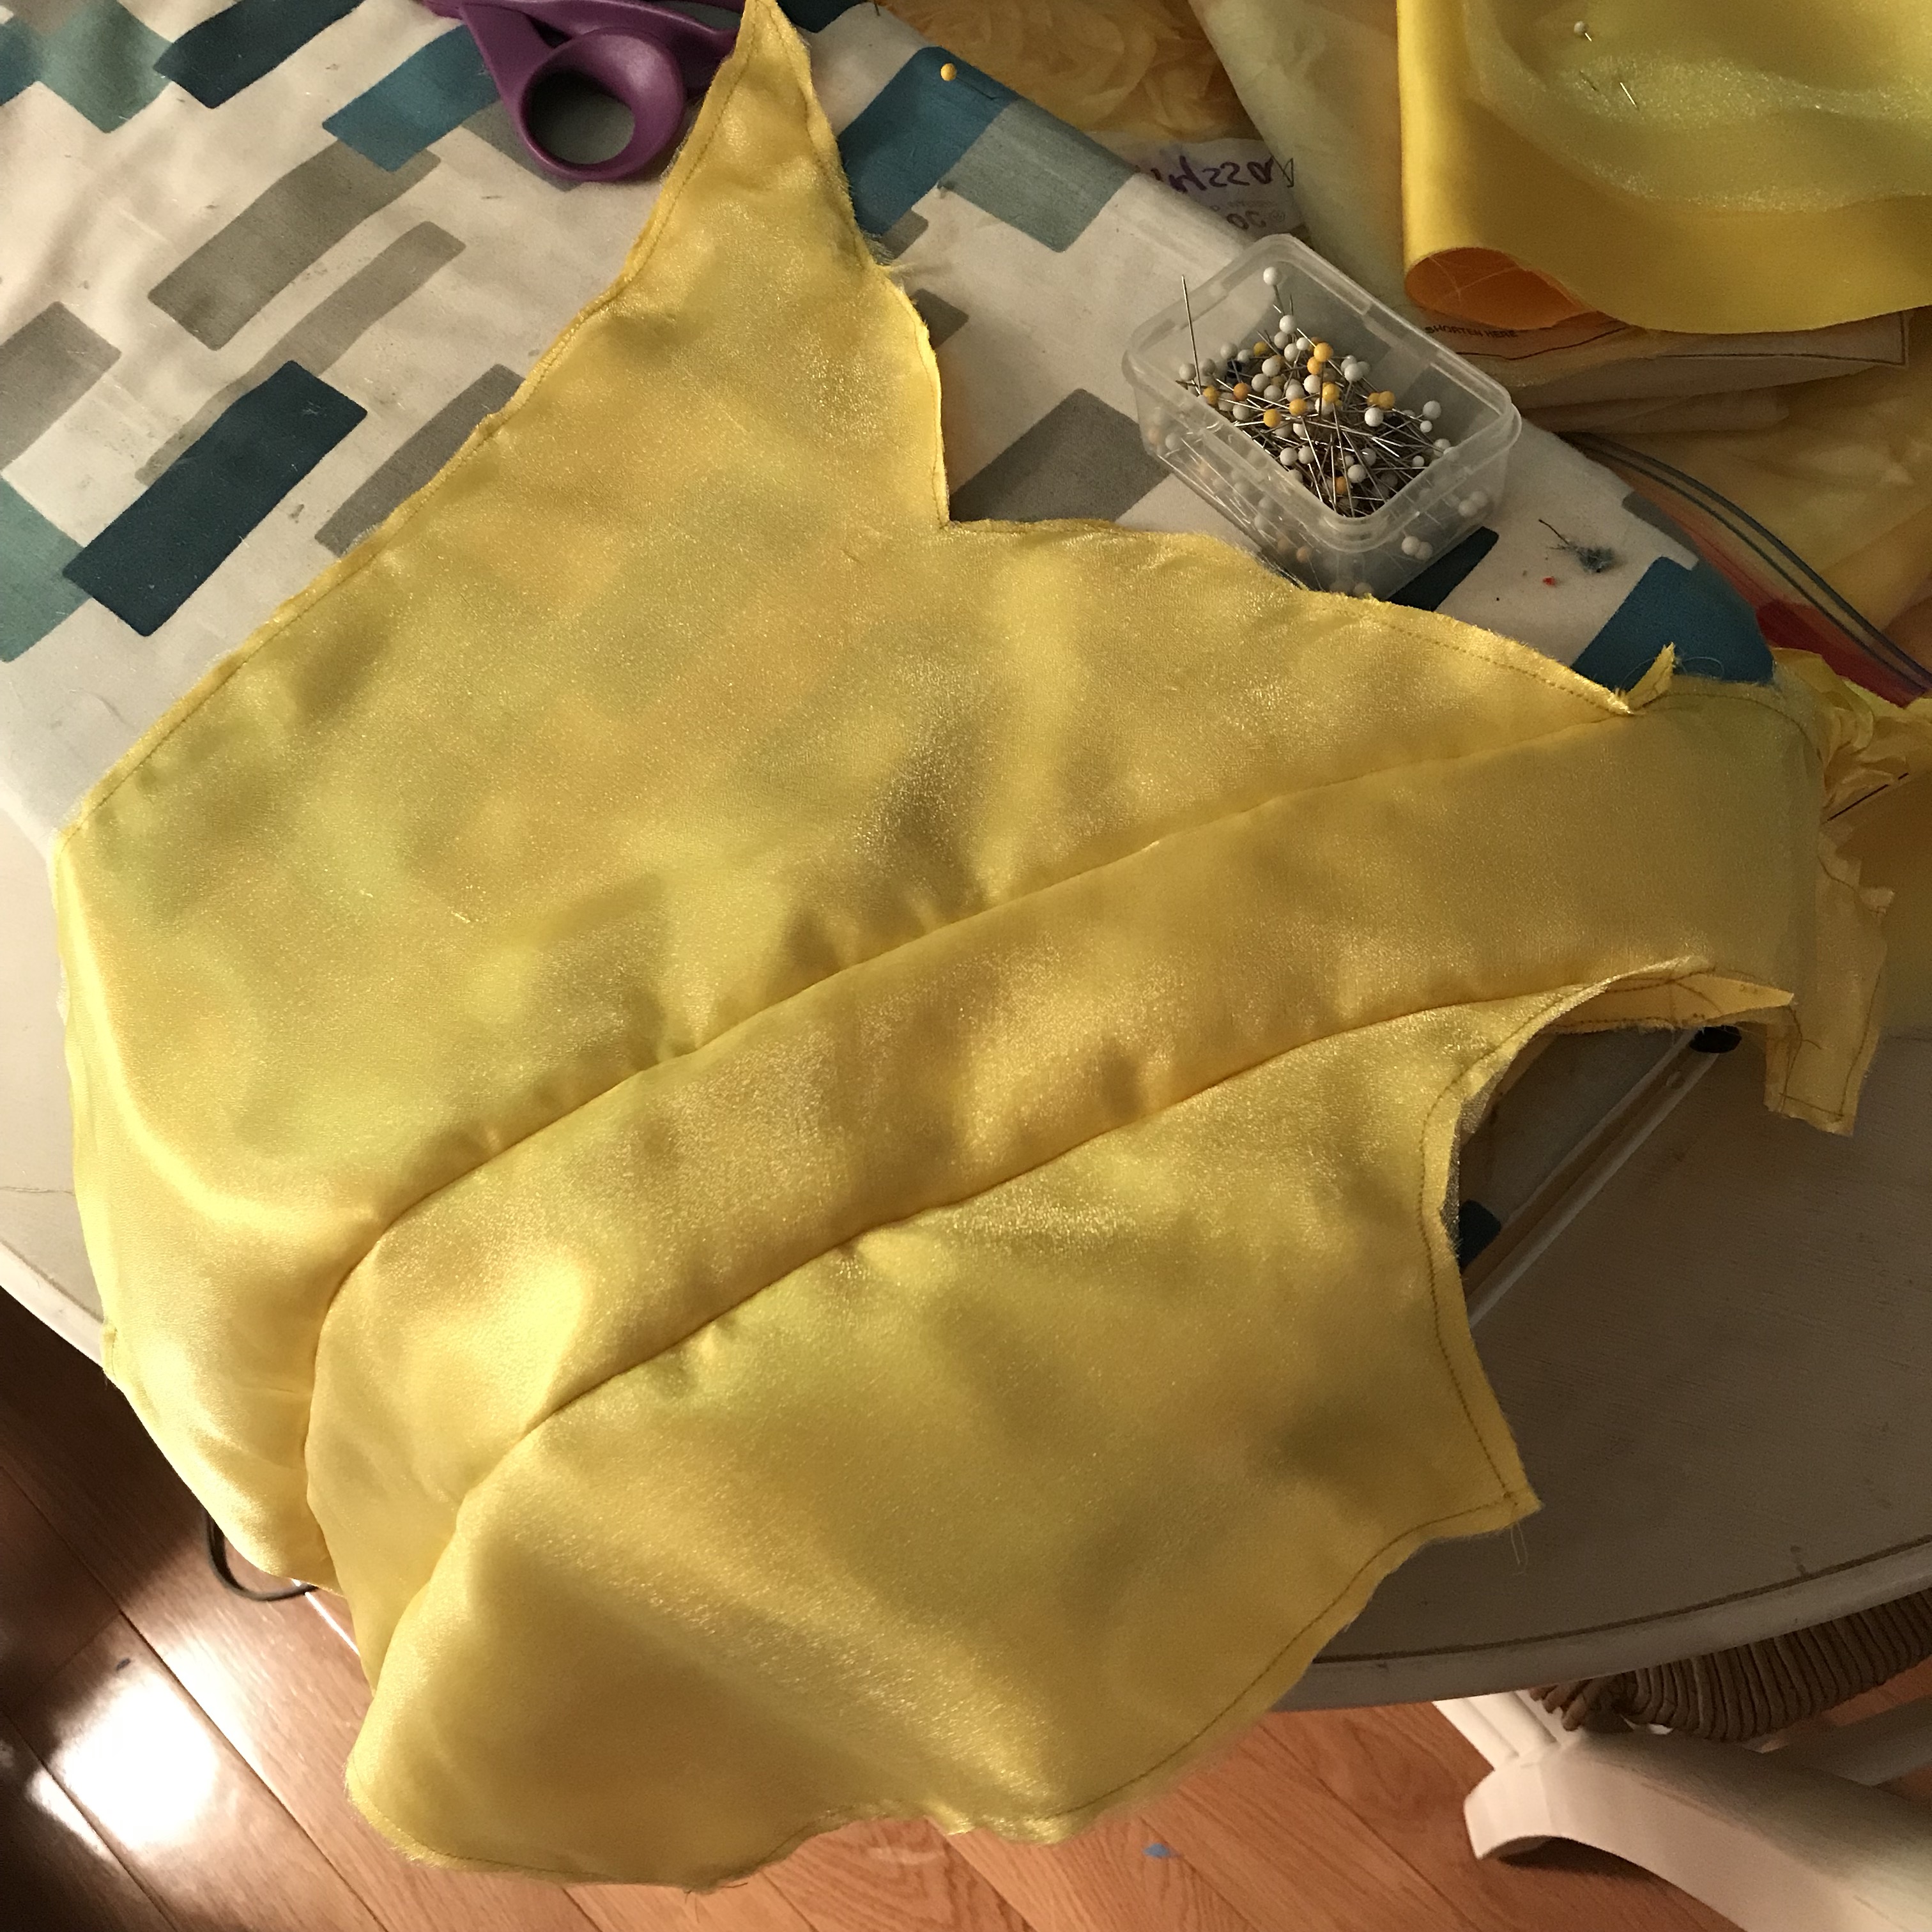
 First up was sewing all the organza overlay to the satin. I decided to do it this way rather than use the satin as the lining so as to avoid unattractive seams (yes, I know French seams exist but I find this to be a cleaner look and it’s annoying/nearly impossible to do French seams on curves… or, at the very least, I don’t like doing it!). Pinning is always the most annoying part of the process as you want to make sure the organza doesn’t slip around on the equally slippery satin.

 The overlay pinning and sewing is just a necessary evil that you have to commit to, and I find it goes by pretty fast if you put on some good movies and just see away. It also helped that the day I was working on this was dreary and rainy so it was like calming therapy to do some sewing.
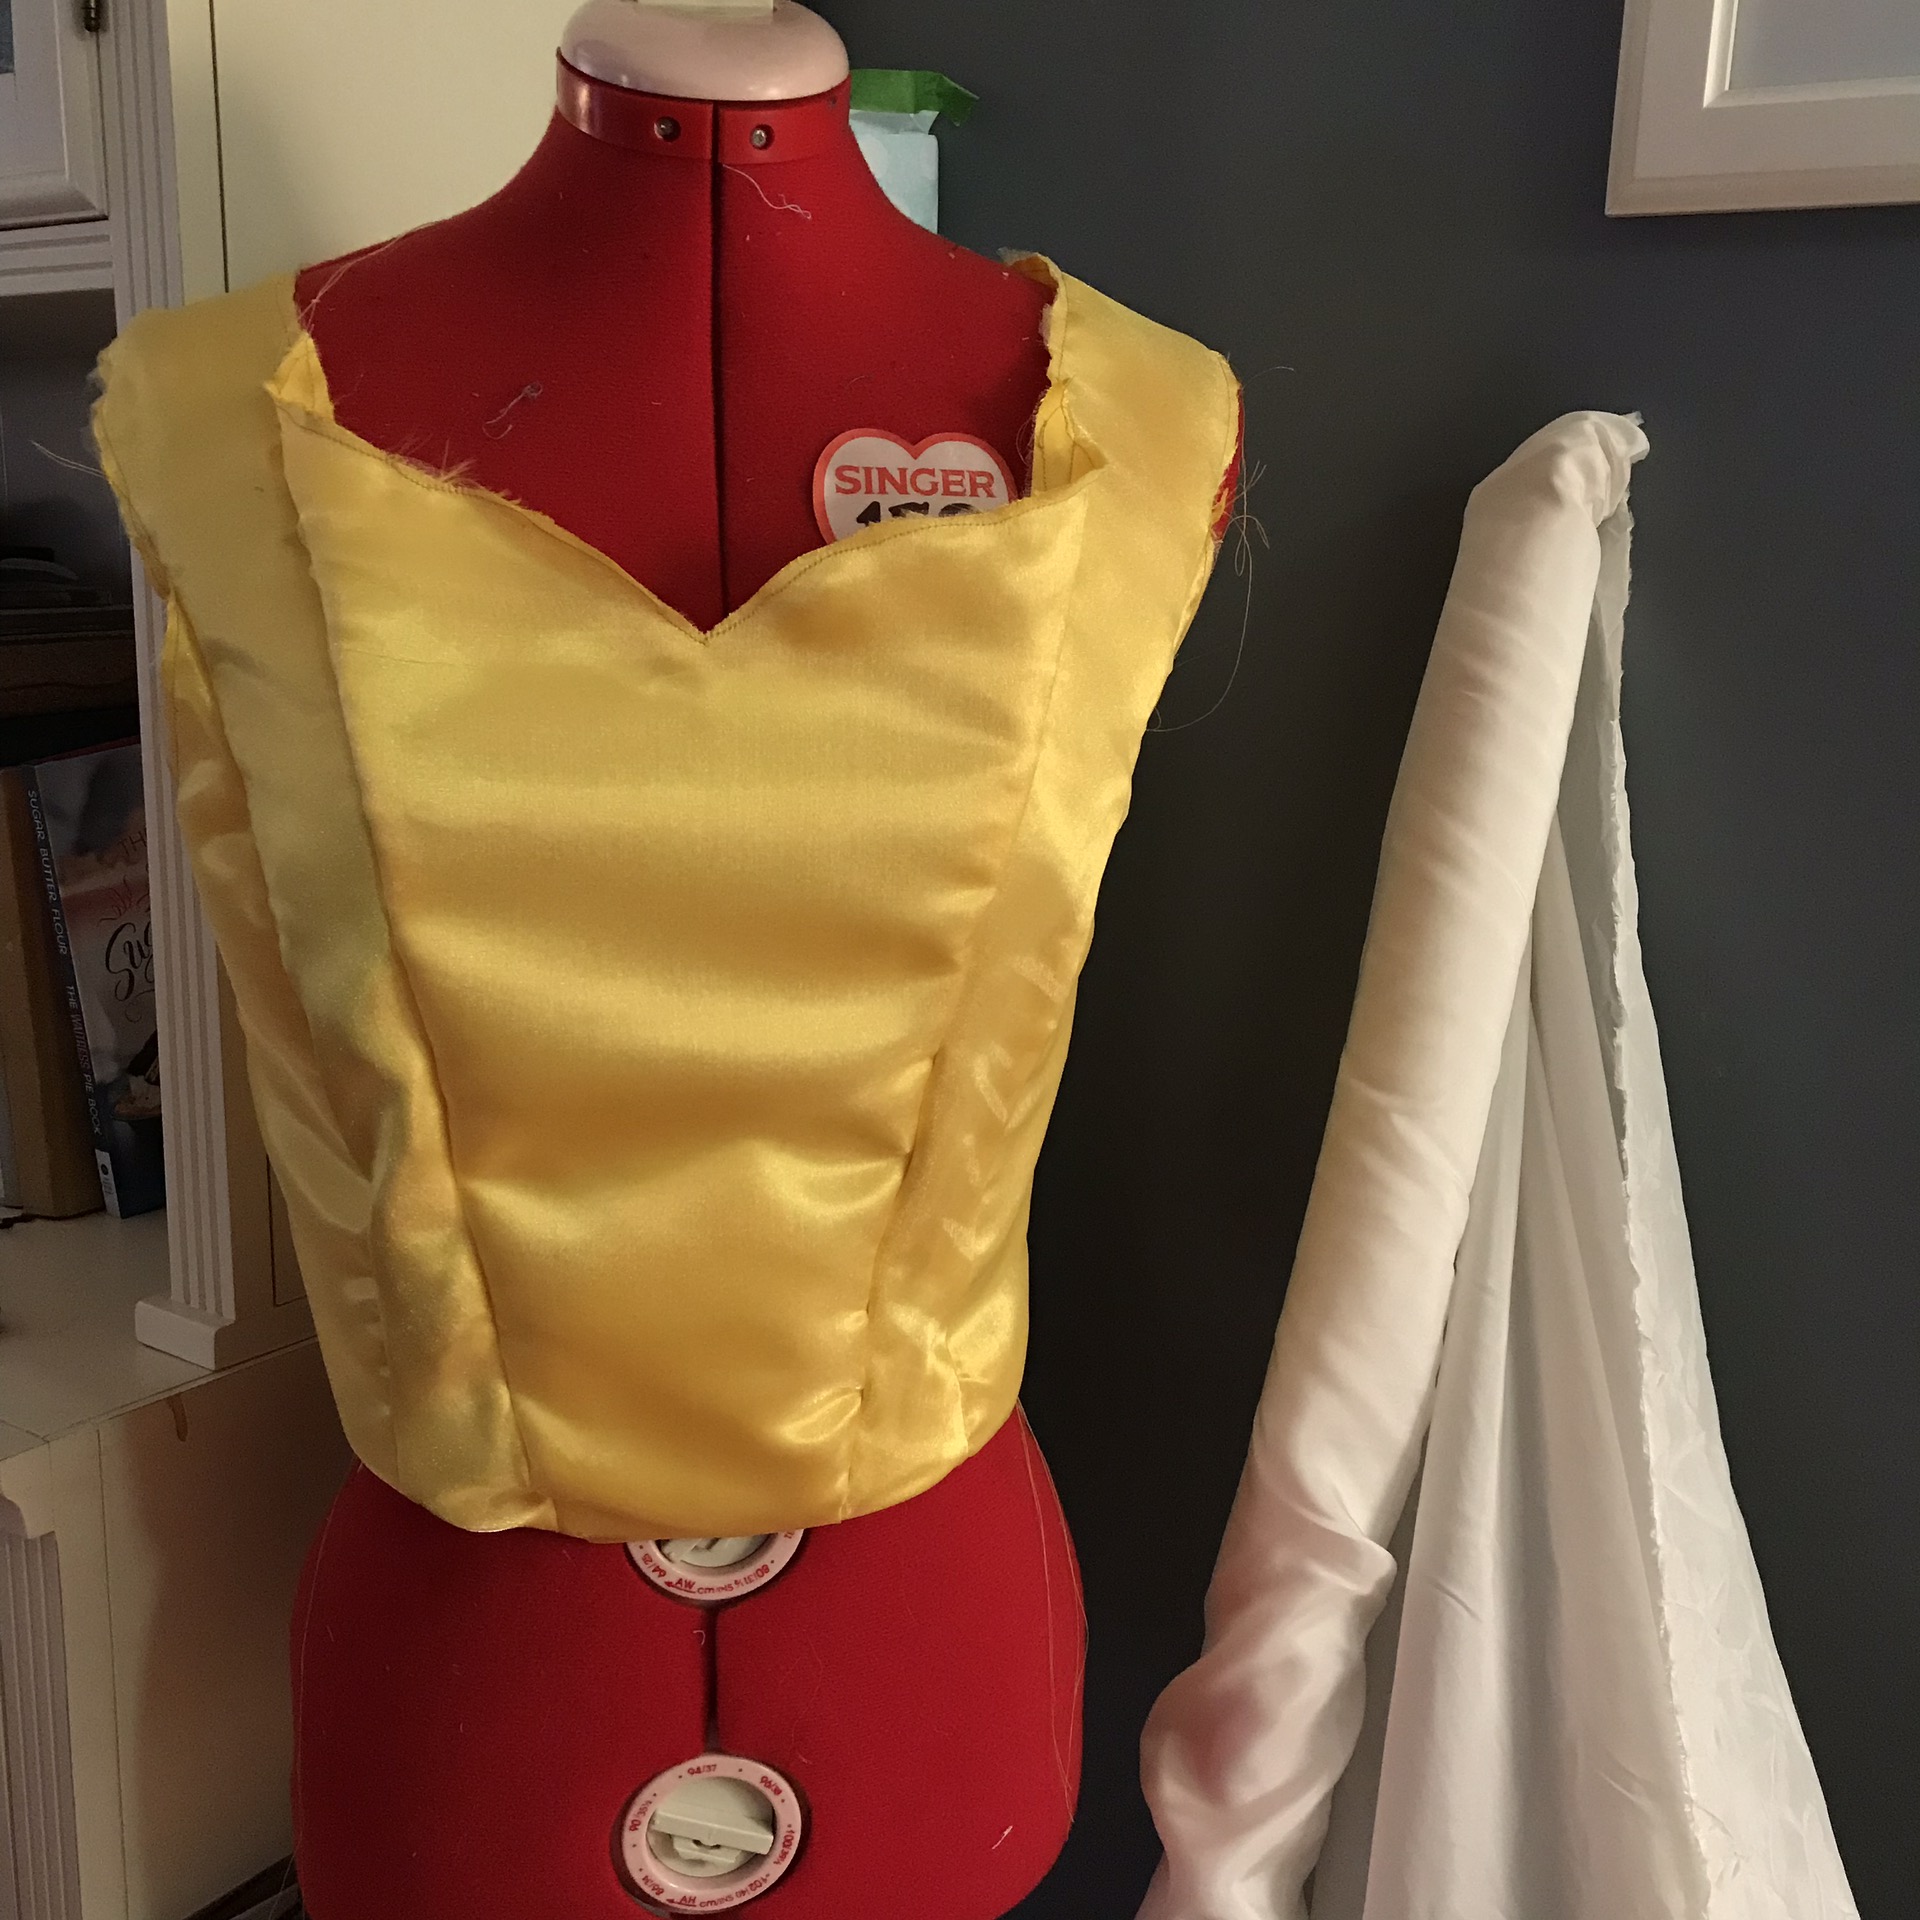
Once the overlay was pinning and ready, it was time to start sewing the bodice together. I had the pieces all laid out and then forgot to take pictures of them as I was working. The actual sewing of the bodice was simple and quick and it was pretty much ready at this point for its first fitting.


As much as I liked the pointed bodice, it wasn’t practical for our purposes so I knew I would be trimming it off later to make room for attaching the skirt. My plan was to attach the skirt and add a sash made out of the bridal satin but I was also worried that I was overdesigning. However I wanted to test out what the bodice would look like straight and I had no problem with it, even if it was just a tad less exciting than the pointed bodice. But I knew that once all the skirt layers were attached, it wouldn’t even be an issue.
 With the bodice more or less done (sans lining – at this point I was going to use the bridal satin but it felt a bit heavy for lining so I was considering getting something more lightweight), I turned my attention to the skirt layers. At this point in the process, my rosette fabric still hasn’t arrived but there were still three layers I could work. I figured the more pieces that were ready to go, the easier the whole thing would be to put together.
And so I sewed. And sewed.

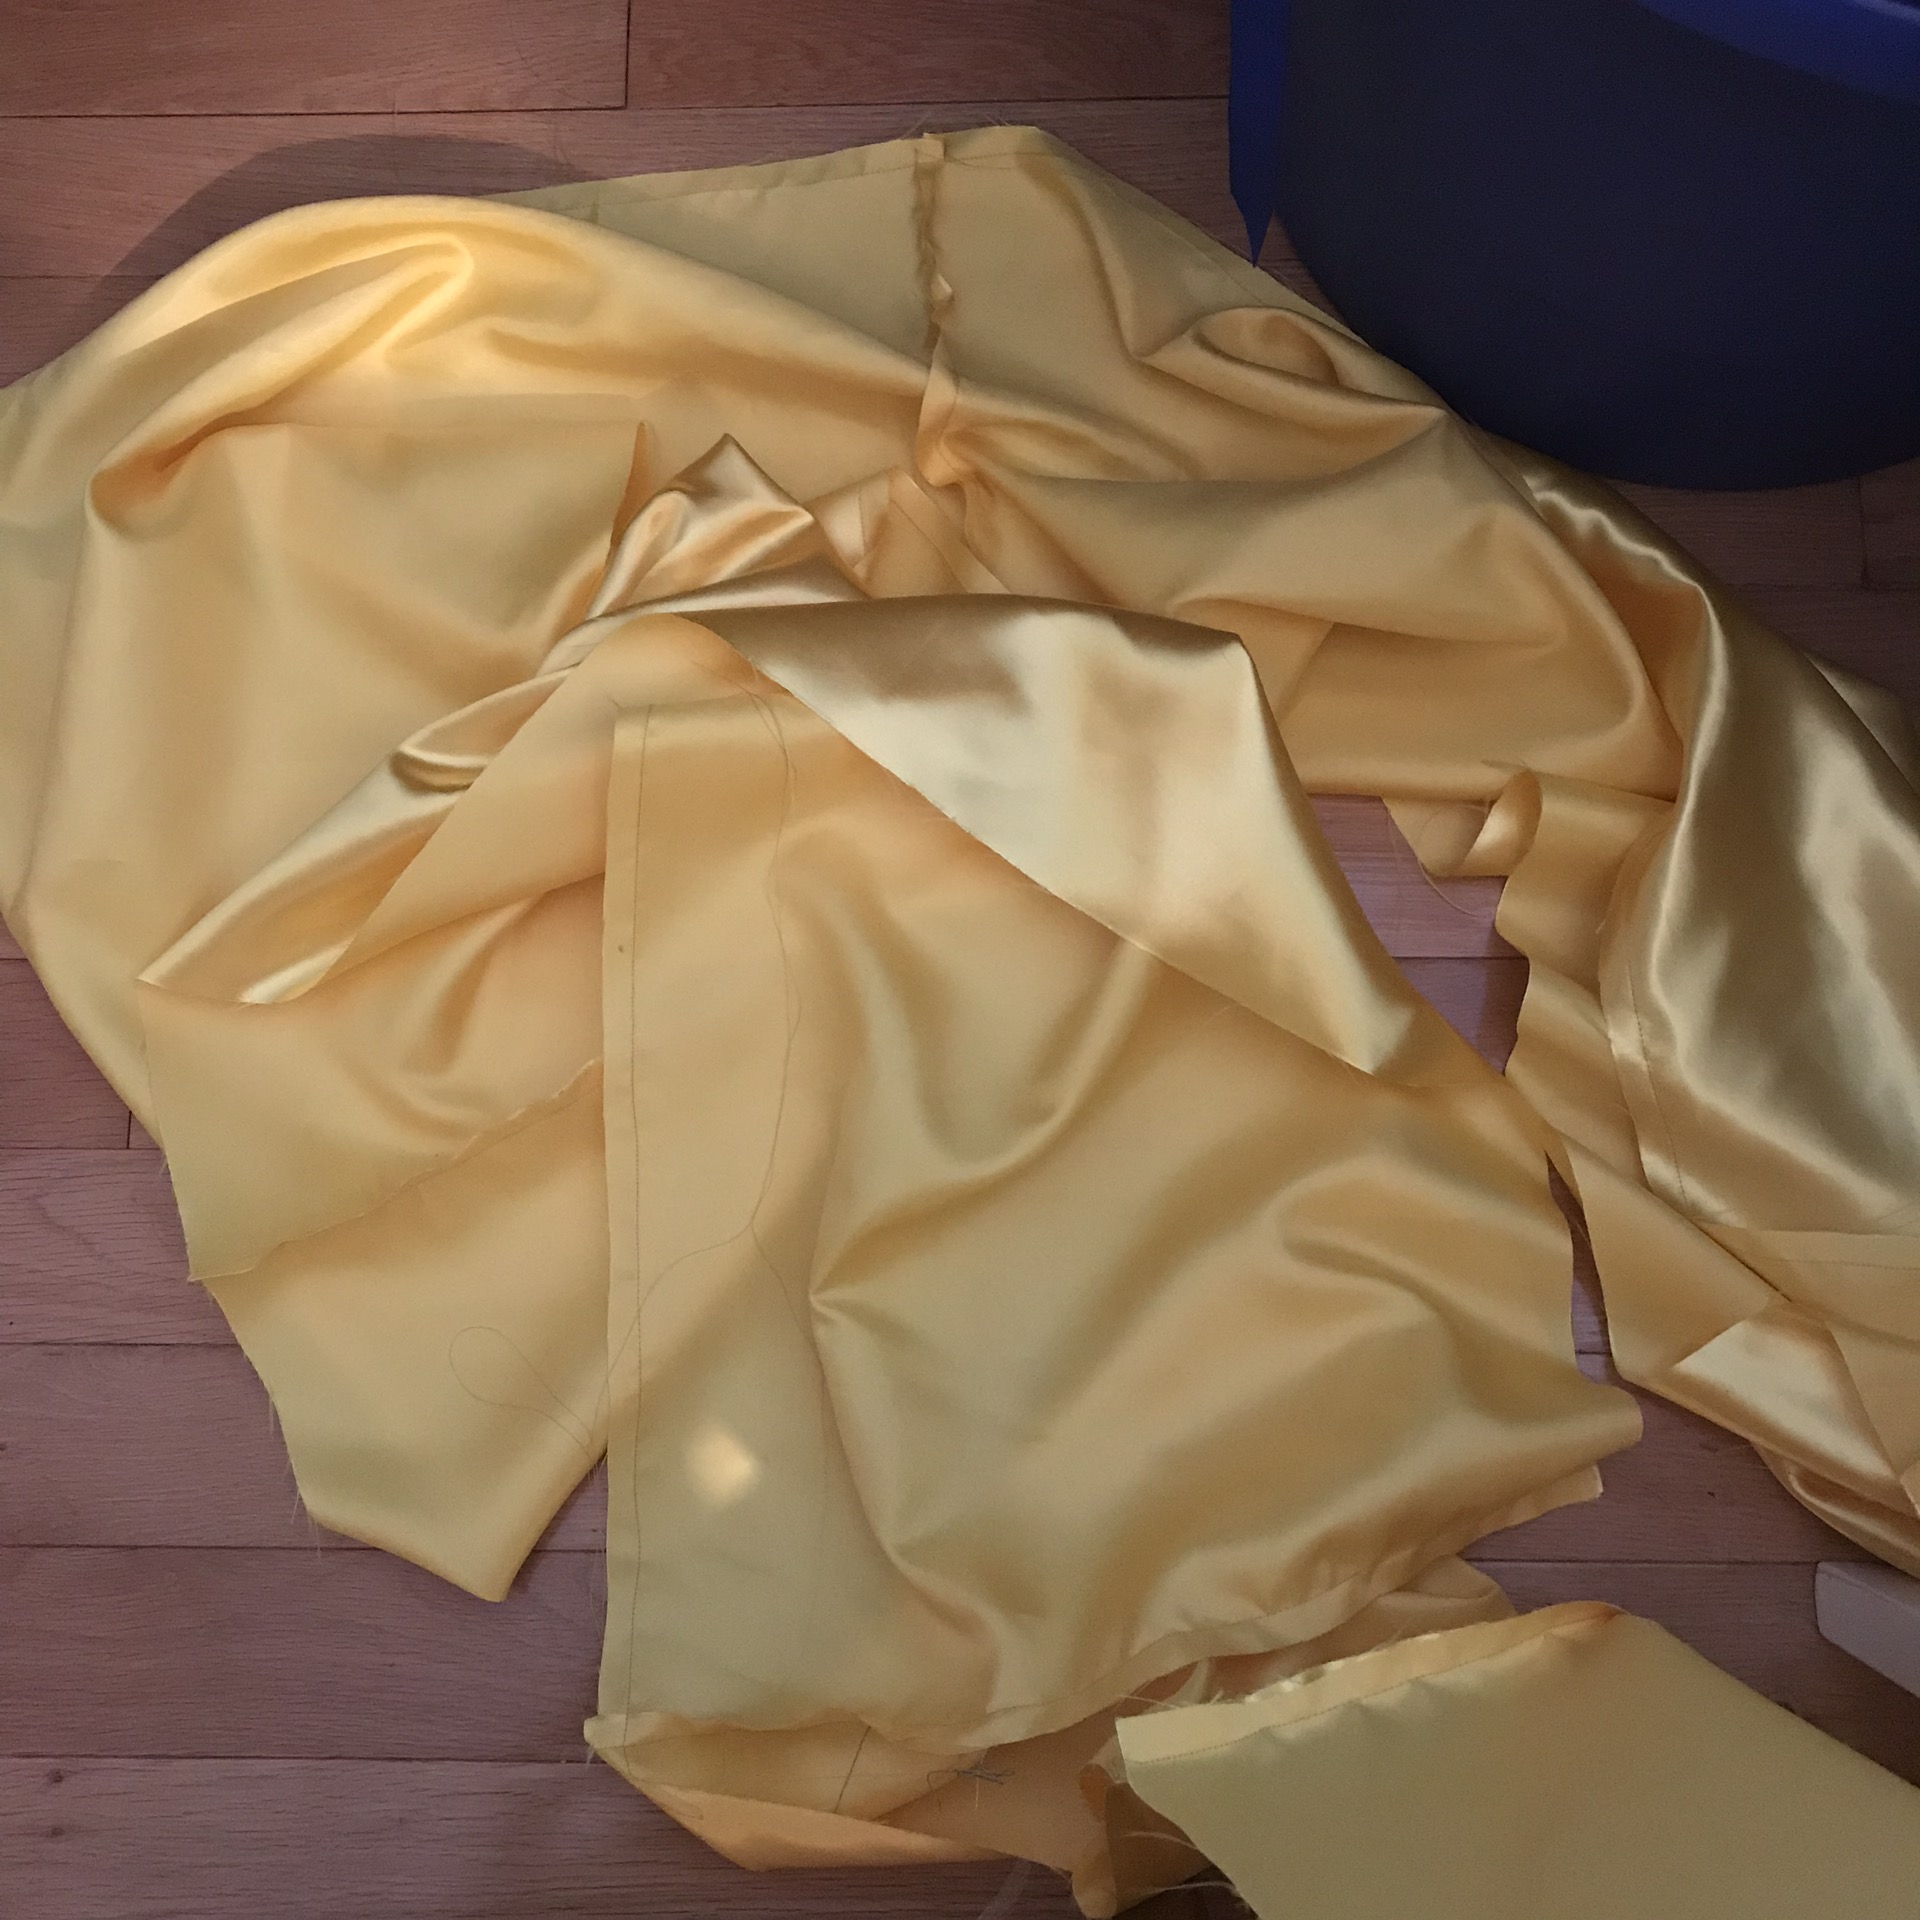
This is the organza coming together. Each base skirt layer was nine panels so while not particularly difficult to do, took a good chunk of time. And then there was the ruffle, seven more panels, and the top skirt.
At this point in the process I alternated between working on the existing skirt layers and cutting the final rosette skirt layers. Midway through the project the rosette fabric arrived and I wanted to get it cut so the pieces were ready.


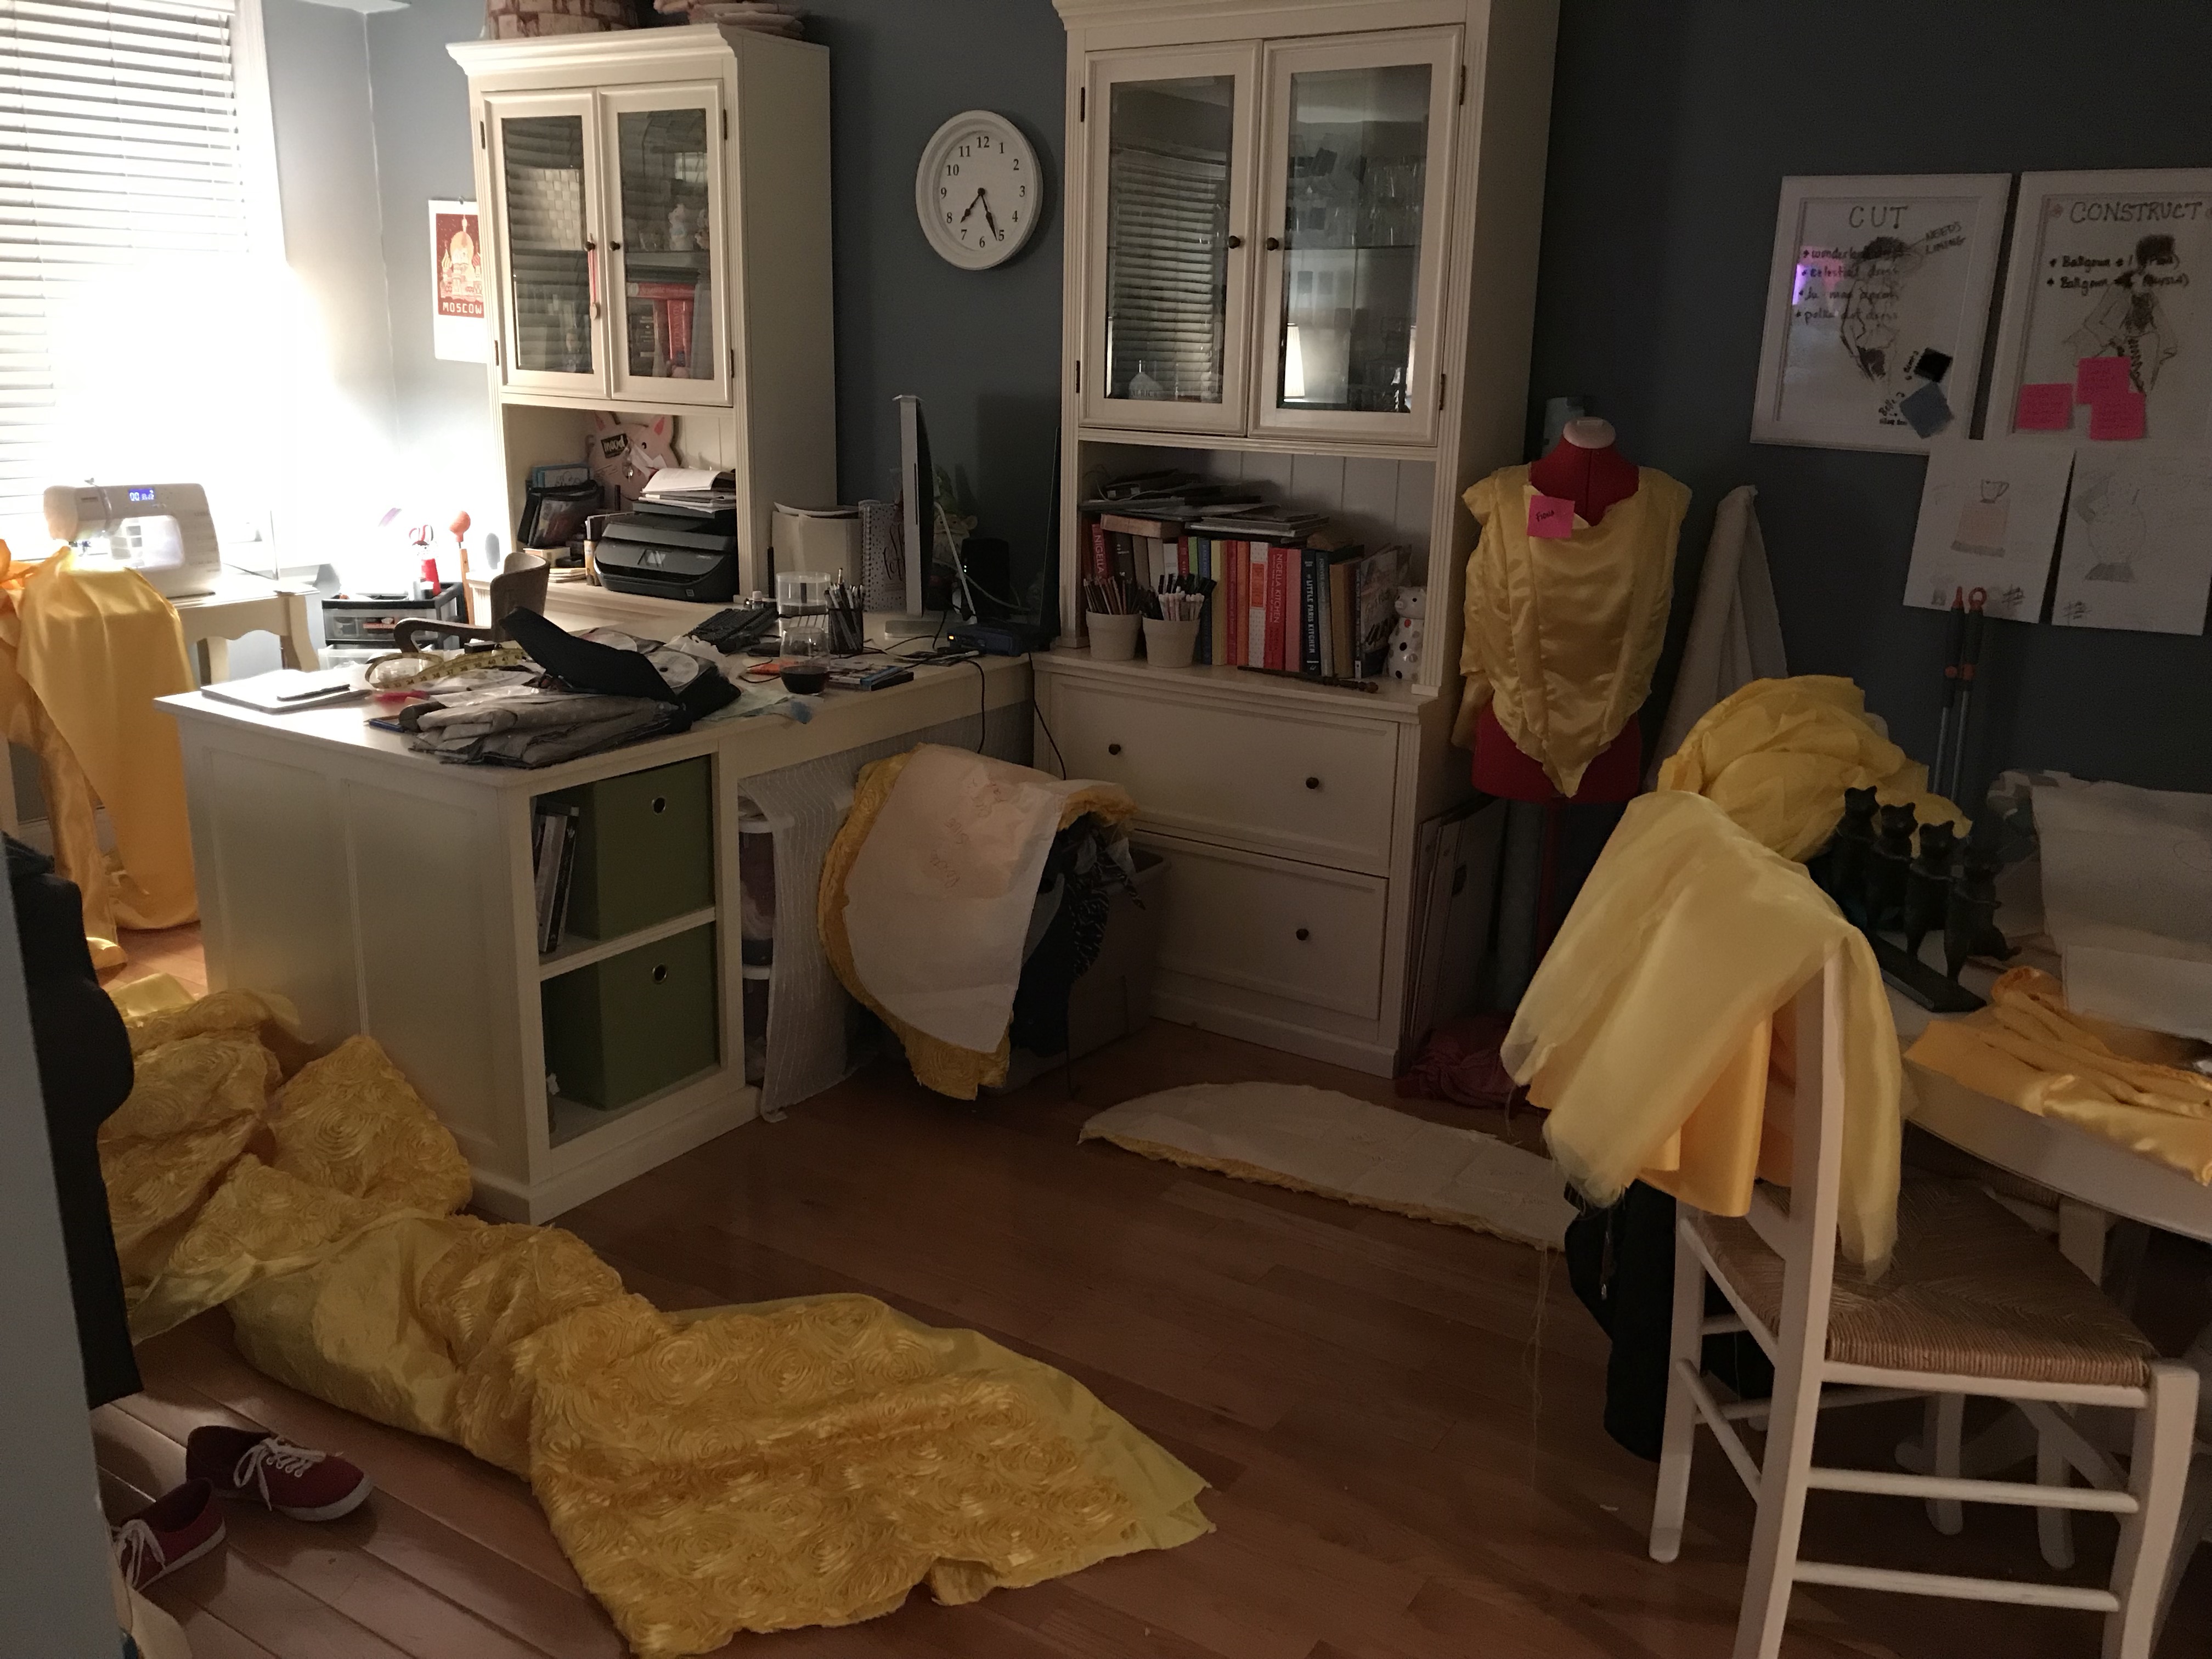
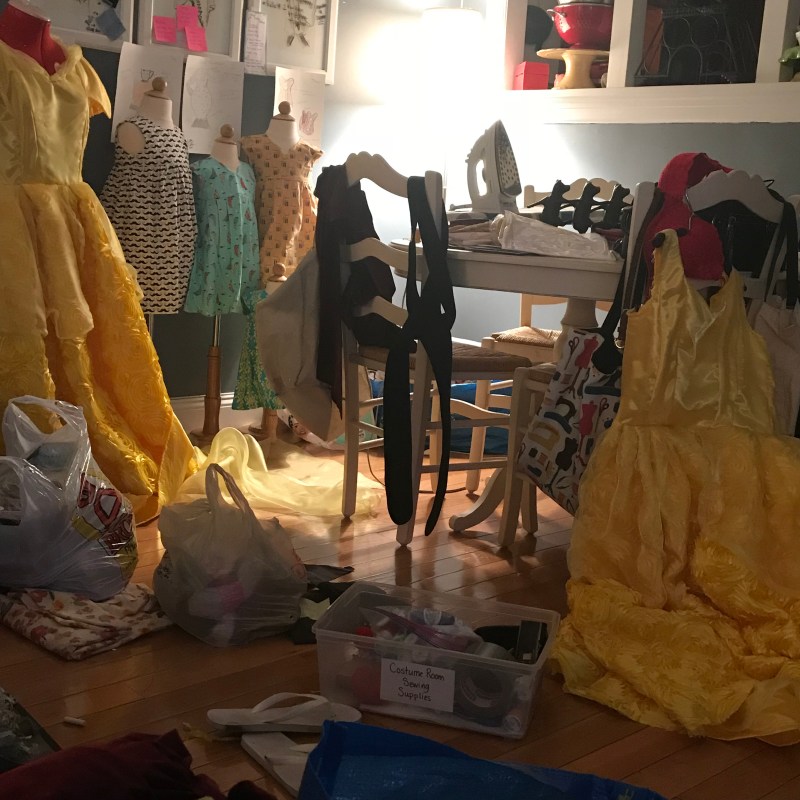
During this process, my apartment started to look like it was being taken over by Belle’s ballgown! Literally every surface had at least one piece of the ballgown somewhere on it.
Final skirt layers cut, I really focused on the hemming of the ruffles, at least for the first skirt. (Keep in mind that most of these pictures are of the first dress in the process.) All those skirts were such a chore to hem! There were so many panels and multiple layers!
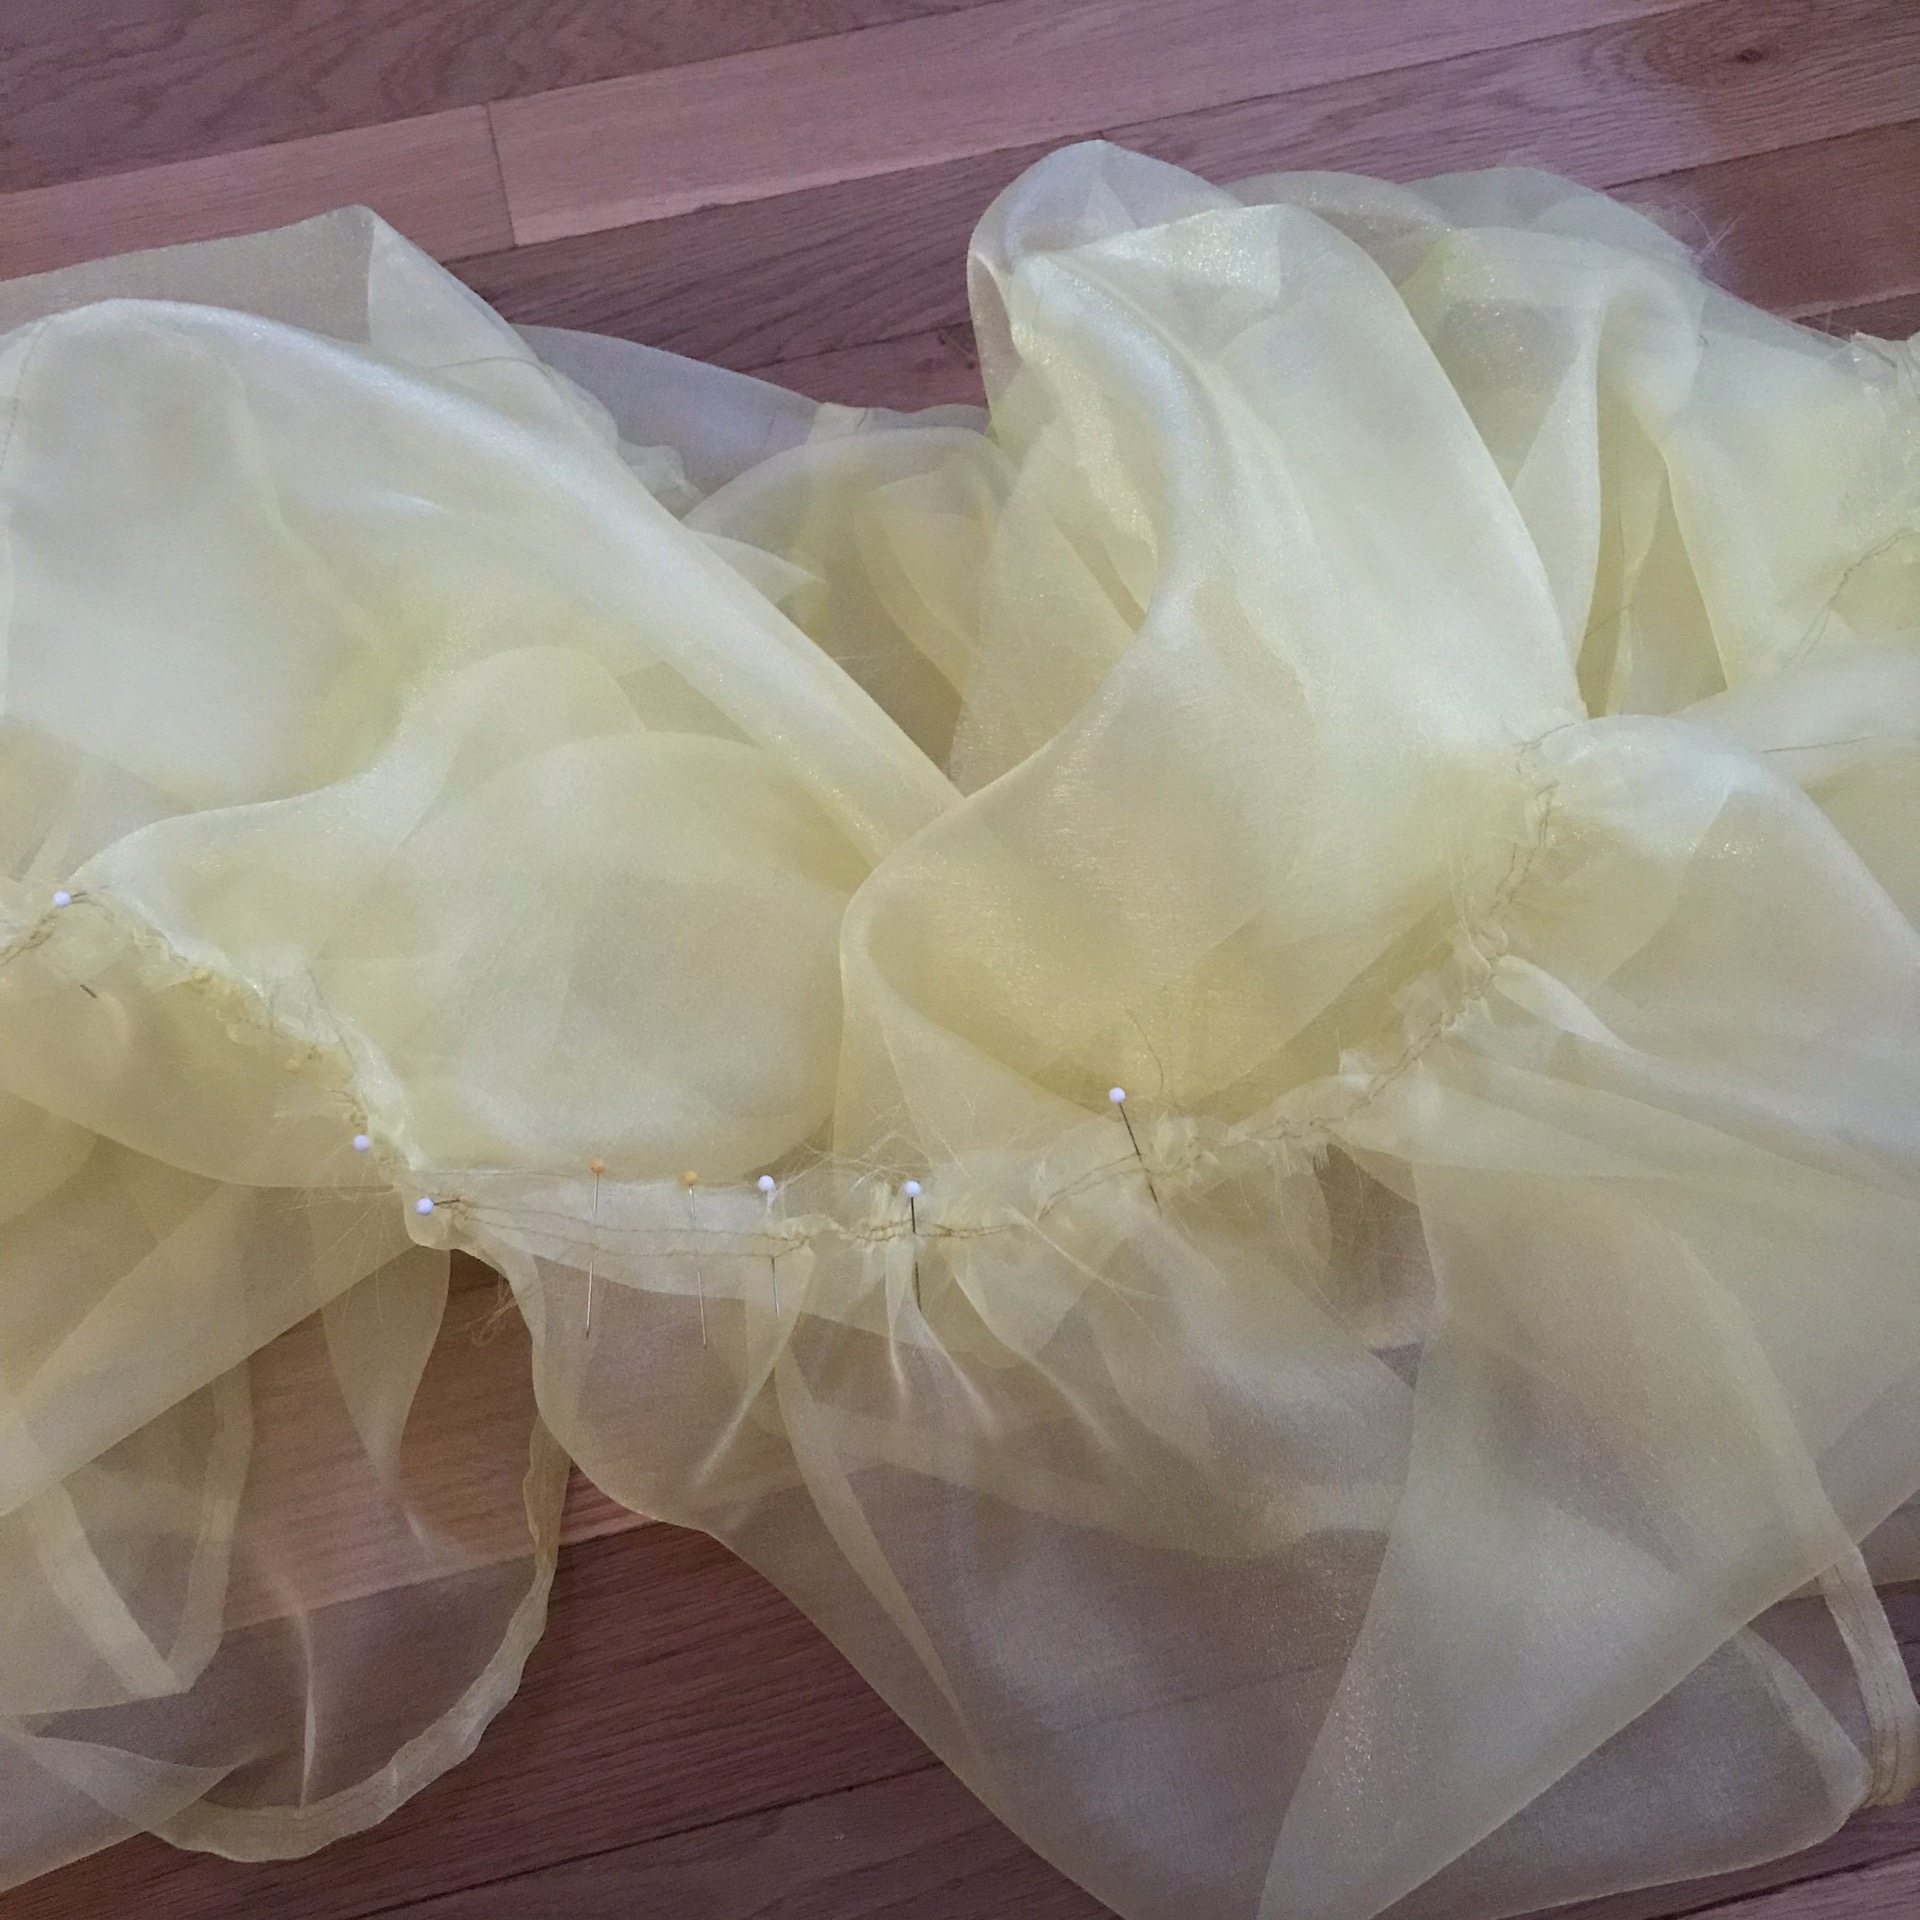
 After this is was time to put the layers together and attach the ruffles. The satin was pleated but I decided to gather the organza.
With my base skirt layers ready, I attached them:

I finally had a full skirt put together, satin and organza layers! This was exciting because I got to see how the whole thing would eventually come together.


In the above pictures, the skirt is just pinned onto the dress form to see what it would look like. The skirt actually has excess fabric hanging off the back of the dress form right now. This is a big skirt – good thing I have a big hoop waiting for it!
With the skirts and bodices done, I needed to have a fitting with the girls, so I could do some adjustments to the bodice. This was quick, since the burden of the skirt was not there yet, and it actually made putting the skirt on easier, since I already had the fit down.
It took me forever to get the skirt attached. There were SO MANY LAYERS, and so much fabric in all of them! These pictures will give you an idea of just how much fabric was involved in these skirts.


The sleeves were another saga. I left that step for last even though technically they should’ve been attached to the bodice before doing the skirt.

The problem here was also that I got so busy and overwhelmed with the project that I started to forget to take progress photos. It was easier to just keep going and power through the projects rather than stop to take pictures.


The sleeve was a combination petal and puff. I’ve never made a petal sleeve before and I initially struggled with the shape and the fact that I was trying to make it out of organza, but after some trial and error I got it all together and put the sleeve on… and I didn’t like it!! I don’t know what it was about it but I just didn’t like the sleeves. I wanted the dress to be sleeveless. I had yet to put them on the second ballgown and so I left it up to the girls. One girl wanted the sleeves while the other didn’t, and so the ballgowns ended up slightly different which actually turned out nice as it seemed more personalized to our Belles.
Around this point, my niece came over and saw the ballgown sitting on the dress form. She ran over to it and said, “Lala, is this for the Beauty?!” (Having never seen Beauty and the Beast, she was unaware of the character’s names.) To make a long story short, she requested a Belle dress of her very own, which I made once I had finished these. She modeled it for me, complete with book since I told her Belle loved to read.

The idea was for her to wear it to the show, but that didn’t end up working out. The day of our second show, there was a freak rain and snowstorm that prevented a lot of people from attending the show, my sister and niece included. (At least she can use it for dress up now!)
When my niece first saw the dress on the form, I had yet to put the zippers in. The pattern actually called for a drawstring, but drawstrings are murder to quick changes, and so I modified the back of the bodice to allow for a zipper instead:

The zipper was tricky given all those layers, but actually went in much easier than I thought it would.

When the dresses were more or less complete, they were ready to finally head out of my apartment and stop taking up so much space! They headed into work for a final fitting, and they were just about ready… but I felt they needed something, just one last little thing to make them complete.


That little something turned out to be satin rosettes. For the dress with no sleeves, I used three rosettes on each shoulder and for both dresses I added one rose to the front of the bodice. It’s amazing how one small change can make such a huge different to the final product.
The final hurdle was the hoop skirt. This I did not make; I purchased two of them on Amazon, and am very glad I did. The strings on the hoop skirt ended up not holding up very well under the weight of the skirt, and so I changed the strings to elastic. With the waltz scene of the show being so important, I couldn’t risk the girls having their hoop skirts fall down while they were dancing!

The elastic ended up doing the trick! However, have you ever tried to alter a hoop skirt?! It’s nearly impossible to do without fighting the hoop. Above you can see the hoop skirt tent that popped over my head as I was trying to sew the elastic into his casing. The best part was that while this was happening, the cast just wandered by me as though nothing out of the ordinary was happening. I guess I’ve done weirder things in the name of costumes before.
And now, with dress and hoop skirts finally where I wanted them, the finished products (and you can get a little glimpse of the other costumes in the background as well):


